Slow Stitching Project
Take fabric scraps and leftover supplies that are too good to waste and stitch them into a work of art with this boro-inspired stitching project. Scroll down to get the scoop along with inspiration and a suggested supply list!


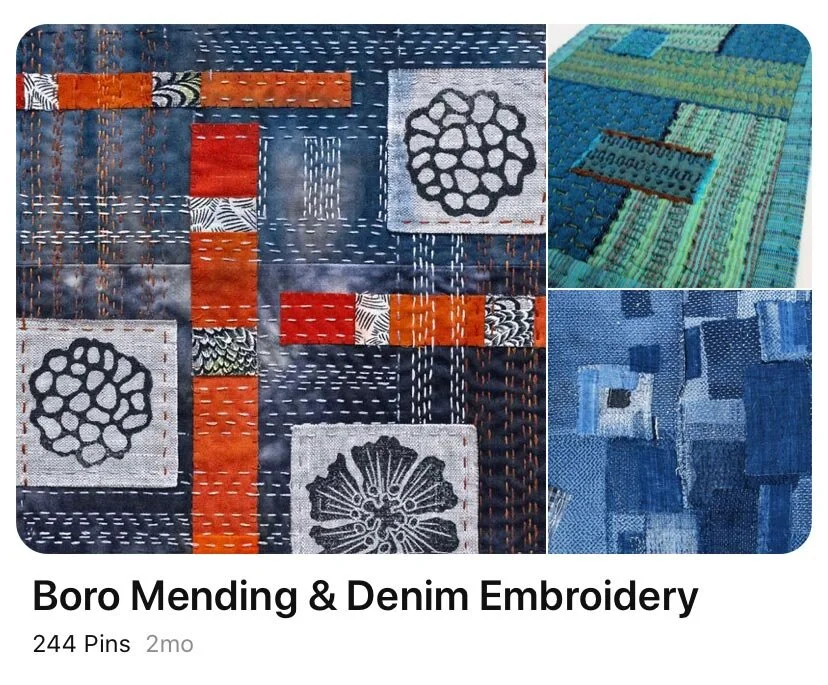
What is Boro?
Boro is the Japanese art of mending in which textiles have been patched together to prolong their life. Although it traditionally has been used more practically to prolong the life of clothing, boro-inspired projects can be used for decorative purposes as well.
Boro stitching often consists of using simple running stitches or crossed running stitches (these look like + signs) to attach one piece of fabric to another, so the technique is very accessible to a wide range of skill levels.
Look at this Pinterest board for ideas and examples of what can be done with boro stitching.
What will I do for this project?
Each week in May 2020, we’ll tackle a different phase of this project as we layer and stitch together our fabric scraps to create a work of art. My goal for us is two-fold: to discover the possibilities of creating with what we already have, and also to incorporate a creative outlet into our lives on a regular basis for our own mental health and well-being, especially during a challenging time in history.
How do I begin?
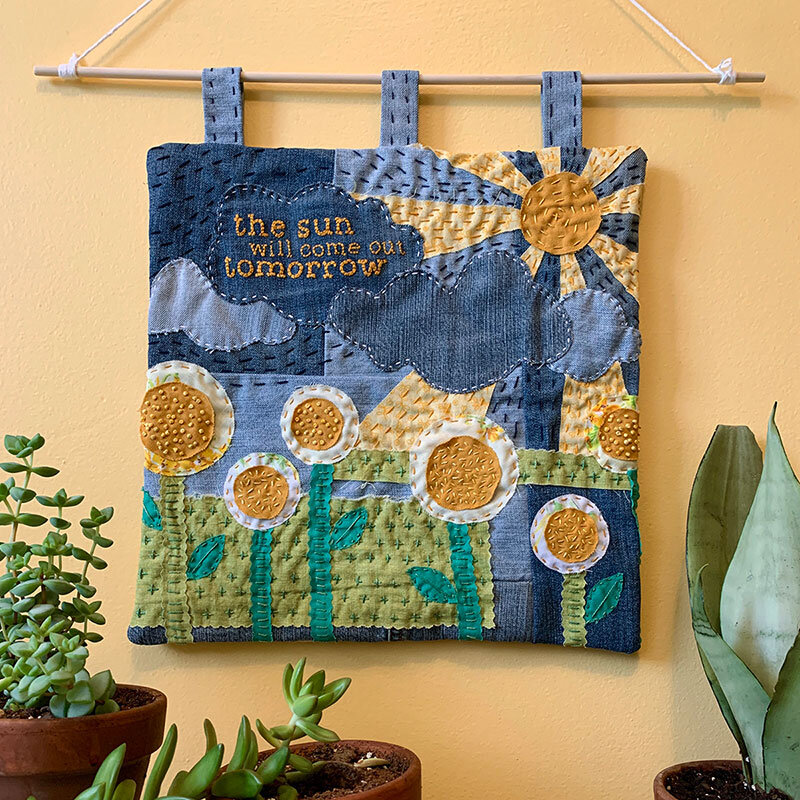
Choose a color palette. Let the fabric scraps that you have available determine your color palette. I chose blues (from beat-up denim jeans), greens, and yellows with a pop of white. Bonus: The theme of my project is “The Sun Will Come Out Tomorrow” (made famous by the musical, Annie) - feel free to use this to inspire your design as well.
Decide what you want to make. I’m going to create some square wall art, about 14x14 inches in size. You can make wall art along with me, or a pillow, a quilt, a bag, or other sewn project.
Gather supplies. This is the fun part! Watch the video below to see the supplies I’m gathering, and scroll down to see my full suggested supply list.
Suggested Supplies
Fabric scraps: these can be leftover from sewing or embroidery projects, clothes that can no longer be worn, vintage fabric, or any other fabric you might have around your home
Strong, non-divisible threads such as sashiko thread or perle cotton thread
Sharp fabric scissors or a rotary cutter
A long needle, such as sashiko needles or milliners needles
Optional: A self-healing cutting mat (if you use a rotary cutter)
Optional: Acrylic quilting ruler (for use with mat and rotary cutter)
Optional: An embroidery hoop is purely optional; I find it easier to do boro stitching without one.
Optional: A water erasable marking pen or printable dissolvable stabilizer paper if you want to transfer specific designs to your project.
Other optional embellishments, depending on what you have available to you: Assorted buttons, beads (large enough for your needle go through), rick rack, ribbon, lace or other trim
Don’t have a stash of supplies, but still want to participate? Try a shop like this one for scrap fabric packs and other goodies.
Project Calendar
Week 1: Take time to gather your supplies and press your fabric for layering.
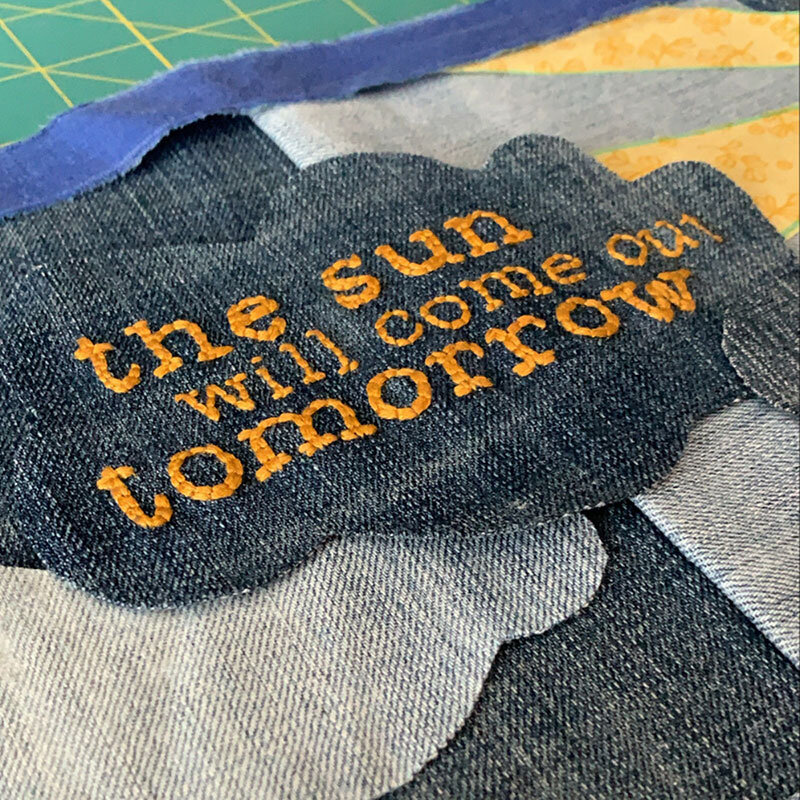
Week 2: This week we’ll work on prepping and laying out our fabric scraps. Keep in mind that scraps can be big or small, square, rectangular, rounded or any unique shape you want to add. If you are using a patterned fabric, you can add embroidered elements to the pattern before stitching it in place. Or stitch a motif on to some of your fabric scraps before stitching them together. I plan to embroider the text “the sun will come out tomorrow” onto a fabric scrap before laying out my pieces. Here are some of the motifs I’m using which you can download and trace.
Once you’ve prepped your fabric scraps, use straight pins to arrange and pin together your pieces for sewing.
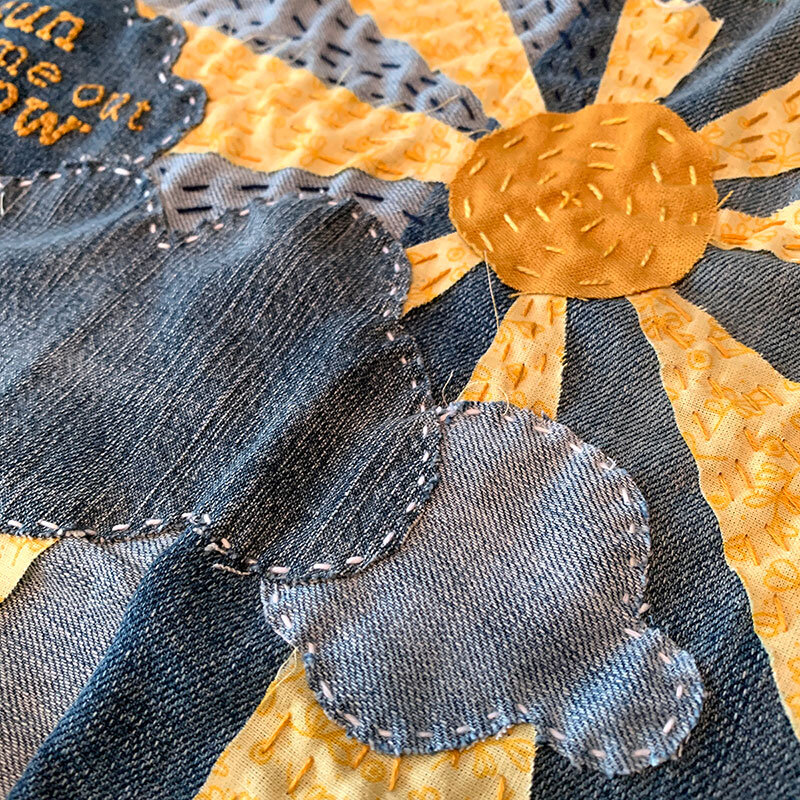
Week 3: This week we’ll work on piecing and stitching our fabric together. You can hand stitch everything using running stitches (or other stitches listed below) to attach your layers, or you can machine sew your pieces together and add hand stitches as a decorative element around your fabric. You can also include trim, rick rack or special fabrics, such as burlap, in your design, if desired.
Stitches to try for attaching fabric: running stitches, crossed running stitches, cross stitches, seed stitches, blanket stitches, or couching stitches and more!
Don’t forget to take a look at this Pinterest board for inspiration as you stitch.
There are so many fun aspects of boro stitching, but one thing I love is how a simple running stitch can be used in so many ways and look so beautiful. In the below video I am using a long Tulip Sashiko needle for this aspect of my stitching - its length, durability and sharp point allow me to pile on the stitches as I pull my needle through the denim.
Week 4: This week we’ll finish stitching our fabric together as well as put the final touches on our art by adding embellishments and special stitches! Some examples of what you can add include:
Buttons
Beads
Ribbon
Rick rack
Or dimensional stitches such as the bullion stitch, turkey work, woven picot, spider wheel rose, pistil stitch and more.
Week 5: This week is a time to catch-up on your project if needed, or to do any final work for its display. Visit this tutorial to see an easy way you can hang your boro wall art!

Hashtags
Remember to use the hashtags #borostitchalong and #stitchingwithbeth when sharing on social media so we can see each other’s boro stitching project, or tag @bethcolletti on Instagram.