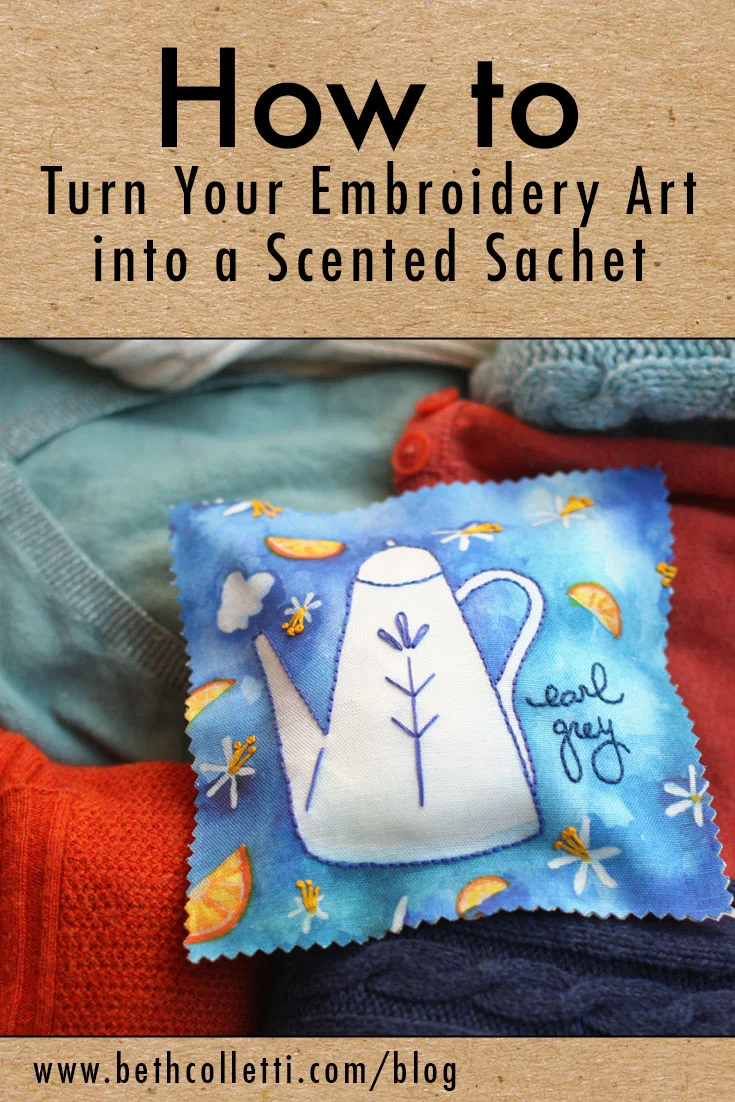
So at this moment, I am eagerly waiting for spring to decide to stick around, and I figured what better time to make a scented sachet for my sweater storage? If you are a lover of both essential oils and crafts, then this easy how-to is for you! If you are new to essential oils, or have no idea what I’m talking about, that’s ok. ;) This sachet can easily use dried herbs or potpourri ingredients as well.
Once you have your embroidery art finished, this sachet is very easy to put together, especially since no sewing is required! I used a six inch embroidery design for this sachet and decided to pair it with orange essential oil by Young Living, but the options are limitless. You can even make a sachet with this free pattern I offer and pair it with your favorite scent.
Supplies Needed
Iron
Ironing Board
HeatnBond® Ultrahold ⅜” x 10 yards
Pencil or other tool to mark fabric
Ruler
Sharp scissors or rotary cutter for cutting fabric
Pinking shears to make a decorative edge
Essential oil(s) or other fragrance of your choice
12 jumbo cotton balls
Finished embroidery of your choice
Fabric for the back of your sachet, cut to match the size of your embroidery art (suggested size below in tutorial)
For this project, I purchased the HeatnBond® Ultrahold tape and other sewing notions at a Jo-ann Fabric and Craft Stores® because of their large selection of fabric and sewing supplies.
Step 1 - Iron your fabric
I chose a natural colored linen to use for the back of my sachet since it was what I had on hand. To prep both my embroidered art and the natural linen fabric for the sachet, I ironed each of them prior to cutting. Should your embroidery kit fabric need ironing, turn it over so that you are ironing the reverse of the fabric and stitches. A medium heat setting with steam is recommended for this linen-cotton blend.
Step 2 - Cut your fabric to size
I wanted my sachet to be approximately a 6-inch square so I marked and trimmed off extra fabric to bring my design down to size. Then I did the same with the natural linen I chose for the back of the sachet. If you decide you want your sachet to be a different shape, simply cut out a matching pattern for both the front and the back.
Step 3 - Iron on your HeatnBond® tape
Once my fabrics were ironed and cut, I laid out my embroidery art with the wrong side up so I was looking at the back of the stitches. Next, I cut some HeatnBond® tape for each edge of my square and positioned them slightly away (about ⅛”) from the edge of the fabric before ironing them in place. Each of these strips should be ironed according to the HeatnBond® instructions so they bond to the edges of the embroidery art.
Once the tape set on each side, I gently peeled off its backing on three of the four pieces, exposing more adhesive. I left on the backing on the fourth side because I planned to iron that side closed at the end.
Next I placed the linen fabric for the sachet back on top of the embroidered art, making sure the sides were properly lined up. Then I flipped both fabric pieces over so the right side of the embroidery art was facing up. Following the instructions on the HeatnBond® packaging again, I ironed the tape a second time (but only on 3 of the sides where I’d removed the tape backing), bonding the two pieces of fabric to each other.
Note: It’s important to make sure the tape cools off and has set properly before adjusting the fabric. Check to make sure the tape has properly bonded to each piece of fabric. You may need to iron certain areas again if they didn’t receive enough heat. Too much heat, however, will dry out the adhesive and you’ll have to cut a fresh piece of tape - I learned this the hard way!)
Step 4 - Stuff your pillow
Once my two pieces of fabric were bonded together, I was ready to add the scent! I simply used jumbo cotton balls for the filling, pulling each one a bit to spread it out. Then I put 3 or 4 drops of my orange essential oil on each cotton ball and rubbed the cotton together to distribute the oil throughout. As I put the cotton balls inside the sachet, I folded them over so the fresh oil didn’t press against the fabric. 12 cotton balls were just enough to fill my 6-inch sachet.
Note: If you don't have essential oils, experiment with adding dried herbs, such as lavender, to your stuffing. In this case, you may want to try something like Poly-fil instead of cotton balls for your filling.
Step 5 - Iron the last seam closed
Once the cotton balls were stuffed inside the sachet, I peeled off the last piece of backing from the HeatnBond® on the bottom of the sachet. Finally, I ironed the front of the sachet over the open seam to finish bonding the fabric together and was left with my scented sachet!
To give the embroidered sachet a decorative edge and keep the fabric from fraying, I used pinking shears to trim the edges very slightly. I was left with a beautifully embroidered and wonderfully scented sachet for storage.
Scented sachets aren’t just useful for storage, they are great for anything from your sock drawer to your linen closet as well. You can even make a larger version of this sachet and turn it into a pillow.


