(I am an Amazon Associate and this article includes affiliate links for products that I love, or that I think you will find useful.)
Appliqué is simply a method where one piece of fabric is layered on top of another. Felt appliqué simply uses felt for this fabric layering. If you have some embroidery experience and are curious about trying felt appliqué, it is a very accessible craft which is lots of fun! In this article I will break down the basics so you have a sense of what felt appliqué consists of as well as supplies that will be helpful to getting you started.
Why felt?
Because of the nature of felt, it is a great fabric to learn appliqué. Felt won’t fray when cut which means layered shapes can be stitched together more easily than when using other fabrics, such as cotton, for hand appliqué.
Know your felt.
Not all felt is created equal. There are three broad categories of felt that you’ll find when you go shopping for this fabric. The first is craft felt. Craft felt is made from manmade fibers, such as polyester. Pros to using craft felt are that it’s easy to find at craft stores, it’s the most inexpensive type of felt available, and it is unlikely to shrink if you get it wet. (One exception is if your felt is made entirely of rayon.) Cons are that the fiber is prone to “pilling” from use, and it is generally a cheaper quality which doesn’t hold up as well over time.
Blended wool felt is felt fabric which is a blend of wool and rayon. Pros are that it typically has a smoother finish and is a sturdier quality than craft felt. But because it has wool and rayon in it, it can be prone to shrinking if you get it wet. Blended wool felt is a mid-range priced felt. I love to get mine from Benzie Design.
100% wool felt is the highest quality felt available and the price will reflect that. It has a beautiful finish that resists pilling, but also is prone to shrinking if it gets wet. Sue Spargo has a lovely collection of hand dyed 100% wool felt made right in the USA.
All three of these felt types can be used in felt appliqué - it really just depends on your budget and the project you are creating!
Prep your felt fabric.
Depending on what you are creating with your felt, and what type of felt you choose, you will have to prep your felt in different ways. The thing to pay attention to the most is if your felt will be exposed to water, either because it will be washed, or submerged in water to rinse out pattern lines. If it will be exposed to water, you should either use polyester craft felt, or pre-shrink your 100% wool felt or blended wool felt on a gentle machine cycle. Washing will also remove any excess dye from your wool felt. Once you’re done washing and drying your wool felt, simply iron it to flatten it back out and stitch with it as planned. Benzie Design has a great article with tips for washing their blended wool felt.
Transferring a pattern to felt vs tracing felt shapes.
Writing on felt is more difficult than writing on other fabrics because of felt’s fuzzy texture. As a result transferring a pattern to felt with the traditional methods used in hand embroidery can be tricky.
Printable dissolvable stabilizer paper is an option if you use polyester craft felt, or if you pre-shrink your blended wool or 100% wool felt. This way when you rinse out your stabilizer paper, your felt won’t shrink!
If you aren’t comfortable using dissolvable stabilizer paper, transferring your pattern with Saral wax free transfer paper is an option. The impression leaves a chalky outline on your felt which you can stitch over, but be aware it will gradually brush out and fade as you stitch.
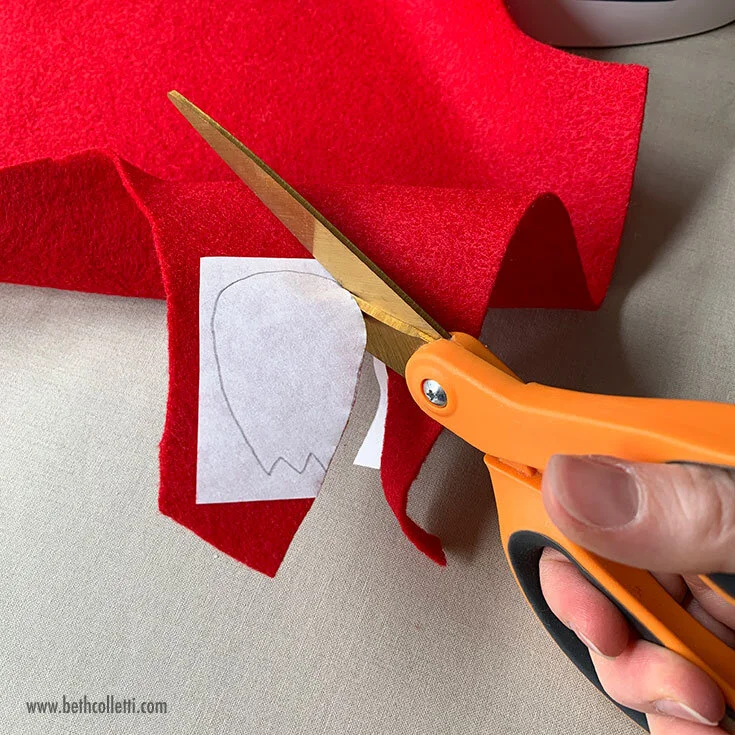
For the above reasons, many felt appliqué patterns rely on cutting out shapes that are traced using the freezer paper method, and details are later stitched on the felt in a more freehand style rather than precisely following a pattern. I cover the freezer paper method in this article.
Whichever method you use for the pattern you choose, be aware of the benefits and limitations of each one.
Choose your needles.
I use a variety of needles for my felt appliqué, as with other embroidery projects. These include a range of embroidery needles for attaching my shapes to their background, a few different sizes of chenille needles for embellishing my felt with perle cotton, ribbon or tapestry yarn, and size 1 milliner needles and size 3 milliner needles for specialty dimensional stitches, such as bullion knots and woven picots. You may also want to consider finer beading needles if you’d like to add beads to your finished felt appliqué.
Lastly, I find it handy to have some straight pins on hand to pin my felt shapes into place before stitching them to the background fabric.
Must-know stitches for felt appliqué.
Once you have your shapes cut out and your design planned, it’s time to attach your shapes to your background fabric. I discuss the two must-know stitches for felt appliqué in this article. You can stitch using a color that blends in with your felt or a contrasting color, depending on the look and style you are going for.
If you are going to further add embellishments to your felt appliqué shapes then I recommend a simple whipstitch with thread that blends with your felt so you don’t draw attention to your stitches. I often use 2 strands of six-strand cotton embroidery floss for my whipstitches. Another option is Sue Spargo’s collection of 100% wool felt and Ellana wool threads which are completely coordinating so the thin wool threads virtually blend into the wool background during appliqué.
Embellish your shapes with a variety of threads.
As mentioned above, your felt appliqué can consist of simple shapes with contrasting threads, or more detailed embellishments that allow you to showcase and experiment with dimensional stitches, a variety of threads, beads, buttons and other accents. (You can see why this method of embroidery is so fun and addictive!) Should you choose to embellish your design, choose a selection of threads with different thicknesses, textures and fibers. Some of these might include perle cotton, tapestry yarn, silk ribbon, or crewel wool thread.
And of course as noted above, adding things like buttons, beads, rick rack and other trims and notions that you might have on hand is a fun way to add texture and variety to your felt appliqué.
Behind the scenes on the Tulip Garden felt appliqué piece
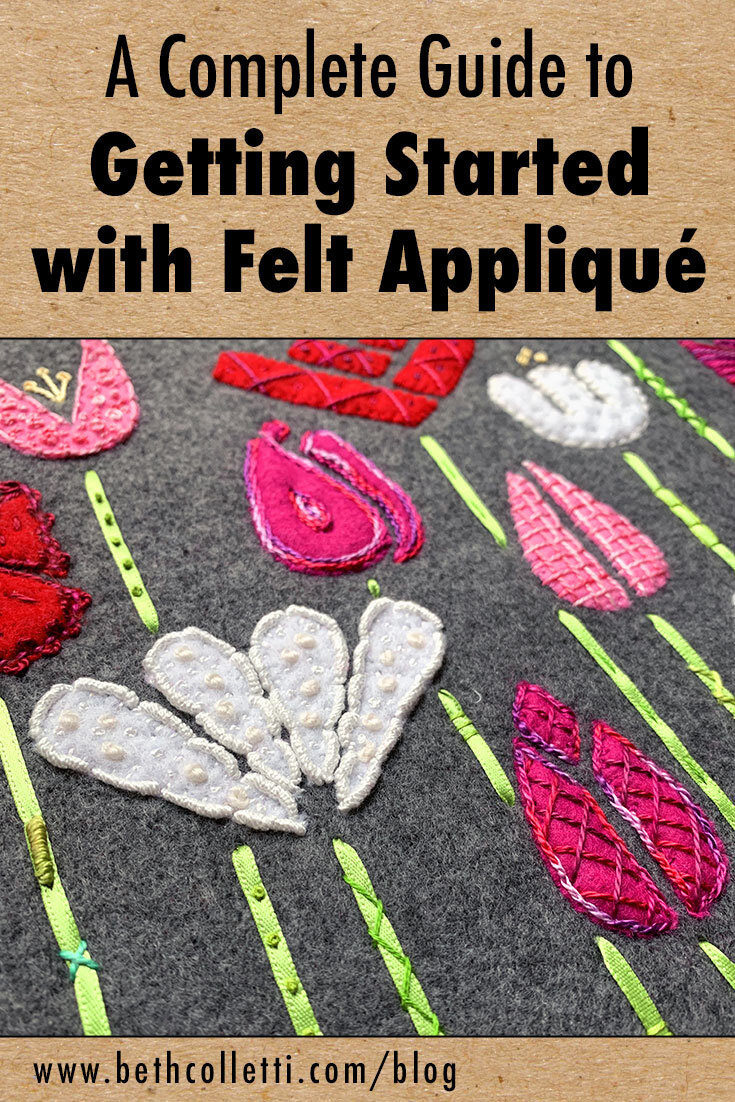
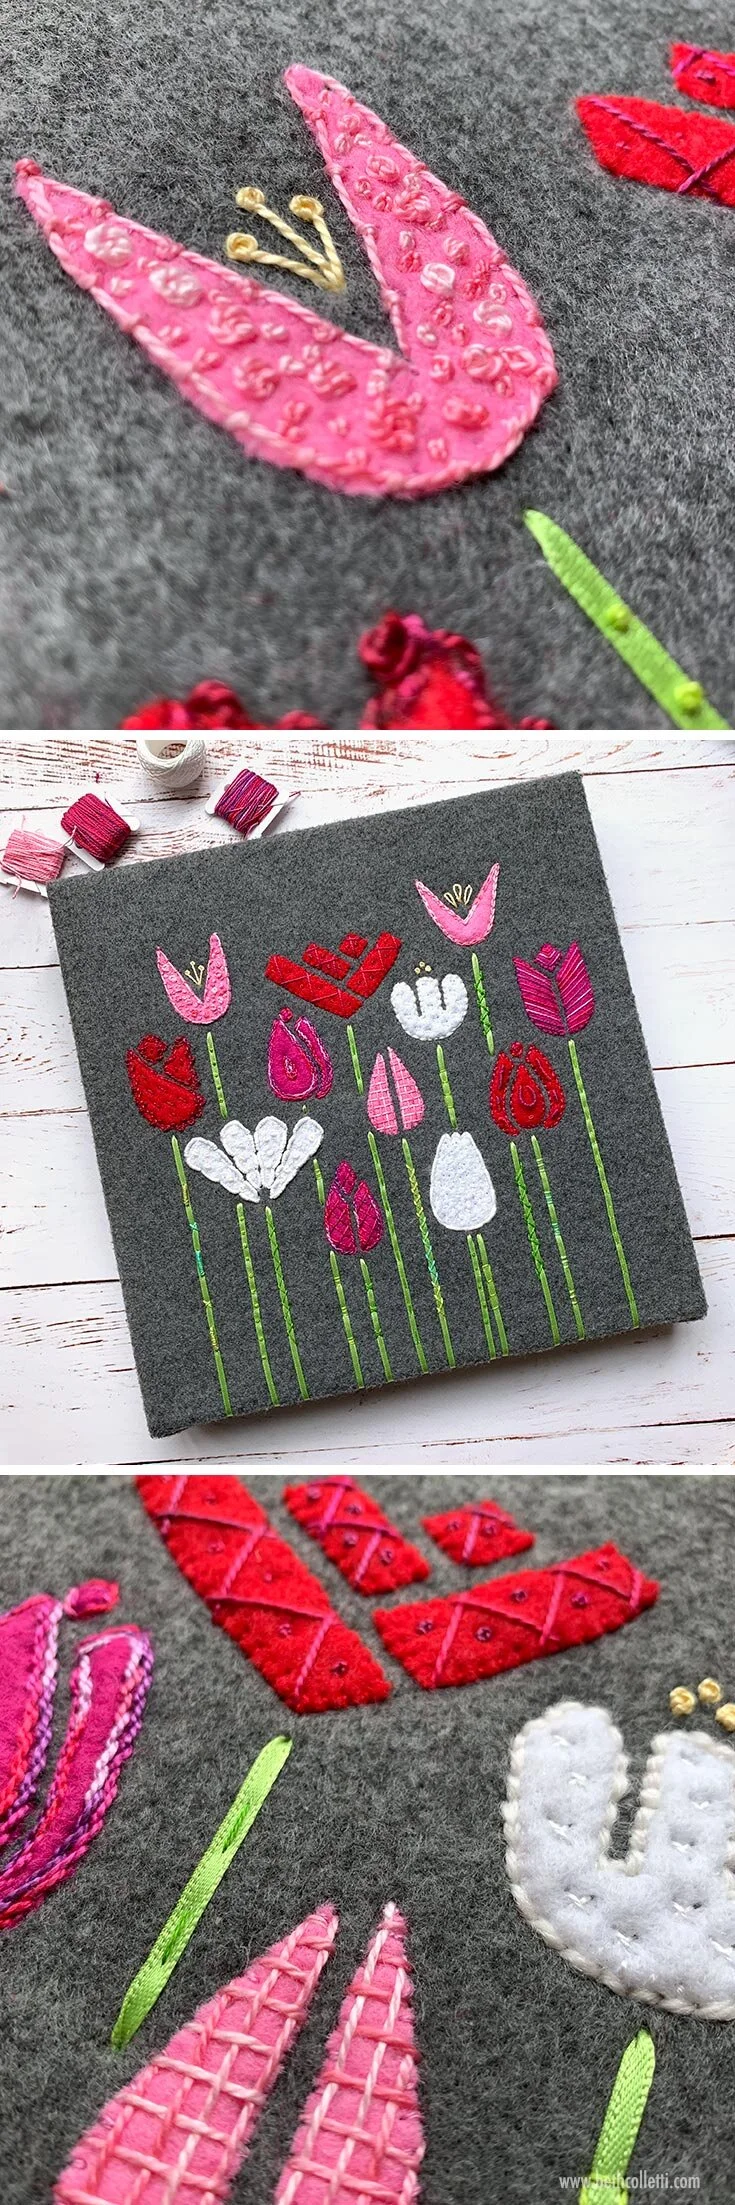
So that’s the scoop on felt appliqué! For the Tulip Garden design I created, I used a combination of craft felt and blended wool felt, stretching my background felt over a canvas that I had on hand before I began stitching. I explain how to stretch fabric over canvas for stitching or display in this article.
Using the freezer paper method, I cut out my felt tulip shapes and pinned them to my background felt once I was happy with their arrangement. Next I stitched them to the background using the whipstitch and 2 strands of coordinating DMC embroidery floss.
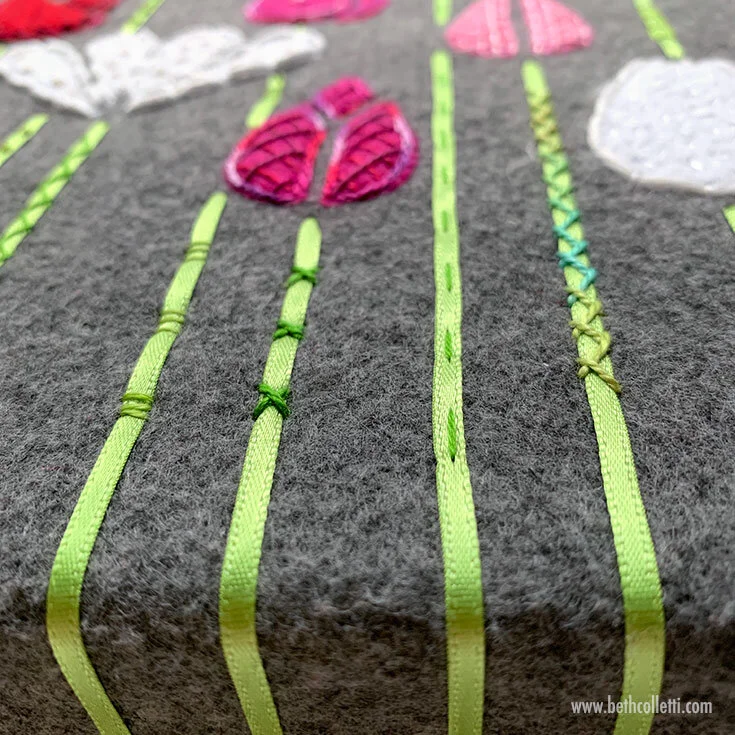
I also had some ⅛” Offray craft ribbon that I wanted to use as stems for my tulips. For these, I threaded a size 18 chenille needle with the ribbon (it’s very important your needle is big enough for thicker threads and ribbons) and stitched it through the canvas and felt.
Next I proceeded to tack down the ribbon with a variety of couching stitches. Virtually any stitches can be used for couching which is what makes this stitch so fun! Some of the stitches I used to couch my ribbon stems in place included bullion knots, cross stitches, french knots, chevron stitches, straight stitches and herringbone stitches.
Finally I moved on to the most fun part of this project: embellishing! Use the embellishing part of your felt appliqué project as a time to try new stitches and techniques that you might not use as often. I primarily focused on outlining my tulips with various stitches such as the coral stitch, chain stitch, split stitch and even bullion knots. Then I used other stitches, such as french and colonial knots, seed stitches, needle weaving and more to add fill textures.
Some resources I used for stitching inspiration include:
