(I’m an Amazon Associate and from time to time I will use affiliate links for products that I love, or that I think you will find useful. Should you choose to purchase with the provided links, I will receive a small commission at no cost to you.)
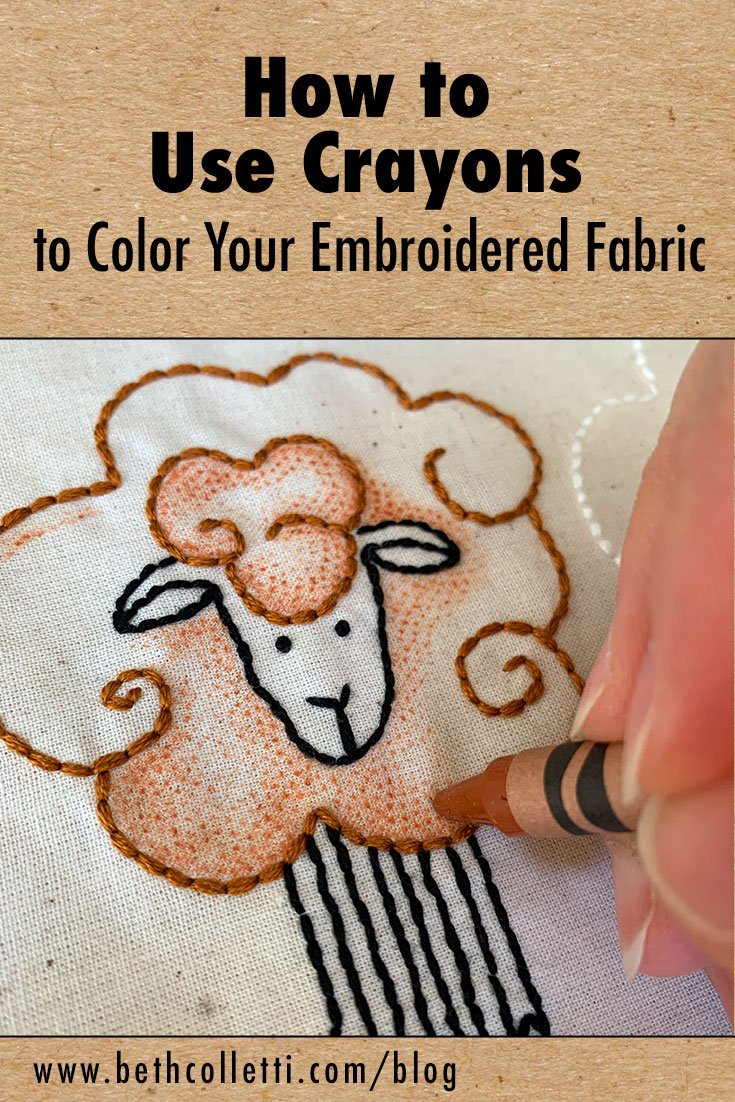
Have you ever felt like your embroidery needed a little something extra? There are SO many fun ways that you can pair hand embroidery with other media. One very simple way to begin is by using regular Crayola crayons to add a pop of color to your design.
This simple coloring method is great for several reasons. First of all, it’s inexpensive and extremely accessible since most people can pick up a box of regular old crayons just about anywhere. It’s also beginner-friendly if you are new to hand embroidery, being a quick and easy way to enhance simple stitches rather than filling shapes with something like the satin stitch. While the adult coloring book trend may have ended, coloring is still a fun way to relax, just like hand embroidery. Putting the two together is double the fun! Plus, it’s a great way to get kids involved in a creative stitching project.
Read on to get tips for coloring your embroidered fabric with regular crayons, plus see an example!
Supplies Needed:
Your finished embroidered fabric (I used the sheep from this pattern for my project)
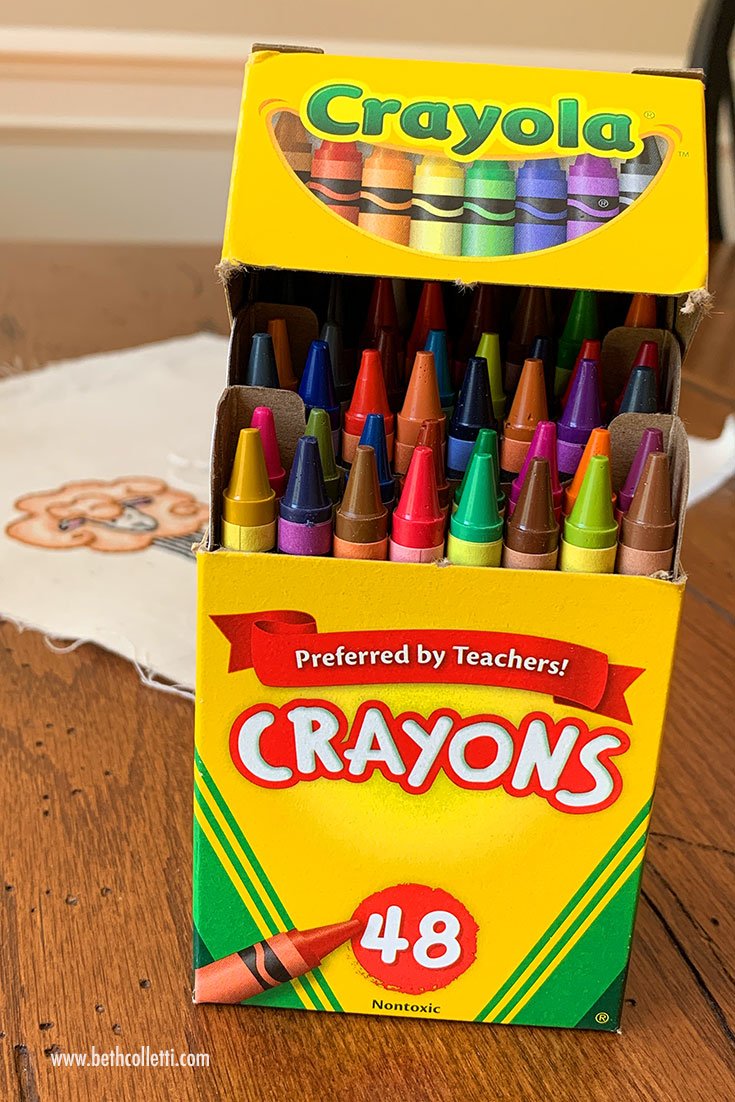
Regular crayons (I used this 48 pack of Crayola crayons, but it is cheaper if you don’t buy it online!)
Blank copy paper (several pieces)
Warm iron (wool setting) and an ironing board
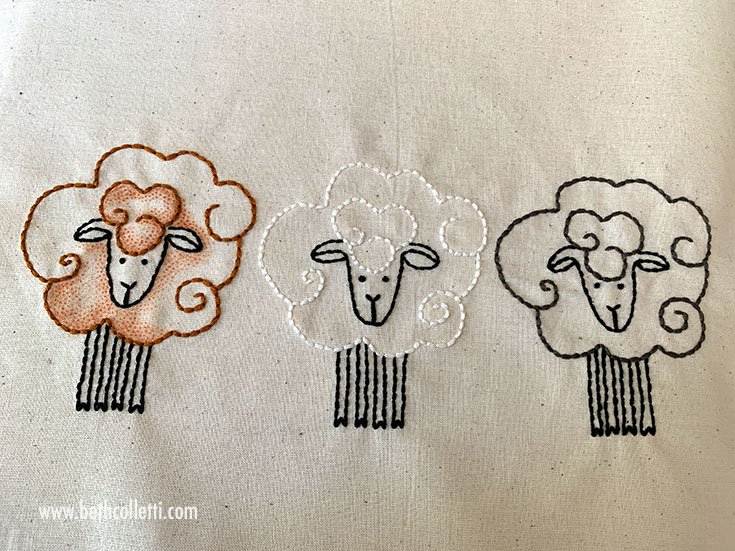
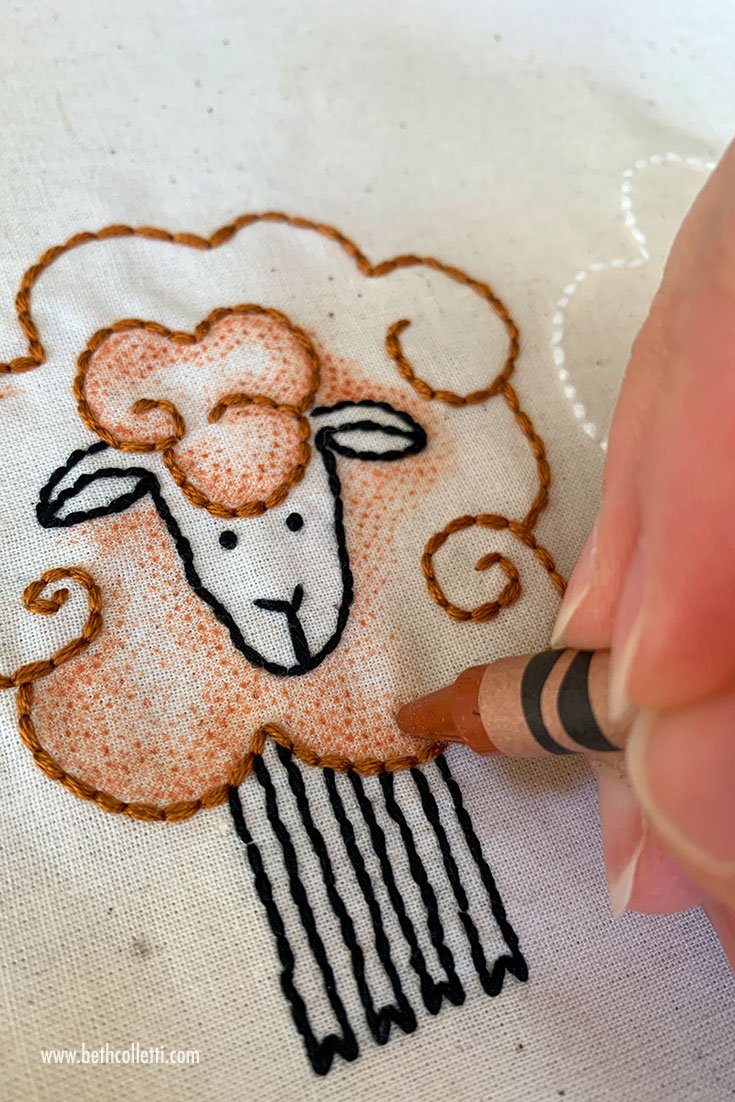
I used crayons to enhance some simple back stitching.
Tips for applying crayons to fabric…
As I mentioned above, using crayons to color your embroidered fabric is super simple, but there are some helpful things to keep in mind.
Regular crayons are NOT permanent. What I mean by that is regular old Crayola crayons are formulated so that they can be washed off of fabric, walls and so on. As a result it’s not recommended that you launder anything that you’ve colored with regular crayons. If you do, you may wash out your color.
Choose your crayons. I used a 48-pack of brand new Crayola crayons so I would have a variety of colors to choose from and the crayons would have nice sharp points. Having sharp crayons will help you to get into any small spaces on your embroidered design. Of course you can use an old pack of crayons too if that’s what you have on hand!
Place your fabric on a nice flat surface. Similar to coloring on paper, you will pick up the texture of whatever you’re leaning on as you color. On my embroidery project I used fusible stabilizer under my fabric and the small dot pattern showed up when I colored. I didn’t mind this texture because of how it complemented the sheeps’ wool in my design, but I probably would have chosen something different if I was going to color something such as flowers.
Test your colors. Once you’ve chosen your crayon colors, test them on the edge of your fabric or on a matching piece of scrap fabric so that you can get an idea of how the colors will look.
How to color on fabric. To avoid dark spots or obvious coloring lines, use a gentle even pressure when coloring your fabric. I found that coloring with my crayons in small circular motions was the gentlest on the fabric and gave me nice coverage.
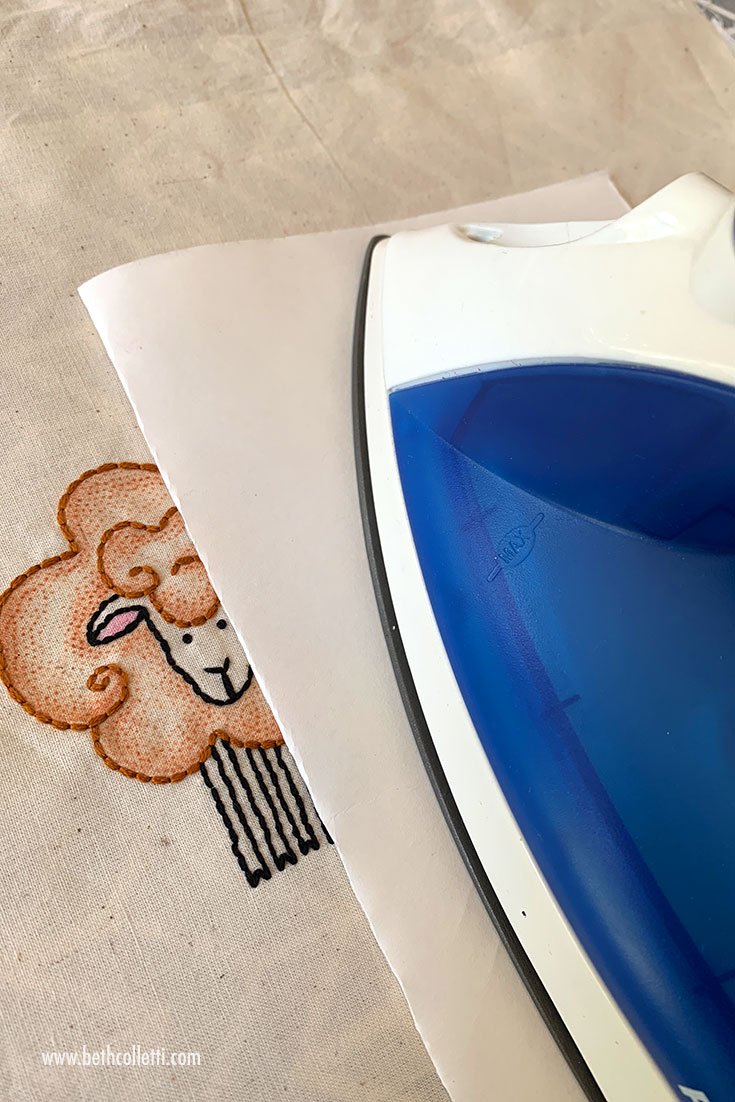
Subtle versus bold color. Coloring with crayons directly onto room temperature fabric will create a subtler color. If you want bolder color, you can press a warm iron to your design for about 5 seconds to heat the fabric and then quickly color the warm fabric. ALWAYS USE A PIECE OF PLAIN COPY PAPER AS A BUFFER BETWEEN YOUR FABRIC AND YOUR IRON WHEN HEATING YOUR FABRIC. This will prevent wax from melting onto your iron!
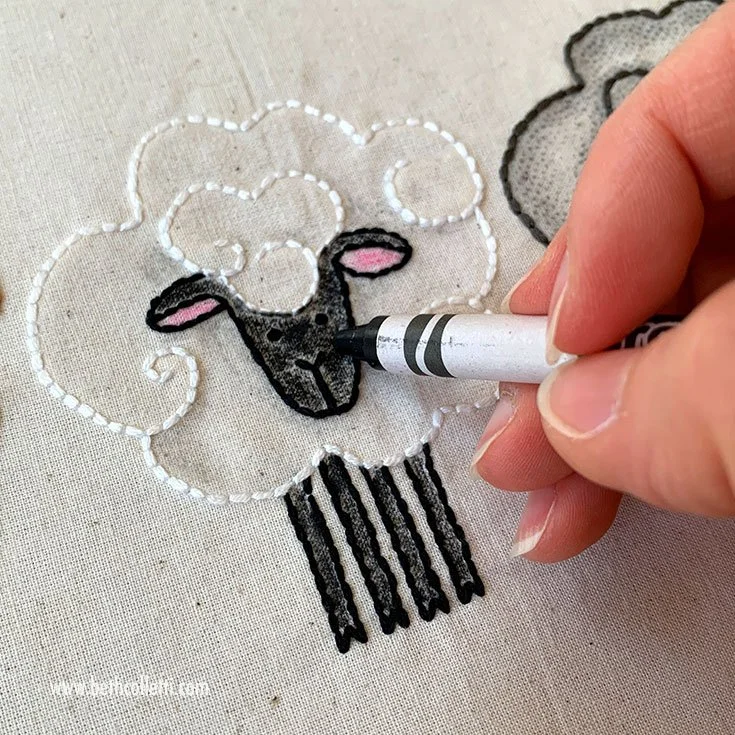
Here I am heating the fabric of the center sheep before I apply the color black to its face and legs.
The black is much richer and deeper when applied to warm fabric!
Use an iron when you are finished. Regular crayons cannot be heat set, but it is always helpful to press your fabric after coloring to draw off the excess wax. When you are finished, your colored areas should feel smooth rather than waxy.
First, place a fresh piece of plain copy paper on top of your design. Then press around your design with your iron. You’ll notice that any heavily covered areas will leave wax on the paper. If you need to repeatedly press your design, make sure to use a fresh piece of paper each time so that you don’t inadvertently transfer the wax from your crayons to other areas of your embroidery.
Use plain copy paper as a buffer between your design and your iron.
Press all around your design to pick up extra wax on the paper. Use a fresh piece of paper each time you press your design so you don’t inadvertently transfer wax back onto your fabric.
Excess wax is left behind on the paper from the center sheep’s black legs.
What if I want my color to be permanent and washable?
If you like the idea of coloring your embroidered fabric, but want to use a method that is permanent and can be laundered, I suggest choosing a permanent option such as fabric crayons, fabric markers, or fabric paint. These mediums are created especially for fabric applications, usually need to be heat set, and can be washed afterwards.
The end result…
I enjoyed coloring my hand embroidered fabric with crayon so much that I definitely plan to use this technique on future projects. On my project I primarily used back stitches with a couple of straight stitches and french knots; adding pops of color with crayons was a wonderful alternative to diving into more complex stitches to fill my shapes. But more than anything else, this project was quick and FUN! It’s been a loooong time since I colored anything with crayons and I was delighted with how my sheep design turned out!
I love my finished sheep!
Need ideas for where to use crayons in your hand embroidery projects?
If you’d like to try this technique but aren’t sure where to use it, try one of these ideas!
Enhance simple stitches. I think this method is at its best when it’s used to enhance a few simple stitches, such as back stitched outlines. Keeping your stitches simple prevents them from competing visually with the few areas you highlight with color.
Pair with a single color thread. Stitching a design in all black (or another single color) and adding a pop of contrasting color with crayons can make for a striking piece of mixed media art.
Create kids' art. Work with a child and give them the opportunity to color in a simple pattern that you’ve stitched. Or allow a child to draw on fabric and embellish it with your embroidery. Click here for more ideas on how kids’ art can inspire your embroidery.
Try freestyle. Draw/color an abstract pattern or geometric shapes on your fabric first and use it as a base for freestyle stitching. Remember not to transfer any embroidery pattern that will need rinsing as you might cause your colors to fade.
