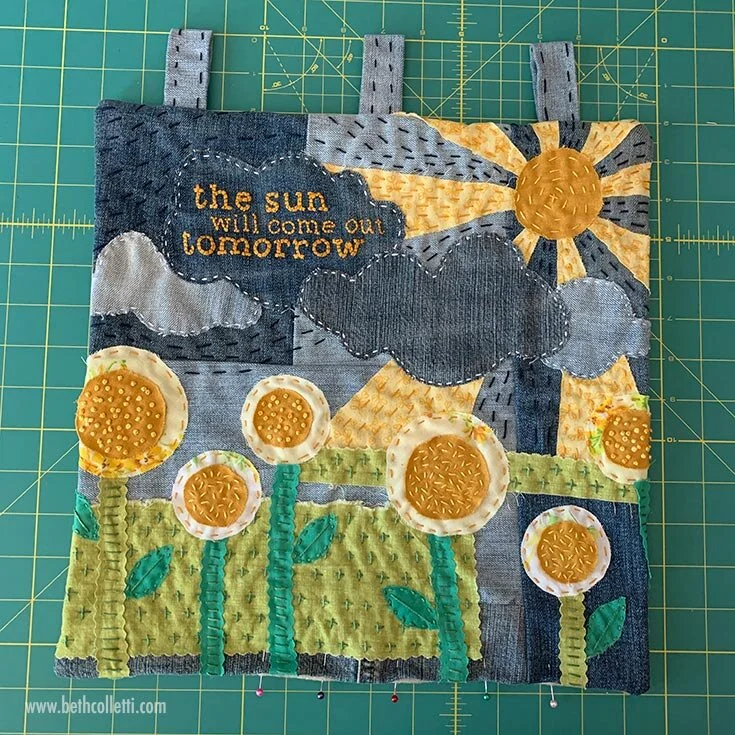
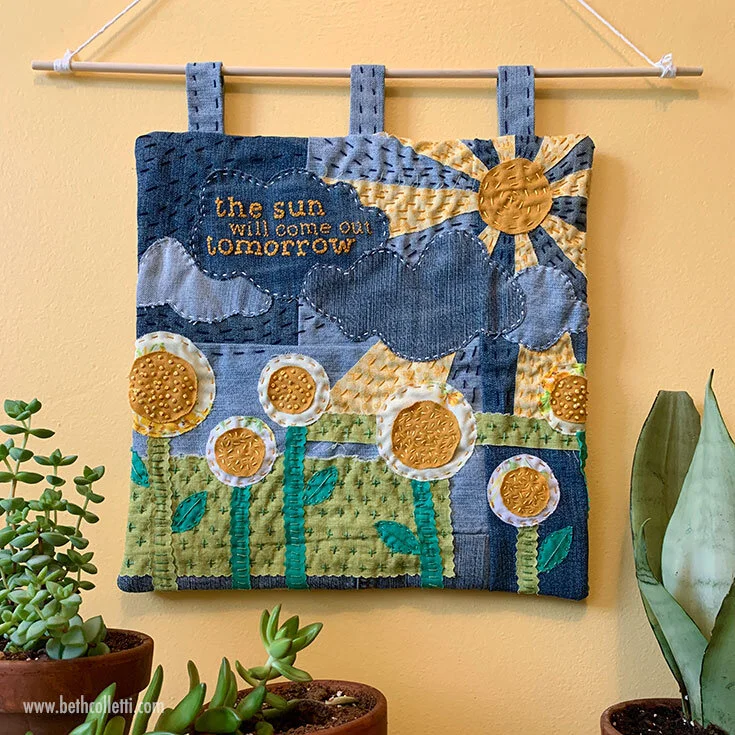
If you’ve joined me for the Stitch-a-Day May boro stitchalong and are making a wall hanging, you might be wondering how to best display your boro-inspired art. Here is a quick and easy tutorial that doesn’t require a hoop, and can be adapted to any number of embroidery projects!
Supplies Needed
Finished boro project (or other embroidery project)
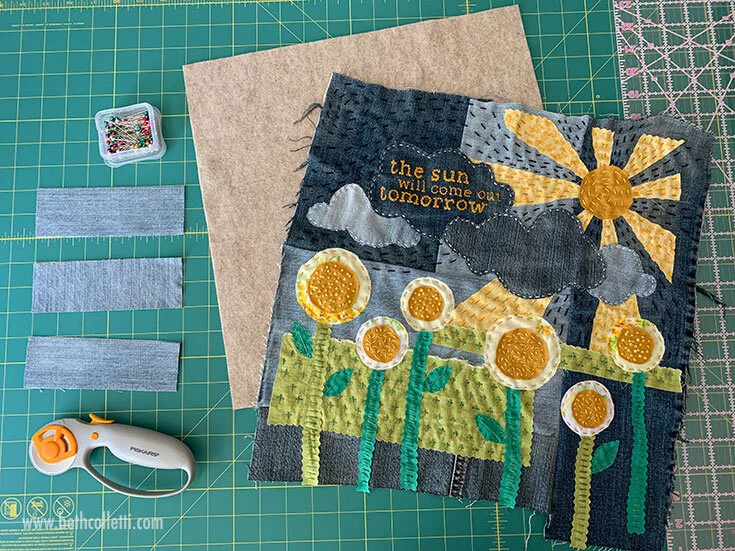
A piece of fabric to use for backing (to protect your stitches - I used felt)
Ruler (I prefer an acrylic quilting ruler)
Straight pins
Thread of your choice
Needle to work with your thread
Rotary cutter or sharp fabric scissors
Extra fabric for loops
A dowel
A long piece of twine or string for hanging
A sewing machine (this is optional as you can also hand sew your project - see Steps 2 and 3)
Optional ribbon, tassels or other decorative elements to add to your wall hanging
Step 1 - Prepare your loops for hanging.
Because I used denim for my boro project, I figured its heavy weight and stiffness would hold it’s shape well when hanging from just three loops at the top of my art. If you have used a lighter weight fabric for your project and are concerned about it flopping or folding, consider using more loops along the top length of your artwork.
To make my loops, I cut three pieces of denim fabric sized 2x6 inches. You can use another type of fabric for the loops if you’d like; I chose denim to match the rest of my art. You can also make the loops a different size depending on the look you’re going for. And if you do not want to sew loops, you can use yarn, twine or another material - it all depends on your personal preference. Just make sure to cut each of your loops the same size.
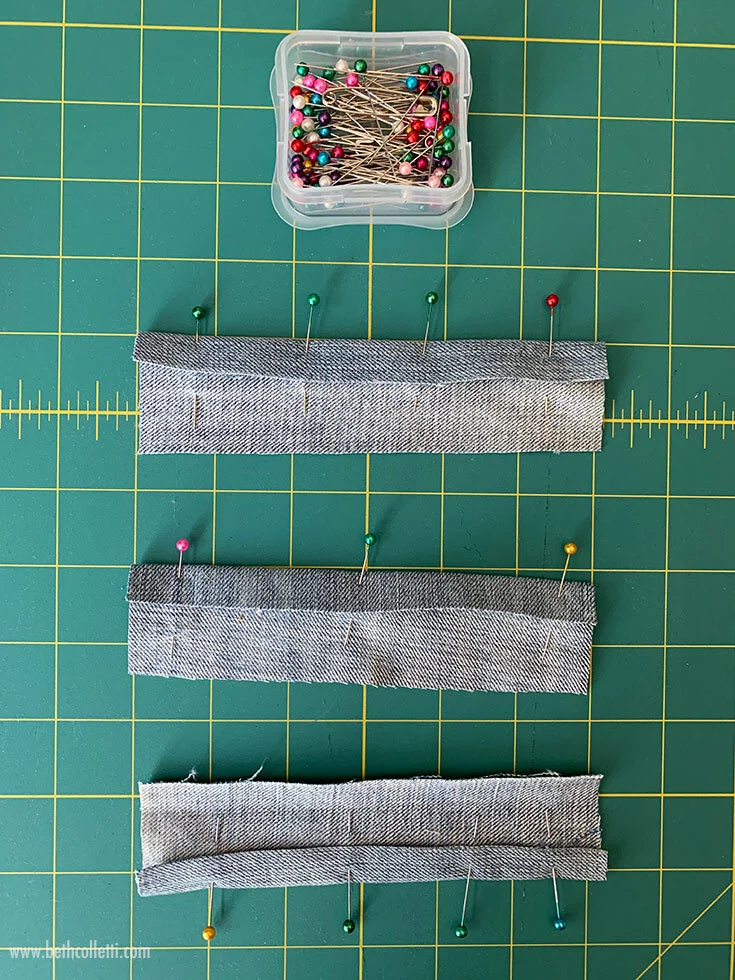
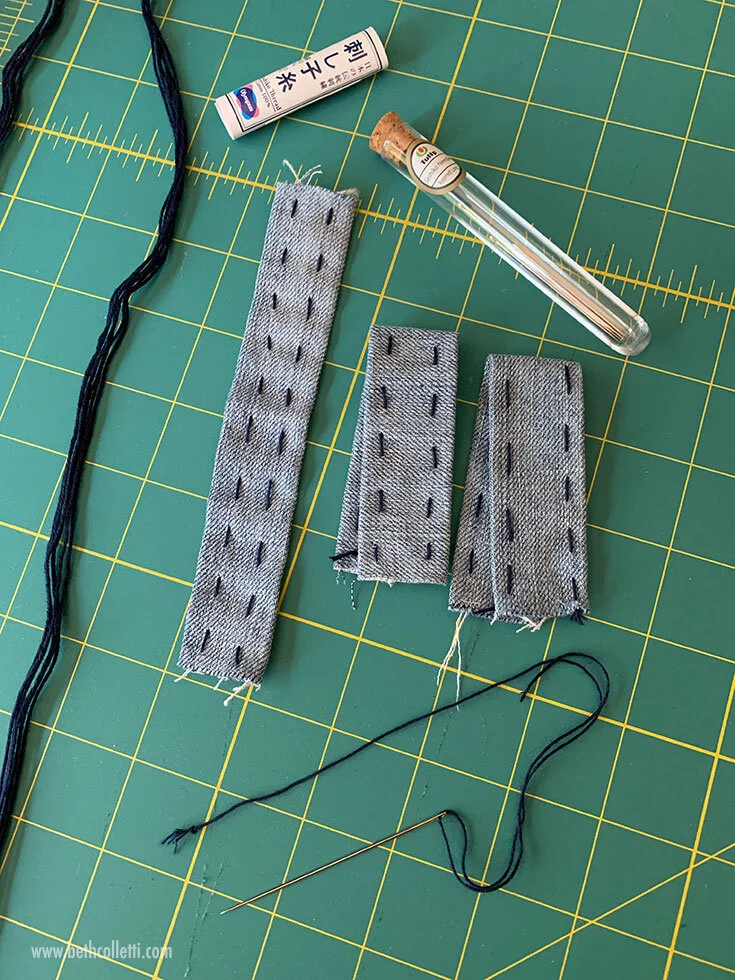
For my denim loops, I folded ½ inch of the 2x6 inch fabric over each of the long sides and pinned it in place, leaving me with a strip of fabric that was 1 inch wide and 6 inches long. Next I hand sewed a running stitch along the 6-inch-long edges to secure the raw fabric. I chose to stitch with Olympus Sashiko thread on my loops to match some thread in my project. You can also machine sew the edges of your loops if you prefer.
To continue, I folded my strips of fabric in half lengthwise with the right side facing out and the raw edges at the short sides together. My final loop, folded in half, was about 1 inch wide and 3 inches long.
Step 2 - Cut your backing fabric.
I wanted my finished boro project to be 14x14 inches square so I designed it with some extra fabric on the edges, knowing I’d be hiding those on my finished design. I also decided I wanted to machine sew my backing to my boro project. So I cut my felt backing fabric to be 14.5x14.5 inches square (this included a ¼ inch seam allowance on all sides.)
Note: If you don’t have a sewing machine, you can hand-sew your backing fabric to your finished boro art using a blanket stitch. See step 3 for more details.
Step 3 - Pin your fabric pieces together for sewing.
If you are machine sewing your project together, follow these steps:
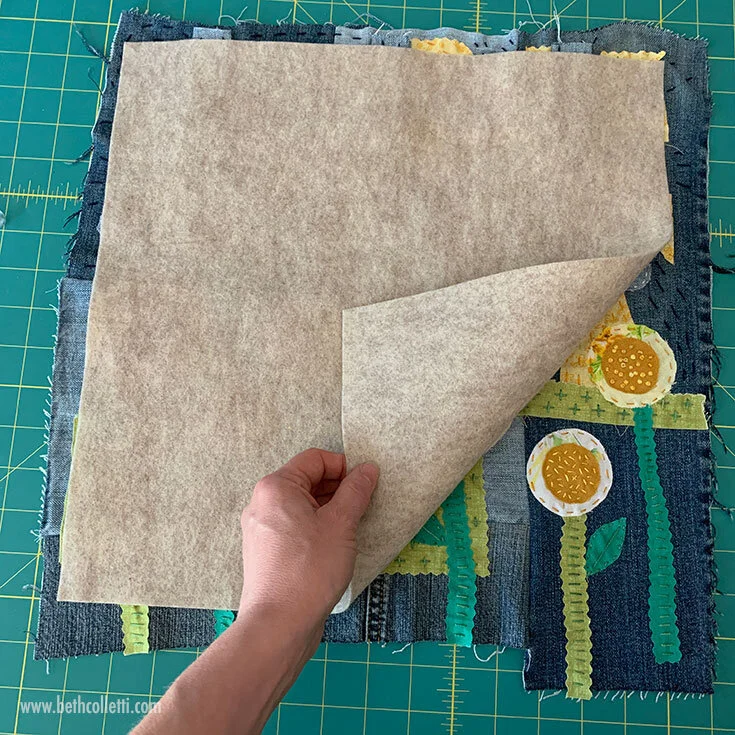
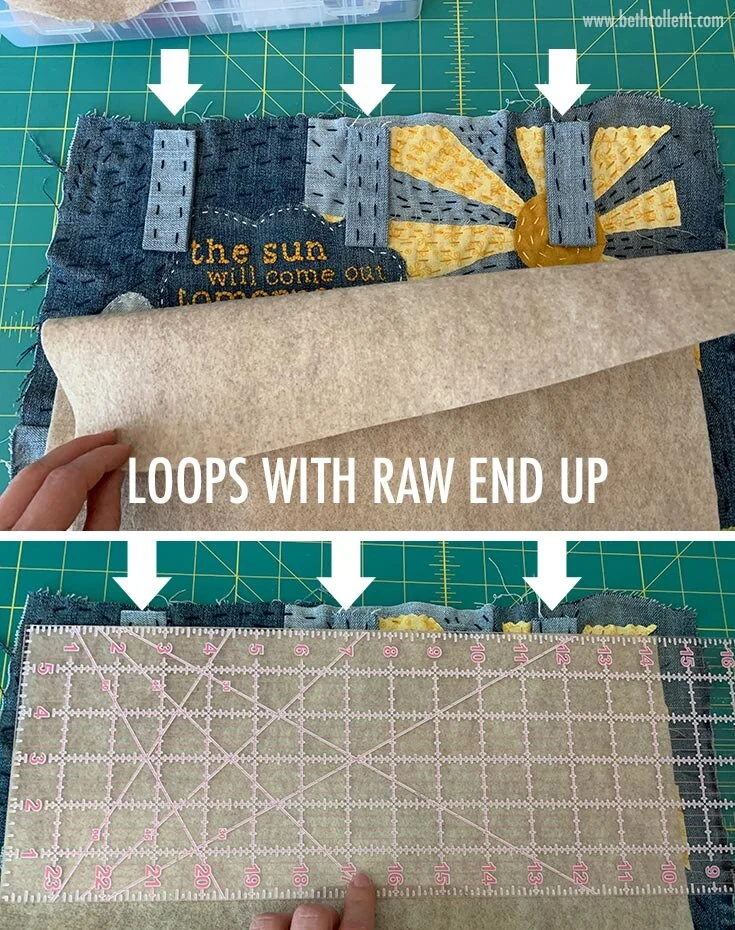
Once I cut my backing fabric to size, I laid out my boro art with the right side facing up and then put my backing fabric on top of it with the right side facing down toward my art. Before I pinned the pieces together, I took each loop and decided where along the top I wanted to attach it. I found using a ruler was helpful and positioned one loop in the center of my art, and the other loops about two inches from each edge.
Each loop should sit between your two pieces of fabric with the open, raw edge of the loop pointing up and the closed end of the loop pointing down. Keep in mind that we will machine sew three sides of our art, and then turn it right-side out before finishing the last edge. I positioned my loops so about ¼ inch of their raw edges were sticking out beyond my backing fabric so they would be secure when I turned the project right-side out.
Once I had my fabric and loops in a position I liked, I inserted a pin through each loop and the front and back fabric. Then I pinned all my edges so the fabric didn’t shift as I sewed. Finally I machine sewed the two sides and the top of my project using ¼ inch seam allowance. I also sewed about three inches from each corner of my project’s bottom edge, leaving an eight inch opening through which I could turn my project right-side out. Move on to step 4 to continue.
If you are hand-sewing your project together, follow these steps:
Once you cut your backing fabric to size, lay out your art with the right side facing down. If you have any raw edges that you want to hide, you’ll need to fold these over the back - an iron may help to create a crease. Follow these same steps for your backing fabric.
Once you have your raw edges folded in on both pieces of fabric, place them on top of one another with the wrong side facing the wrong side. Pin all the edges together except for the top.
Before pinning the top, take each of your loops and tuck them between your two pieces of fabric with the open, raw edge of the loop hidden about ¼ inch down between your fabric. The closed end of the loop sticking up above the rest of your project.
Proceed by pinning the top edge of your art, taking care to pin each loop in place. Your art should be facing right-side out with all raw edges hidden at this point. Finish by using the blanket stitch to sew around all four edges of your artwork, securing the edges and loops in place. Move on to step 5 to continue.
Step 4 - Turn your project right-side out and stitch the bottom.
After machine sewing three of my project’s edges, I turned my project right-side out through the opening I left in the bottom. My top and sides were now secure, the loops were sewn in place and the raw edges of my project hidden.
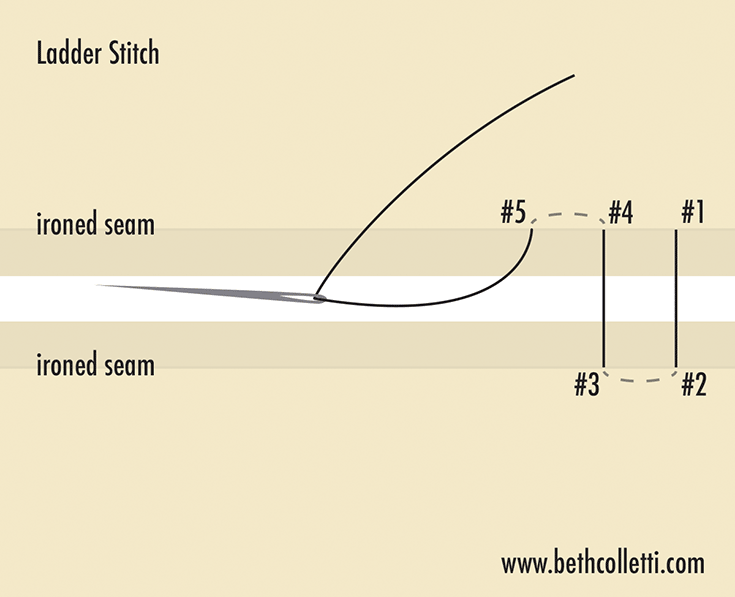
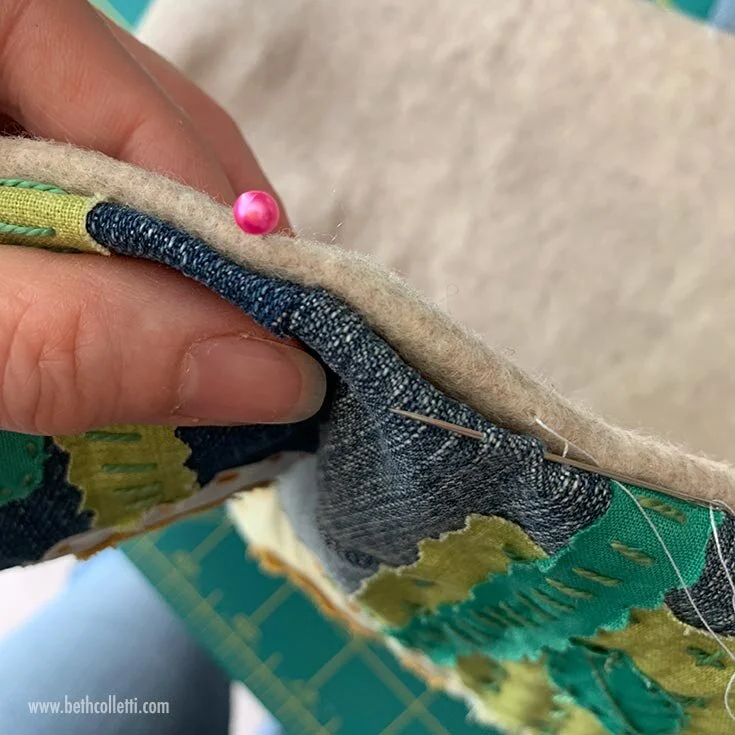
Next I proceeded to fold the remaining raw edges of the bottom of my piece (both the front and back fabric) toward the inside of the “pocket” I created and pinned them together (you can iron the seam if necessary). Finally, using a small embroidery needle and fine cotton thread, I stitched the bottom of my project closed using a ladder stitch, hiding the stitches nicely.
Step 5 - Attach a dowel and string for hanging.
Since my finished sewn art was 14x14 inches wide, I cut a ¼” round dowel 20 inches long and sanded the tips to make sure they were smooth. You can use a thicker dowel if you desire, and also paint or stain the wood for a different look.
Finally I cut a 36 inch length of white cotton yarn for hanging. You can make your yarn or twine longer or shorter as desired. After I positioned the dowel through my loops, I wrapped the yarn (about five times) around each edge of the dowel and tied it in place. Voila! Your boro-inspired art is ready to hang or gift!
Although I didn’t add any other decorative elements to my hanging, you can always add ribbon, tassels or chunky yarn to the bottom if you’d like. Just do a quick search on Pinterest for ideas.
