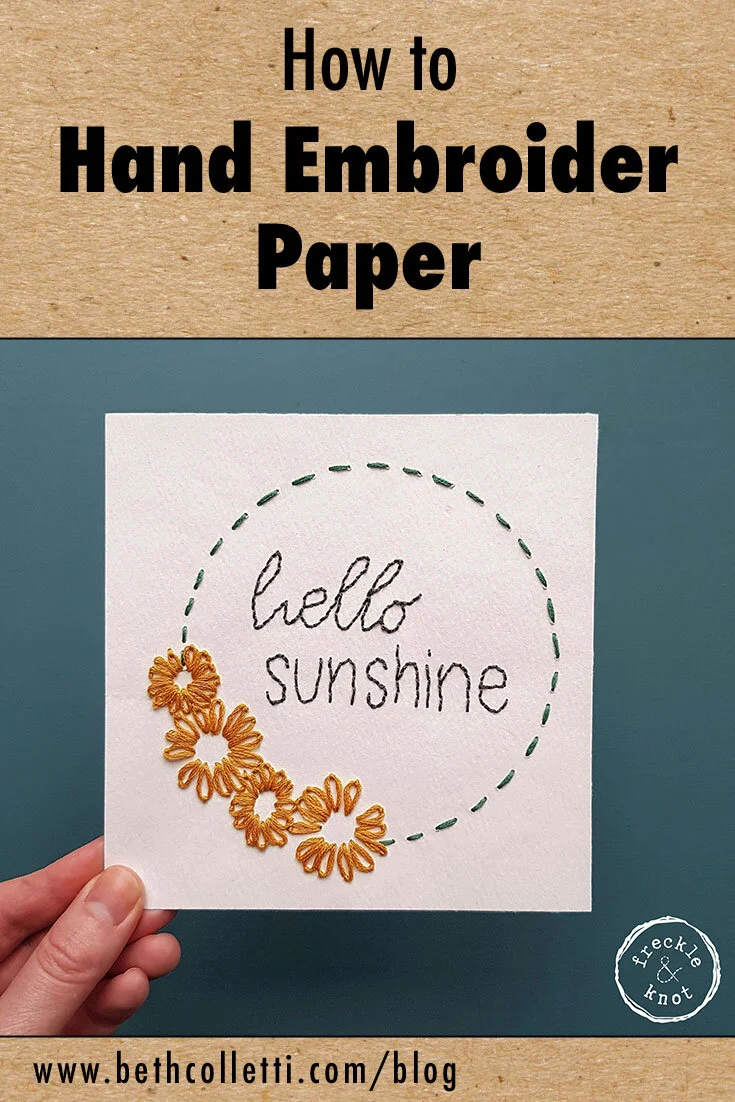
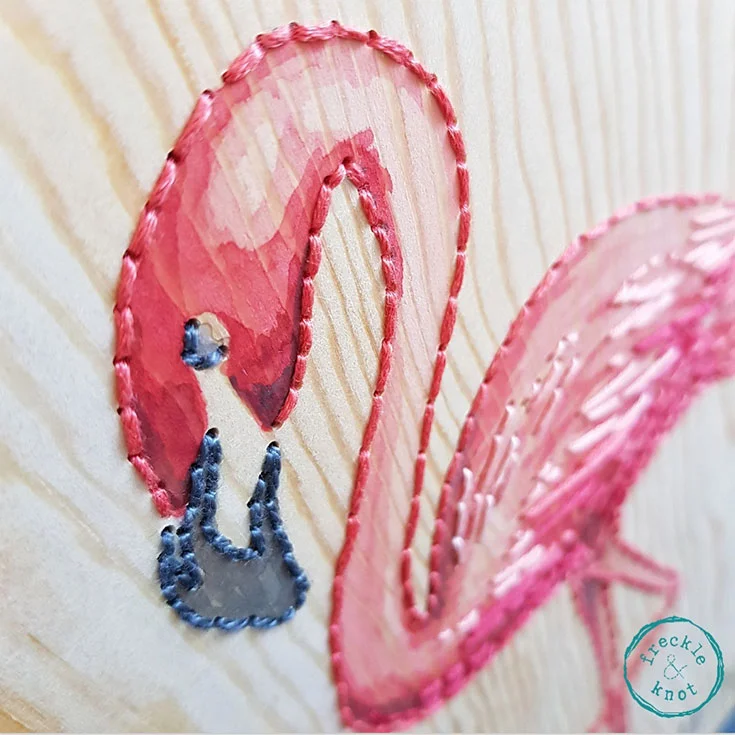
One thing that is fun about embroidery is that you don’t need to be limited to stitching onto fabric. In fact, you can stitch into anything that has holes in it. Yep - metal, wood, plastic, paper and so much more! (Just check out this Pinterest board of the mediums people have stitched on!)
One of the amazing artists I’ve come across who does most of her stitching on anything but fabric is Beth of Freckle and Knot. You can purchase her work from her shop, and even have a unique custom piece created!
Not only does Beth give reclaimed wood new life by decorating it with thread and paint, but she also embroiders paper and has graciously shared a tutorial of her process on card stock. Give it a try with your own card design and stitch up something seasonal to frame or gift!
Supplies Needed
Paper template of your design or sketch
1 sharp needle
Card stock, 190gsm in your choice of colour (the thicker the card, the more difficult to pierce. Paper is too thin.)
Scissors
DMC Floss
Washi tape
Pencil (optional)
Rubber eraser (optional)
Step 1
To secure the template to the piece of card, create 4 loops from the washi tape. Cut 4 pieces of tape, about 1-¼ inch (3 cm) long, then overlap each end of the tape back on itself with the sticky side facing outwards. Place each looped piece of tape on the corner of the piece of card. Carefully lay the template on top of the piece of card.
Step 2
Use the sharp needle to pierce holes evenly along the lines of the template. Be careful to keep your fingers out of the way of the needle and to not pierce holes too close together as they will rip when sewing.
TIP: I use one hand to hold one side of the card upwards at the same time as keeping the heel of my other hand down on the other side of the card whilst piercing the card. This helps to create space for the needle to go into, making piercing the card easier.
Step 3
An alternate method of creating a design on the card is to draw it with pencil, pierce the card as in Step 2, and then rub out the pencil.
Step 4
Thread your needle and start sewing! In this example, the wreath is created by a simple running stitch and the flowers by using a lazy daisy stitch. Be careful to not pull the thread too strongly as the card could rip. Secure the thread at the back by knotting the thread once to keep the back as neat as possible.
Step 5
For any lettering, use an evenly spaced running stitch from the first letter through to the final letter, then reverse the running stitch to fill in the gaps. By using this running stitch rather than a backstitch, the back of the piece is neater.
Embroidering on a new medium opens the door to so many possibilities! What will you create with embroidered paper?
Beth lives in the East Midlands of the UK with her husband and two young boys. She loves nature and is greatly inspired by the English countryside. She is passionate about reclaiming unloved wood and creating beautiful fibre art, adorning the wood with embroidery of nature’s details.
When not spinning the plates of family life and making, she can be found pretending to be a runner or eating a sneaky brownie. Check out her Instagram page @freckleandknot or her Etsy shop freckleandknot.
(I am an Amazon Associate and from time to time will use affiliate links for products that I love, or that I think you will find useful.)


