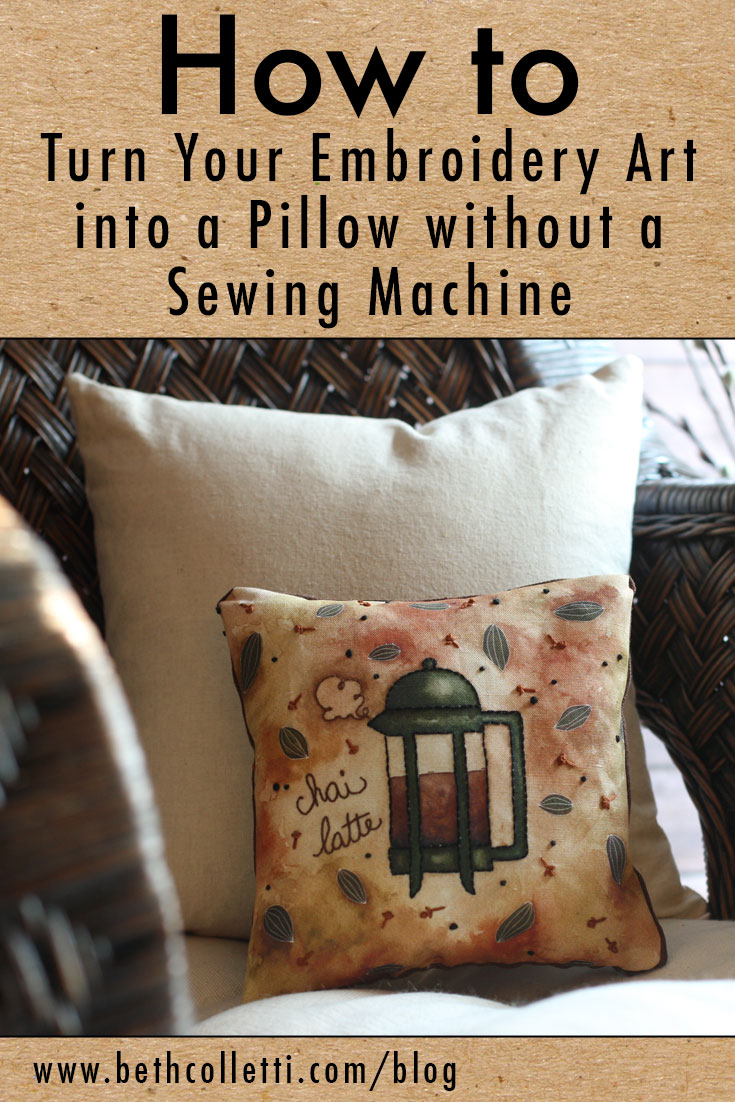
I love seeing what customers create with their embroidery craft kits. As I mentioned in my previous post, your embroidered art doesn’t need to live in its embroidery hoop unless you want it to. One of the most popular ways people like to finish off their embroidery is by turning it into a pillow. These are just a couple customer projects that have been shared with me and I love how they’ve turned out!
I love seeing how people get creative with my embroidery patterns and kits!
No machine needed
Now if you are thinking this is impossible because you don’t have a sewing machine, I’m going to show you a very easy way you can make a little pillow from your embroidery project with just a few supplies and your iron.
Supplies Needed
Iron
Ironing Board
Embroidery needle
6-strand embroidery floss color to match your pillow
Straight pins
Finished embroidery project
Fabric for the back of your pillow, cut to match the size of your embroidery art.
Step 1 - Iron your project
Now I decided I was not going to wash this pillow, therefore, I simply embroidered my kit according to the instructions. Note: if you decide you want to throw your pillow in the wash from time to time, it’s important that you wash and dry your fabrics before embroidering or assembling them because some shrinkage will occur.
I chose a dark brown linen to use for the back of my pillow since it matched the Chai Latte embroidery kit and I cut it to match the size of my embroidered fabric. To prep both my embroidered art and the brown linen fabric for the pillow, I ironed each of them. Should your embroidery kit fabric need ironing, turn it over so that you are ironing the reverse of the fabric and stitches. A medium heat setting with steam is recommended for this linen-cotton blend.
Step 2 - Iron on your HeatnBond® tape
Once my fabrics are ironed, I laid out my embroidery art with the right side up. Next, I cut some HeatnBond® tape for three of the four edges of my square and ironed them in place. Each of these strips should be ironed according to the HeatnBond® instructions so they bond to the edges of the embroidery art.
Once the tape set on each of the three sides, I gently peeled off its backing, exposing more adhesive. Next I placed the fabric for the pillow back on top of the front of the embroidered art, making sure the sides were properly lined up. Following the instructions on the HeatnBond® packaging again, I ironed the tape a second time, now bonding the two pieces of fabric to each other.
Note: It’s important to make sure the tape cools off and has set properly before adjusting the fabric. Check to make sure the tape has properly bonded to each piece of fabric. You may need to iron certain areas again if they didn’t receive enough heat.
Step 3 - Stuff your pillow
Once my two pieces of fabric are bonded together, I’m looking at the wrong side of the fabric. Don’t worry! The pillow is now inside out, but I’m going to flip it around through the open side. This ensures that the no-sew seams are hidden!
After I turn the pillow right-side-out, I stuff it with poly-fil according to how soft or firm I want it to be.
Step 4 - Sew the last seam closed
Finally it’s time to sew the last edge together. Using my straight pins, I tuck the raw edges of the fabric inside the pillow and pin them together. Note: you may want to iron the folded-over edge to give yourself a nice crisp line to follow when stitching.
Then I thread my embroidery needle (using extra brown floss from the kit) with a generous 6-strand length and double knot one end. I’ll be using a hidden ladder stitch to close the open edge - it’s a pretty neat stitch!
I start at one end of the pinned fabric and bring the threaded needle up through the inside seam of the pinned fabric (see #1 in diagram below). This way my knot is hidden on the inside of the pillow. I then put the needle back in the seam at #2 directly across from where I came out at #1, and make a small stitch underneath the creased edge, coming out at #3. I try to keep these stitches even, about ¼” in size, and running neatly along the seam.
After coming out at #3, I go directly across the opening again with my needle and insert my pin at #4. I repeat the process of making a small ¼” stitch along the crease on the opposite side and come out at #5.
I repeat this process, moving from right to left across the open edge of my pillow, removing pins as I work, and pulling the floss tight so there are no gaps. Once I stitch the length of the open edge and get to the other corner of my pillow, I bring the needle through the outside of the fabric and create a small loop, putting the needle through the center of the loop so a knot is formed. I like to reinforce this knot a couple times before clipping off the thread. The result is a hand sewn edge that’s barely visible.
My pillow is now ready for display!
I’d love to see photos of your pillow projects whether you use a no-sew method, or create something on your sewing machine! Share them in Facebook or Instagram and tag me in what you create, or send me an email.
(I am an Amazon Associate and from time to time will use affiliate links for products that I love, or that I think you will find useful.)


