(From time to time I will use affiliate links for products that I love, or that I think you will find useful. Should you choose to purchase with the provided links, I will receive a small commission at no cost to you.)
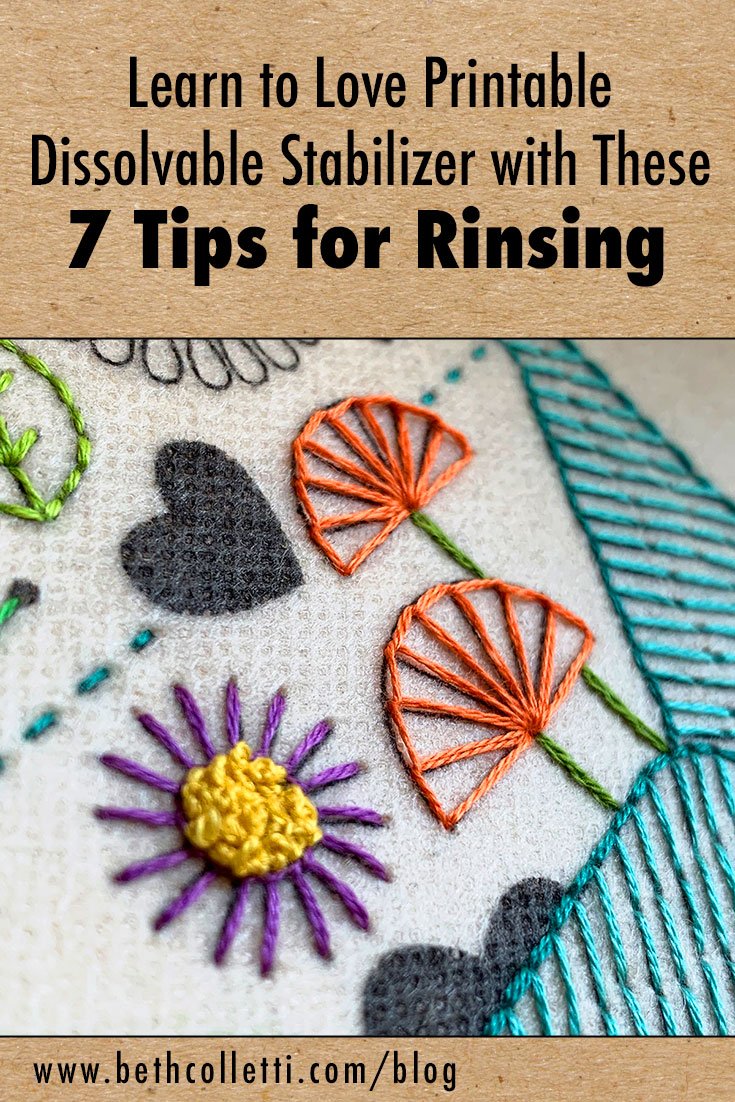
If you have a love/hate relationship with printable dissolvable stabilizer, you’re definitely not alone! On one hand, this method of transferring embroidery patterns is second to none when it comes to capturing any design with a lot of details. On the other hand, sometimes people struggle to rinse out their stabilizer well when they are done stitching. This problem can be compounded by using knock-off brands.
If you’ve had problems with dissolvable stabilizer rinsing out poorly, here are some tips that you can follow which will help make the rinsing process successful!
Tip 1 - Purchase a good brand of printable dissolvable stabilizer from a reputable source.
Printable dissolvable stabilizer is typically more expensive than other transfer methods. If I find a cheap stabilizer product that I’ve never heard of, I steer clear of it because it could end up costing me in time later if it ruins my embroidery.
The products I use most often, and have had success with, are Pellon Stick-N-Washaway, Sulky Stick 'n Stitch™ (8-1/2'' x 11'') and Sulky Sticky Fabri-Solvy Stabilizer (White - 8.5'' x 11''). Note that these two Sulky items are actually the same product, though are packaged differently for different markets. All products work the same for transferring embroidery patterns, are printable, have adhesive, and rinse out in water when you are finished stitching. If you aren’t feeling great about getting them from unknown sources on Amazon, they can be purchased directly from Sulky’s website or at craft stores such as Joann.com.
Tip 2 - Test a small square.
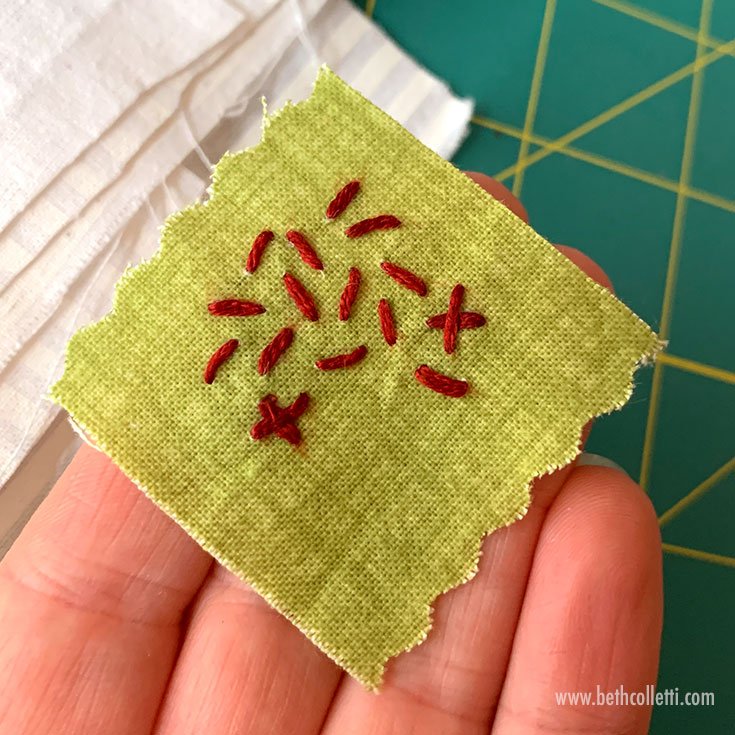
One of the best things you can do before you begin transferring your embroidery pattern is to test a square of your stabilizer on some scrap fabric. Simply cut out an inch square (about 2.5 cm square) of stabilizer, adhere it to some fabric, and add stitches to it. Then rinse it out using the tips below to see how it does. You’ll feel confident proceeding once you’ve tested it out. If you happen to ever have issues with the stabilizer you purchase, contact the manufacturer directly to let them know, and seek a resolution.
Tip 3 - Trim off excess stabilizer.
Once you are done stitching, but before you begin rinsing, trim off the extra adhesive stabilizer around the edges of your embroidery. (Be careful not to trim your fabric or stitches.) This eliminates some of the work during the rinsing process, making it go more quickly.
Tip 4 - Actively rinse your fabric rather than soaking it.
I find my kitchen sink is the best place to rinse my embroidery because I like to set my finished embroidery in a large, clean bowl and then run cold water over it with my kitchen faucet sprayer. Once the fabric is nice and wet, I lift it out of the bowl and use the sprayer to focus on each section of the embroidery, spraying away any stubborn bits of stabilizer. Holding my fabric above the bowl and sink, allows the sticky remnants of the stabilizer to run off and go down the drain.
If you let your fabric soak in a bowl to dissolve the stabilizer, it can cause the sticky residue to stay on your thread and fabric. If you do not have a faucet sprayer in your home, gently agitate your embroidery in a bowl of water, changing the water several times so the residue does not stay in the water.
Tip 5 - Use a cotton swab or your finger on stubborn bits of stabilizer.
If you can’t get all the stabilizer out from under certain stitches, use a cotton swab to gently nudge out the bits that are left. Sometimes I will also use my fingernail along the edges of stitches. Of course you want to be very gentle when dealing with delicate stitches such as a spider wheel rose, but otherwise I find the stabilizer rinses out well when using a combination of sprayer and cotton swab or fingertip.
Tip 6 - Be patient.
It can take a few minutes to rinse your stabilizer out well, so take your time and focus on being thorough. As I rinse out bits of stabilizer and they run into my bowl, I will dump out the water to get rid of residue and often do this five to seven times depending on the complexity of the stitches and how much stabilizer I’m rinsing out.
Tip 7 - Double check your embroidery while it’s still wet.
Once you are happy with your rinsing, lay your embroidery on a clean towel and gently blot out the extra water. Give it a good check for any bits of stabilizer you may have missed; it’s always easier to remove the stabilizer when it’s wet than when it dries.
I hope these tips make the process of rinsing out stabilizer a little less scary for you! This process may seem like a lot of work, but if you have a complex pattern, printable dissolvable stabilizer really is a great way to transfer your pattern. I find it’s worth the extra work at the end because it allows me to stitch more detailed patterns really nicely. And if I used another method like a transfer pen on a complex pattern, tracing all the tiny lines would definitely take me way more time up front!


