(From time to time I will use affiliate links for products that I love, or that I think you will find useful. Should you choose to purchase with the provided links, I will receive a small commission from the companies I work with at no cost to you.)
What is Sashiko?
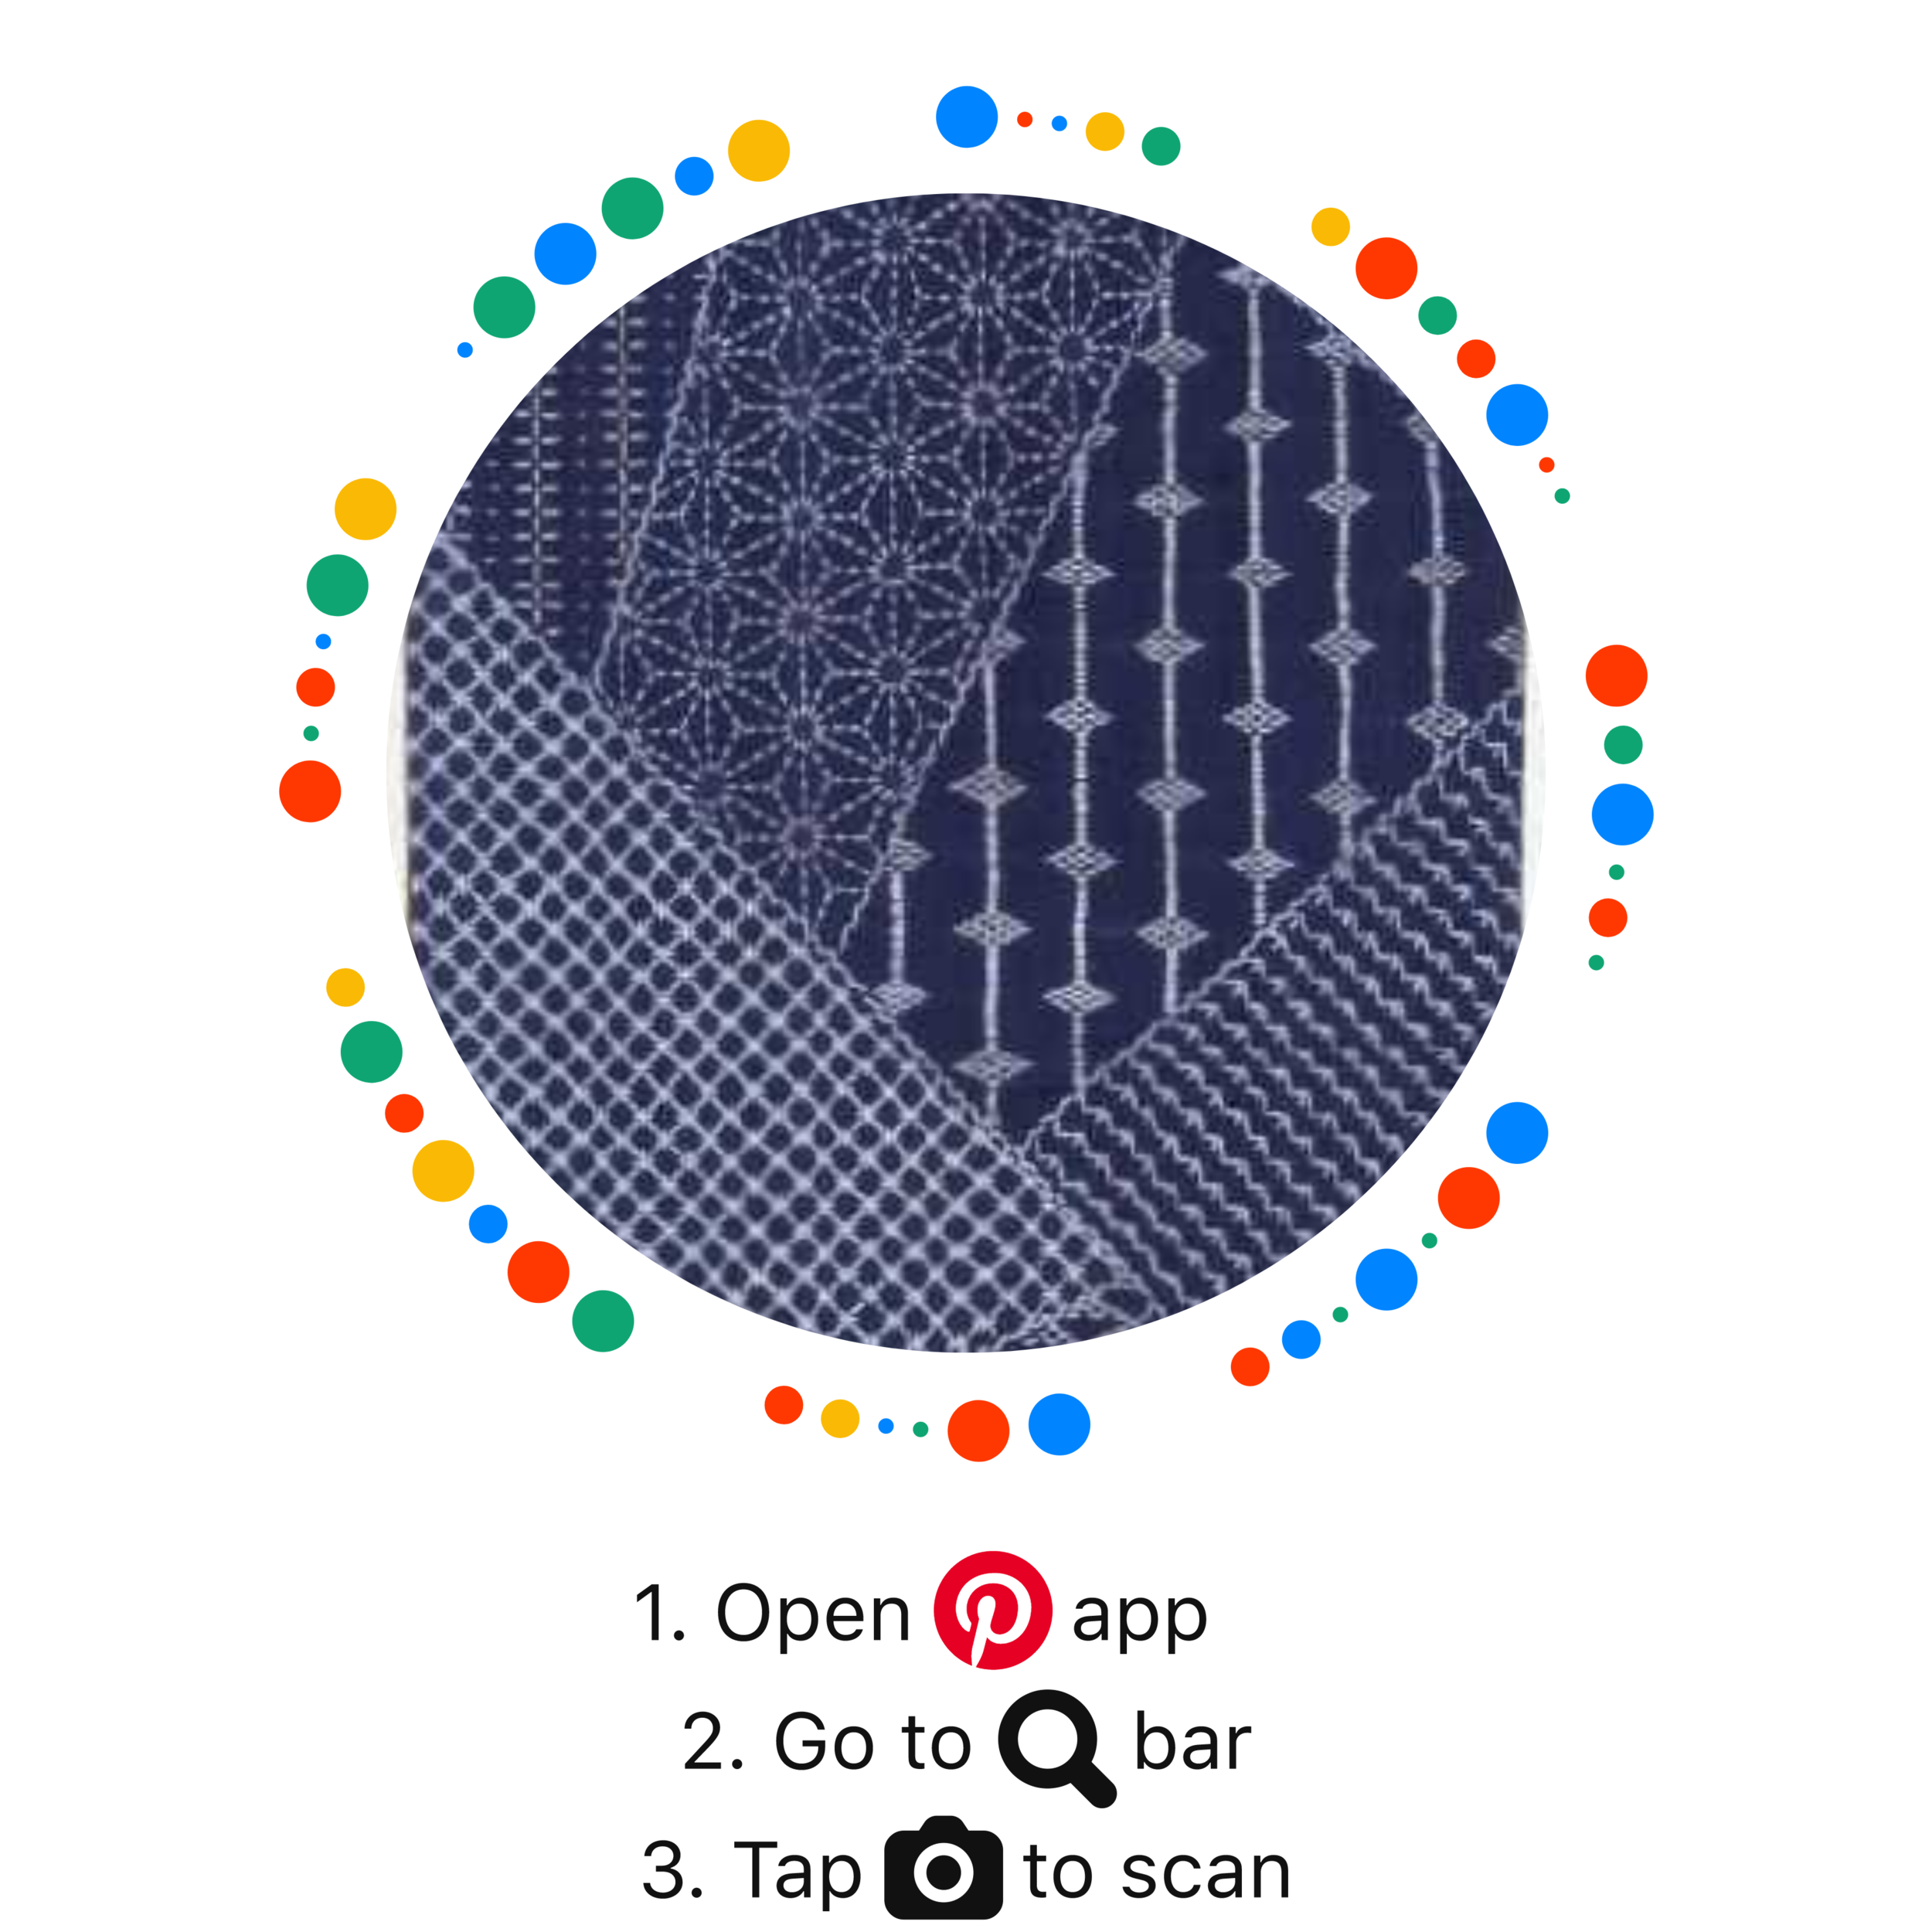
Sashiko is a type of traditional Japanese folk embroidery which uses a simple running stitch to create beautiful geometric patterns. Sashiko is both functional and decorative, used for patchwork and the mending and strengthening of clothing and textiles in the home.
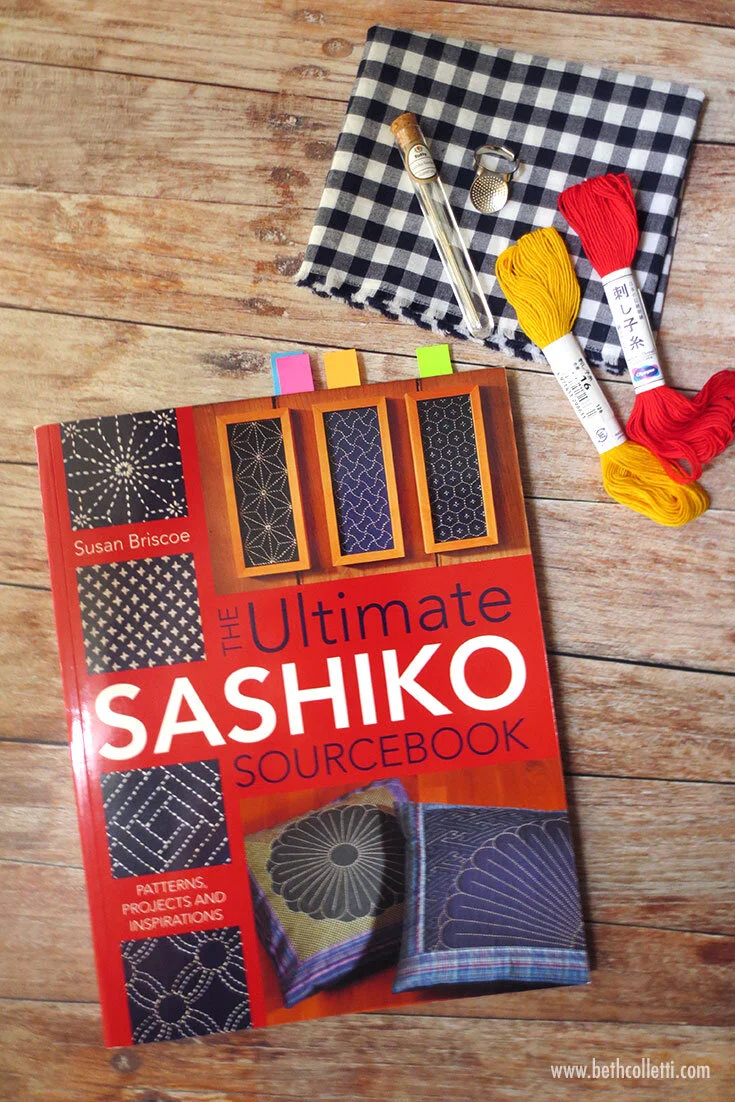
With sashiko growing in popularity, you can now go into a craft store or to Etsy and buy templates for different patterns. If you really want to learn about this beautiful craft, however, I suggest saving yourself money, skipping the single-pattern templates, and picking up The Ultimate Sashiko Sourcebook by Susan Briscoe. It’s an excellent resource for learning the basics of sashiko and sets you up to stitch over 100 different patterns with expert guidance.
All sashiko patterns are worked on a grid, so once you understand the basics of a design, you can create it yourself at any size with a repeating pattern of squares, diagonals, triangles and a circle template, as needed. The other notable thing about sashiko is that it is stitched using patterns of running stitches, making it very accessible to learn. The real key is to keep your stitches even as you work over your designs, with a certain number of running stitches per inch/cm.
In her book, The Ultimate Sashiko Sourcebook, not only does Susan Briscoe demonstrate the steps of stitching sashiko patterns, but she also walks the reader through the craft’s rich history, supplies and techniques, and provides loads of inspiration and possible projects for your home. The book is a wealth of information and will show you everything you need to get started and stitch!
Stitching a Sashiko Sundress
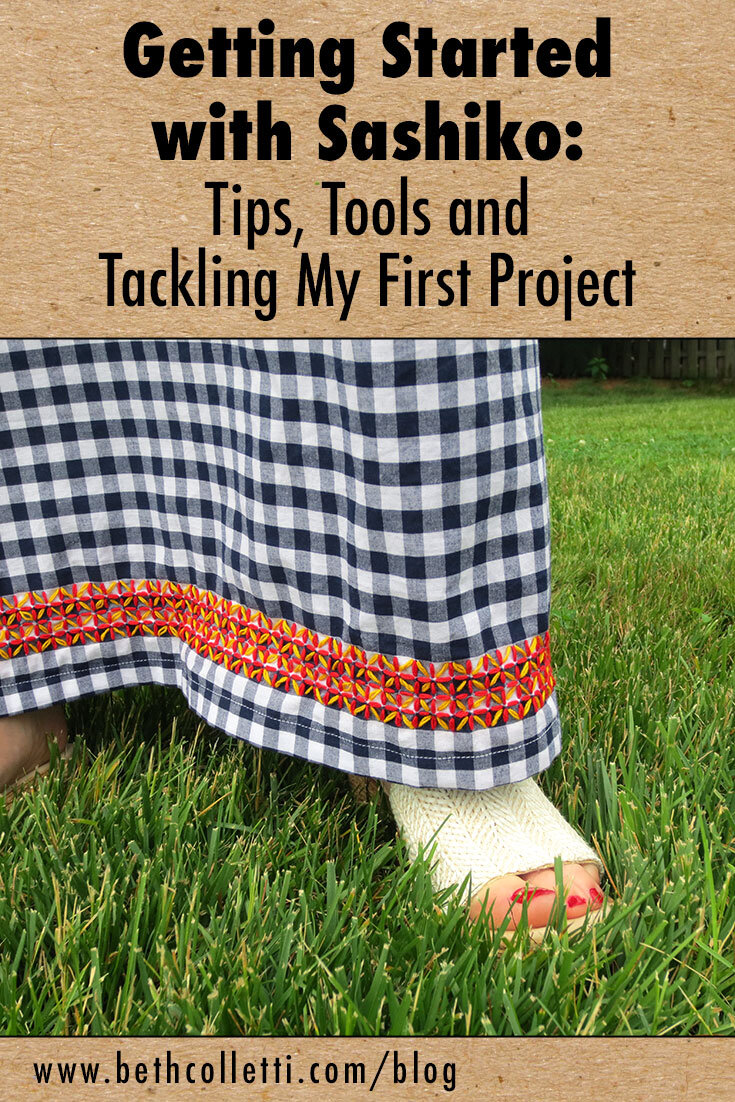
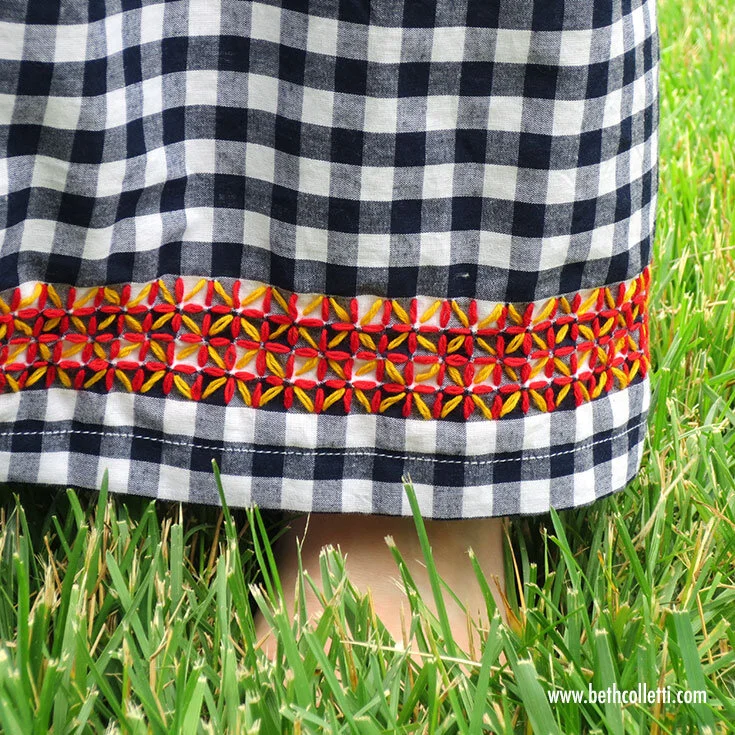
There are many patterns in this book that I can’t wait to try, but I decided to begin by exploring Hitomezashi (one stitch sashiko) designs. Hitomezashi is worked as a grid where stitches meet or cross to create the design. I decided to try this technique on some gingham that I sewed up for a sundress, with plans to stitch a decorative border along the hem. The natural grid created by the gingham made this project an easy one for a beginner.
Before starting, I picked up a few other supplies that are helpful for doing sashiko including:
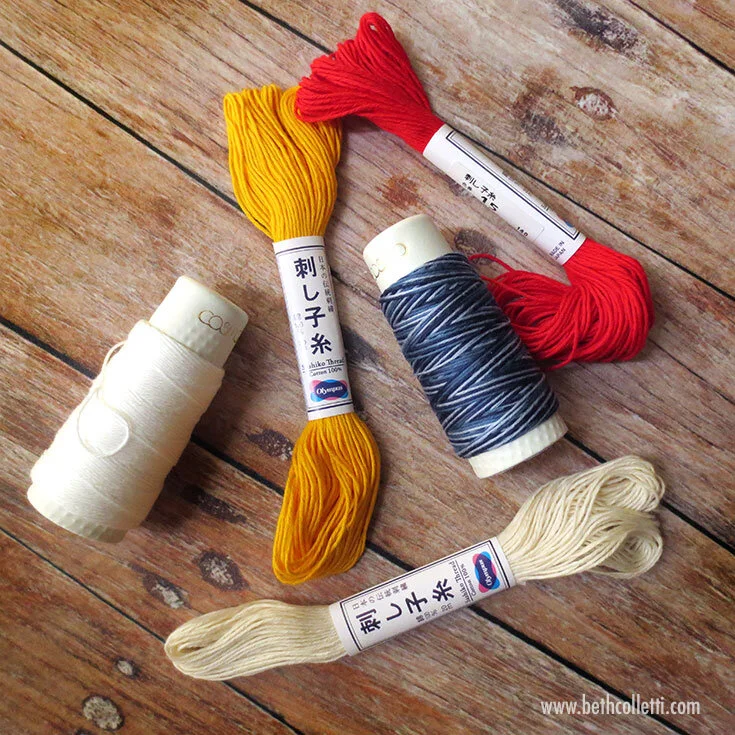
Sashiko thread
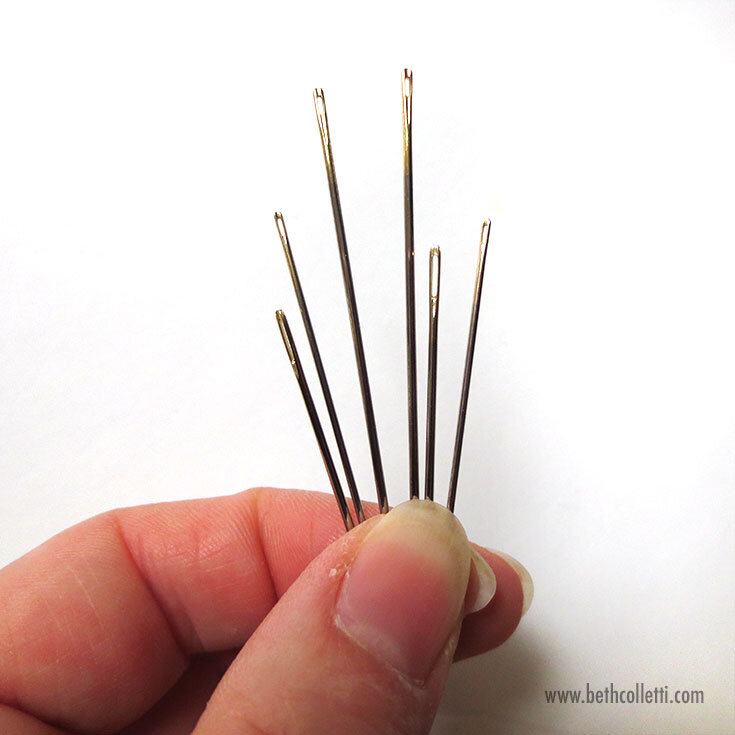
Sashiko Needles
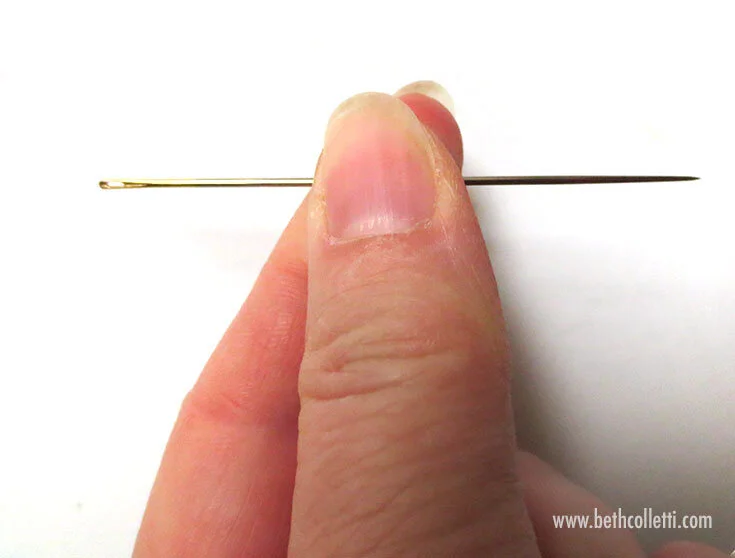
Sashiko needles are very sharp, thick and rigid to help with doing several running stitches at once, rather than sewing them individually. A variety pack will provide you with different sizes so that you can stitch with different weights of sashiko thread. Longer needles are helpful for keeping lines of running stitches nice and straight. Shorter needles are helpful for going around corners and curves as you work your running stitches.
Sashiko needles are very sharp, thick and rigid to help with doing several running stitches at once.
Longer sashiko needles are helpful for keeping lines of running stitches nice and straight.
Sashiko Thread
Sashiko thread has a looser twist than other embroidery threads and it is made from long, staple cotton so that it is very strong and durable. These qualities are essential since sashiko is traditionally used for mending. Sashiko thread also comes in different weights. I’ve primarily been stitching with the heavier weight Olympus sashiko thread and lighter weight Cosmo sashiko thread. Although sashiko is traditionally stitched in white thread on indigo cloth, there are many other colors of thread available for modern applications.
Sashiko thread is very strong and durable, made of cotton, and comes in different weights.
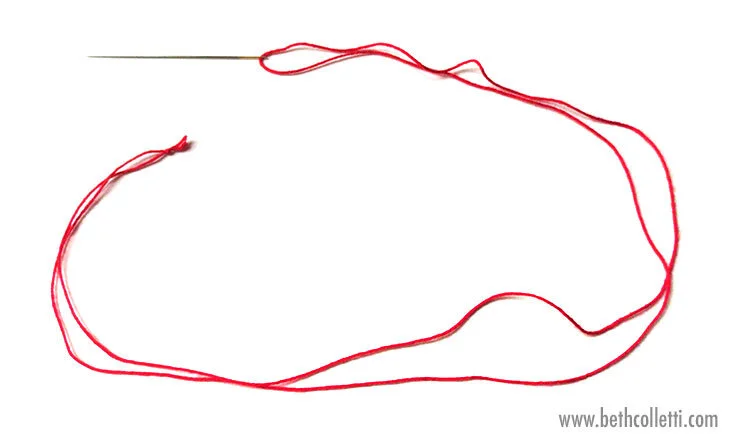
When stitching with sashiko thread, you want to use a double length of thread through your needle in which both ends are knotted together, which is different from other types of embroidery. Using a double length of thread aids in keeping stitches strong and the knot prevents fraying (especially important when mending). When doing sashiko, both start and end your stitches with a knot.
Use a double length of thread, knotted at the end, when doing sashiko, especially for mending purposes.
Sashiko Thimble
A sashiko thimble differs from what westerners traditionally think of a thimble that you would put on your fingertip. Sashiko thimbles are worn lower on your finger to protect your palm and are used to push the needle through several stitches in your fabric. Thimbles are optional though can be helpful with longer needles and heavier fabric.
Sashiko thimbles are optional, but are useful when pushing the needle through several stitches in your fabric, particularly when the fabric is a heavier weight.
Beginning One Stitch Sashiko
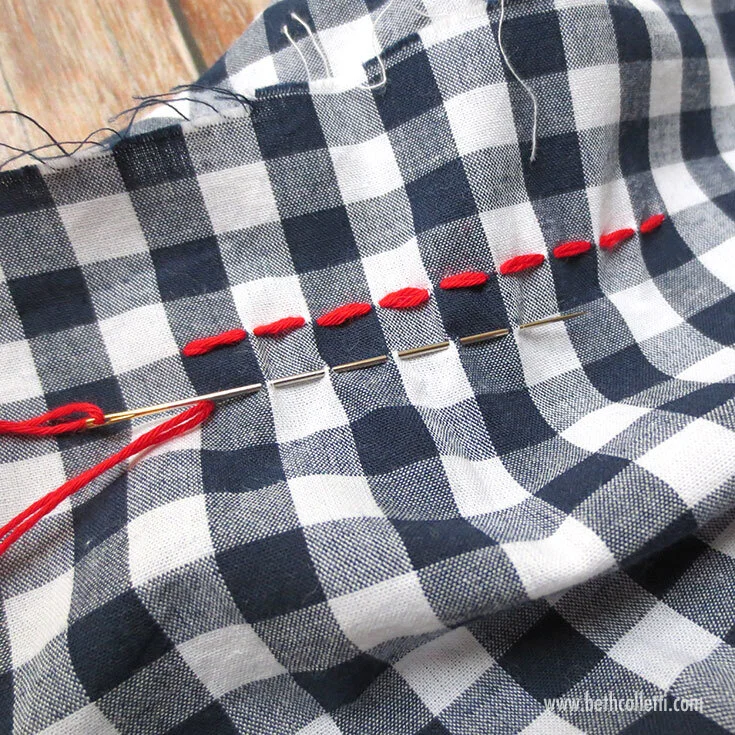
Once I had my supplies ready, I decided I wanted to try a rice flower stitch pattern (Komenohanazashi). Using my longest sashiko needle, I began by creating horizontal running stitches around the edge of my dress along the line of gingham. Once I came to the end of my length of thread, I knotted it where I finished and picked up where I left off with a freshly knotted double length of thread.
Beginning running stitches along the grid created by gingham fabric.
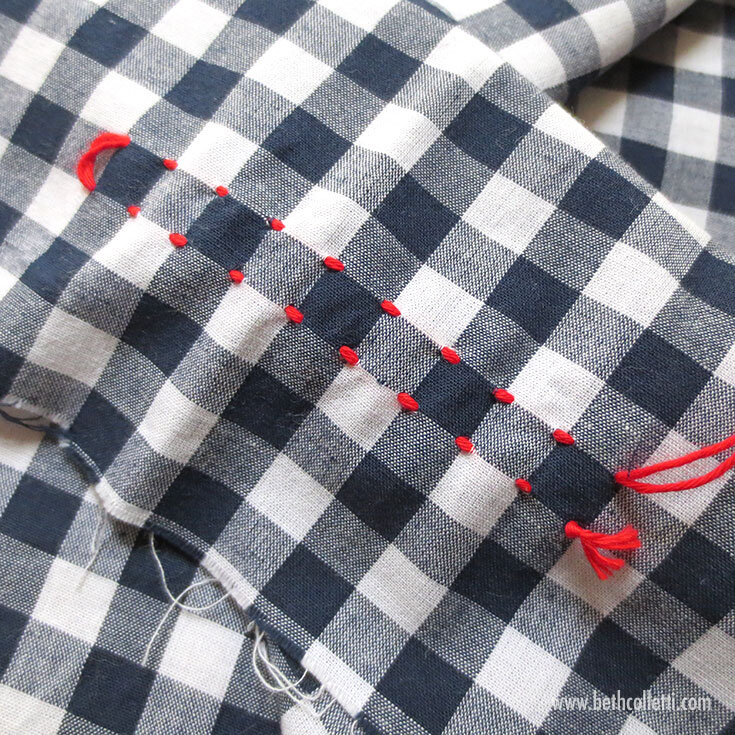
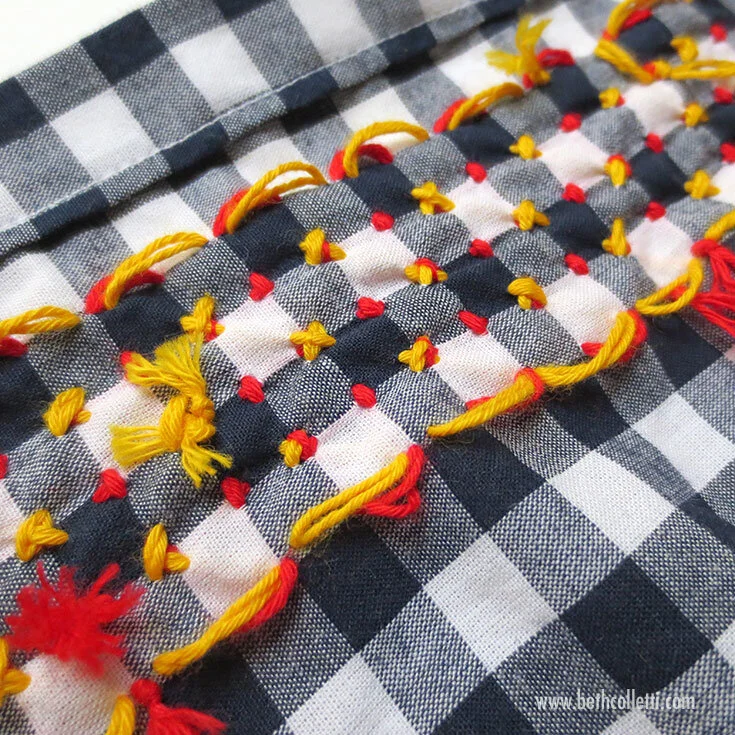
When it came time to move to a second row of running stitches, I left a bit of a loop with my thread on the back of my fabric. This is important when doing sashiko because pulling the thread tight will cause the fabric to pucker.
A view of the back of the fabric (above). Notice the knot on the right where I began my stitches and the loop on the left where I turn the corner to begin a new row of running stitches.
It’s important to leave loops on the back of your sashiko stitches when changing direction so the fabric doesn’t pucker.
Horizontal running stitches used in the rice flower stitch.
After I finished all of my horizontal lines of running stitches, I started my vertical lines - notice that the stitches do not actually meet in the middle where they cross for this particular pattern. And you can see on the back of my stitches where I leave loops as I move from one line to the next.
Notice the vertical stitches and horizontal stitches do not touch in this particular stitching pattern.
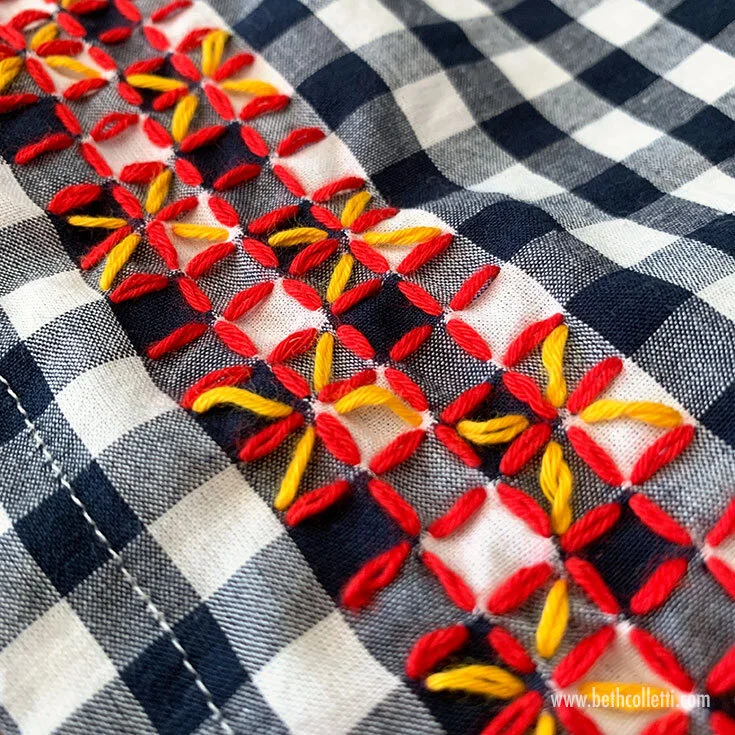
A zoomed out view of the front of my stitches (above).
A view of the loops and knots on the back of my stitches (above).
Finally, I chose a different color thread for the diagonal stitches and worked these running stitches back and forth, continuing to knot my thread at the beginning and end, leaving loops each time I turned a corner.
I use yellow sashiko thread as I begin working the diagonal running stitches (above).
Loops and knots on the back of my rice flower pattern (above).
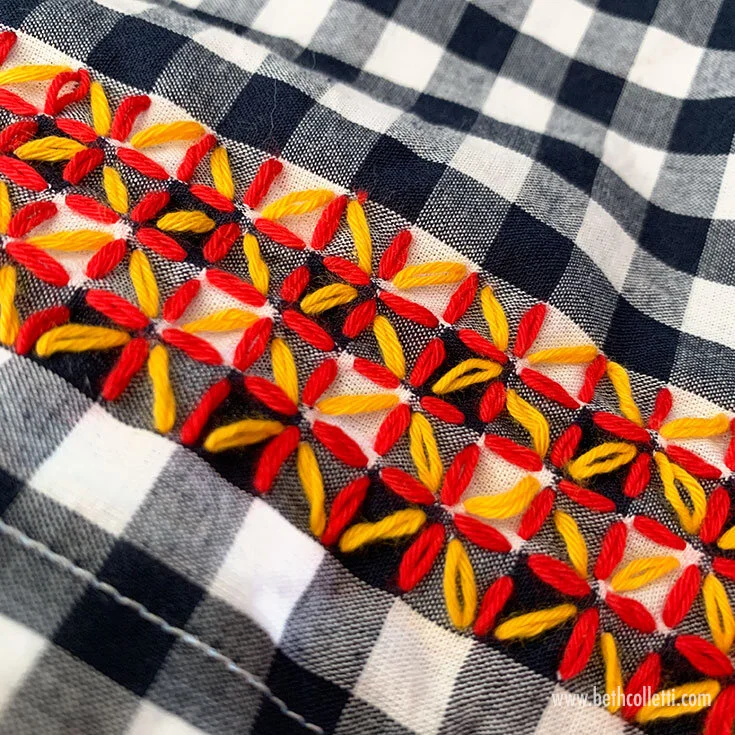
The finished rice flower stitch.
The end result is the rice flower stitch!
I love the beautiful geometry of sashiko stitching - the varying patterns on traditional garb and home goods are just stunning. Even more I love the intention behind the craft and how its primary purpose is to extend the life of textiles in your wardrobe and home. Using sashiko techniques, whether for decorative purposes or for mending, are a simple and beautiful way to incorporate embroidery in a functional way to fabrics used every day .

