(I am an Amazon Associate and from time to time will use affiliate links for products that I love, or that I think you will find useful.)
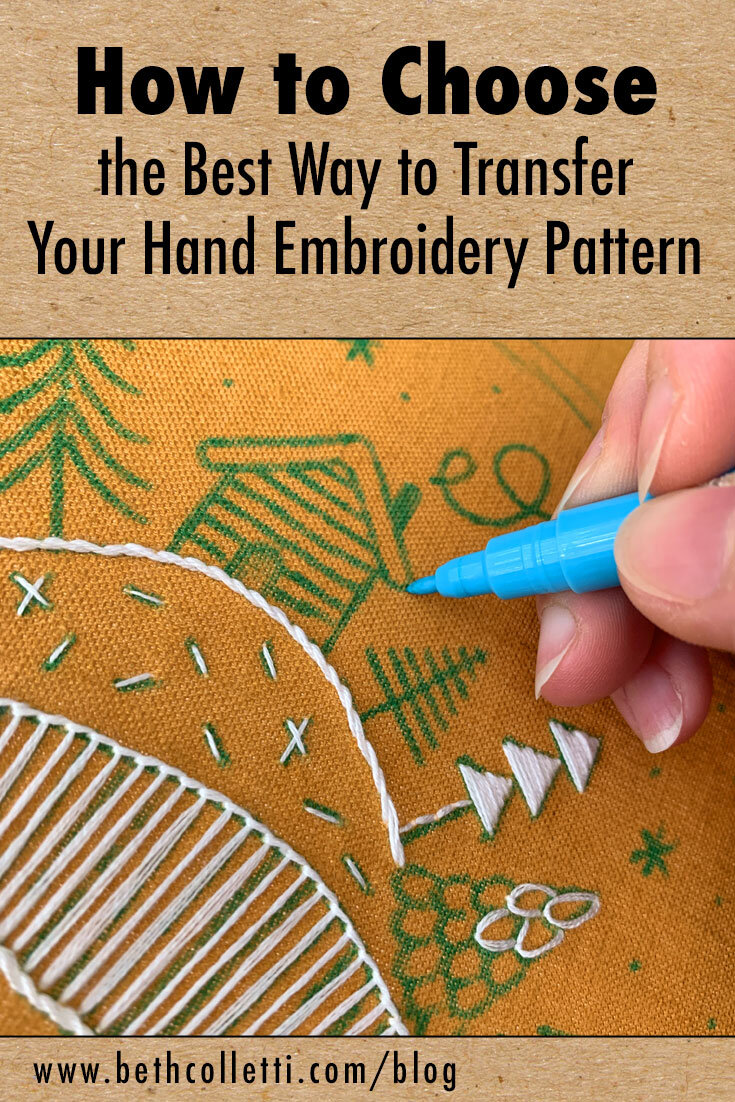
Ok, so you’ve got your drawing or pattern ready for embroidery and all you have left is to transfer it. But what’s the best way to do it?
Choosing the best method to transfer a hand embroidery pattern is based on a variety of factors including the complexity of the pattern, the type of fabric you want to stitch it on as well as the fabric color, weight and what the final project will be. This may sound complicated if you aren’t familiar with these transfer methods, which is why I’ve broken down the pros and cons of several options to help you decide. Sometimes it simply comes down to trial and error and seeing what method you like best!
Water Erasable Embroidery Transfer Pen
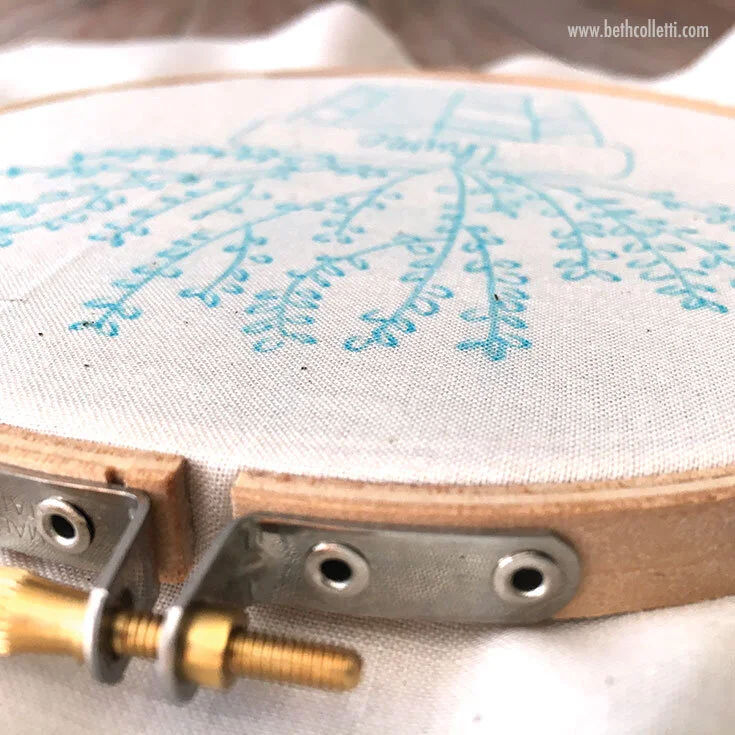
What it is: The first way I learned to transfer patterns was with a water erasable embroidery transfer pen. All you really need is a bright window (or light box), your fabric, and the marker. Simply print out your pattern, tape it to the window, tape your fabric over it and trace away! You can stitch over your lines, and when you’re finished, the ink lines will rinse out in cold water - no laundering needed! When you’re finished rinsing, lay your fabric flat to dry on a clean towel and gently press out the excess water (never wring out your embroidery.)
Pros: It’s simple, inexpensive, non-permanent, and the marker stays visible until you rinse it out, which is very easy to do when you’re finished embroidering. Great for light colored and lightweight fabrics that you can see through when you shine light behind them. Works on any texture or weave.
Cons: You need a bright window or light box to use this option, and if your fabric is too heavy or too dark in color, it will be challenging to see through it and trace the pattern. The marks need to be rinsed out in cold water so be sure your fabric won’t shrink from the process. I don’t always like to use this method for complex patterns if there is a lot to trace.
Printable, Dissolvable Stabilizer Paper
What it is: Printable stabilizer paper, like this product by Sulky, is a white “paper” that you can either draw or print on. It also has a light adhesive on the back. Print your digital pattern on this paper with your inkjet or laser printer, peel off the backing, and stick the printed pattern to your fabric with the adhesive. Stitch over the design and when you’re finished, rinse the stabilizer paper out in cool or lukewarm water. I usually use a large bowl and the sprayer at my kitchen sink to do this and gently agitate my fabric while changing the water two or three times to get all of the bits of the dissolved paper out.
Thorough rinsing is important because you don’t want to leave any residue on your fabric or it will become stiff when dry. I don’t recommend soaking your fabric in the water for long stretches of time, but rather actively rinsing out the stabilizer paper, which takes a couple of minutes. When you’re finished rinsing, lay your fabric flat to dry on a clean towel and gently press out the excess water. Read this article for more tips on using printable, dissolvable stabilizer paper.
Pros: Great for detailed patterns or stitching on dark-colored or thick fabrics where tracing or other transfer methods may not work as well. Works great on a variety of fabrics, including felt, regardless of the texture or weave.
Cons: This method is a bit more expensive so I like to use as much of the paper in one printing run as possible and save the extra bits for hand sketching designs. It needs to be rinsed thoroughly or it will make the fabric and embroidery floss stiff when dry. While stitching, since there is an adhesive on one side, it can make your needle slightly tacky. I wipe mine with a clean cloth periodically if I find it is being stubborn about pulling through the fabric cleanly.
Carbon Transfer Paper
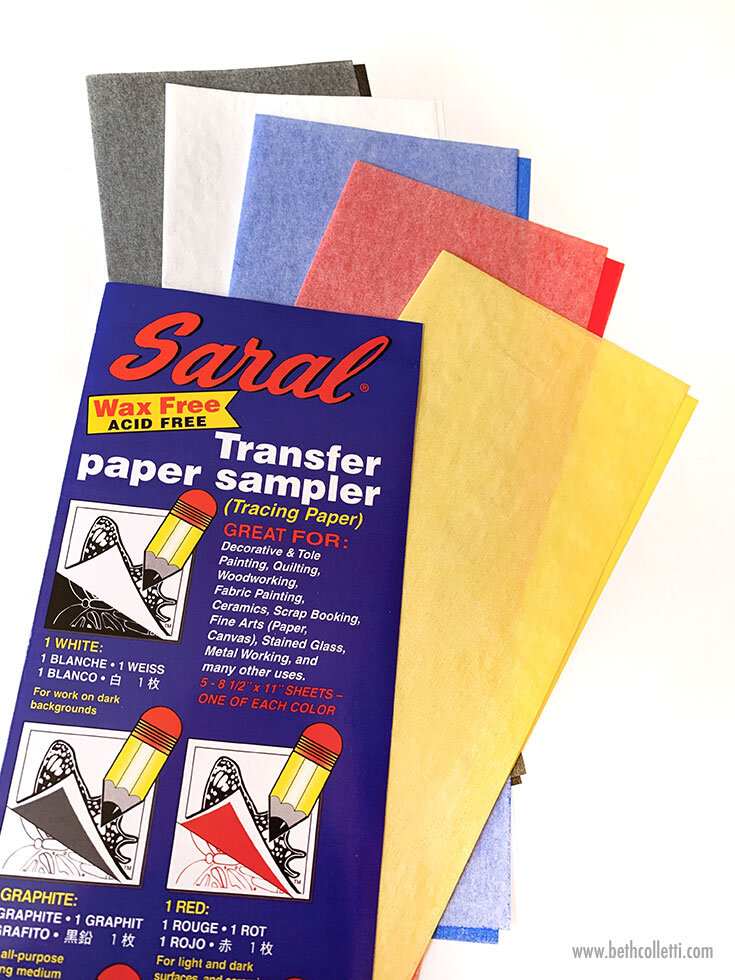
What it is: Transfer paper is carbon paper for your fabric. For this method, in addition to transfer paper and fabric, you’ll need a ballpoint pen, plus your pattern printed on a regular sheet of copy paper. Take your transfer paper and put the carbon side down against the fabric - you may want to tape it in place so it doesn’t shift while tracing. Next, put your printed pattern (printed side facing up) on top of the carbon paper and begin tracing over your pattern with the ballpoint pen. The pressure from the pen will transfer the carbon on to the fabric - you may have to trace the pattern more than once, but be careful not to press so hard that you tear the pattern or carbon paper. There is no need to wash out the transfer, which will fade and brush out of the fabric as you work.
Pros: This method is useful when transferring a pattern onto dark fabrics or something like a stretched canvas since you don’t have to worry about rinsing it in water. The carbon paper comes in a variety of colors such as white, yellow, red, blue or black and is useful for transferring onto many different materials. Carbon paper can also be used more than once.
Cons: The transfer tends to fade and brush off the fabric or other surface as you embroider. This can be a problem if your pattern fades before you finish embroidering it. If I’m transferring to a light colored surface, I will often trace over my initial carbon pattern lightly with another pen just to make sure I don’t lose my lines. Transferring with carbon onto fabric that doesn’t have a smooth weave can be more difficult.
Heat Transfer Pen and Tracing Paper
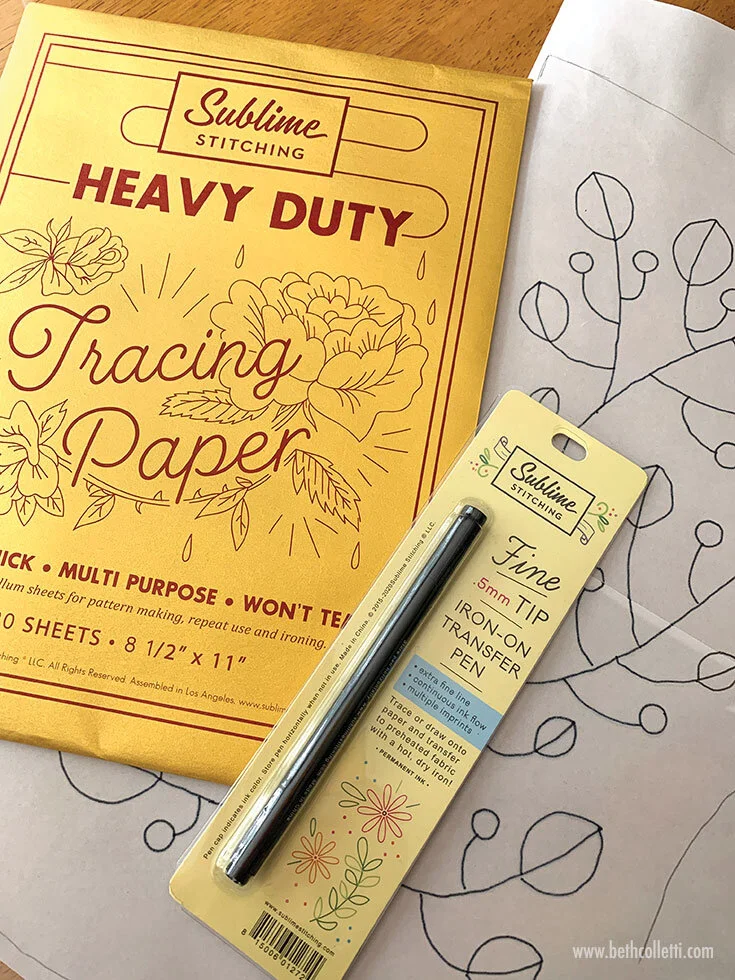
What it is: A heat transfer pen and heavy duty tracing paper use the heat from an iron to transfer an embroidery pattern to fabric. (Regular tracing paper will not work with an iron because it’s too thin and will burn.) Before you begin tracing, it’s important to note that your pattern will need to be reversed, or the text and images will appear backwards once you iron it onto the fabric. To do this, print your pattern on regular copy paper, flip it over and trace the reverse of the pattern on the back of the copy paper with a pencil. You now have the reverse of your pattern to trace. Next, lay your tracing paper over the pencil marks and trace the reversed pattern with your heat transfer pen onto the tracing paper. When finished, pin the heavy duty tracing paper against your fabric with the heat transfer pen marks against the fabric. Hold a hot iron on the tracing paper for a few seconds to transfer the pattern. I have found this method works best on smooth fabrics with a tight weave, but can also be handy for transferring an embroidery pattern to light-colored felt!
Pros: Some heat transfer patterns can be used more than once and are fairly easy to transfer.
Cons: Heat transfers don’t always transfer evenly since they are dependent on the heat and pressure of the iron. As with some other methods, they work best on lighter colored fabrics with a smooth surface and tight weave. The lines from heat transfers are semi-permanent and may not rinse out on certain fabrics, such as synthetic blends.
Frixion Pens
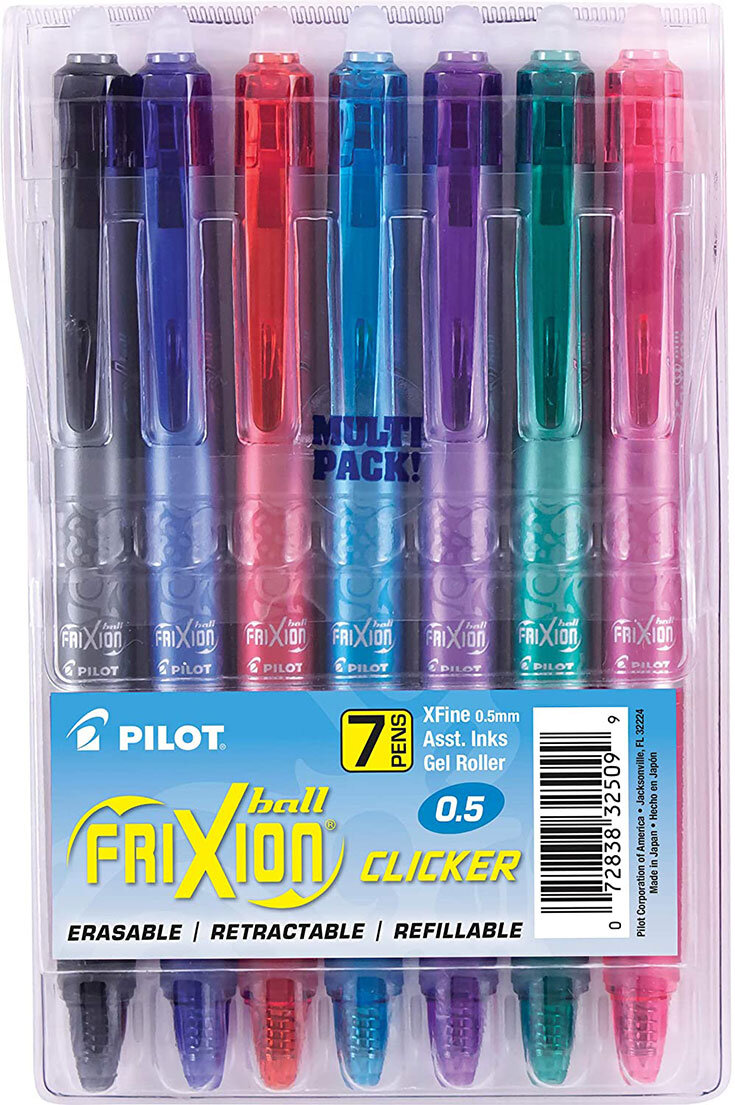
What it is: Similar to water erasable pens, you can trace a pattern using heat-sensitive extra fine Frixion pens. Again you need a bright light source to shine through your pattern and fabric so you can trace it. But where it’s different from water erasable pens is that when you finish embroidering, you use heat from a hot blow drier or an iron to make the ink disappear.
Pros: It’s another easy and inexpensive option for transferring patterns. Great for light colored and lightweight fabrics, and best on smoothly textured, tight weave fabrics, although it can also work nicely on felt. Making the ink disappear with a blast of hot air from a blow drier is just about the fastest way to “remove” your pattern after you’ve stitched.
Cons: The ink isn’t actually gone - it just disappears with heat, and cold temperatures can bring back your lines. This may not necessarily be a problem, but if you embroider an item of clothing and wear it outside in the winter, for example, your transfer lines will show again. If you use this method, I recommend trying to stitch over your lines completely.
Micron Pens or Pencils
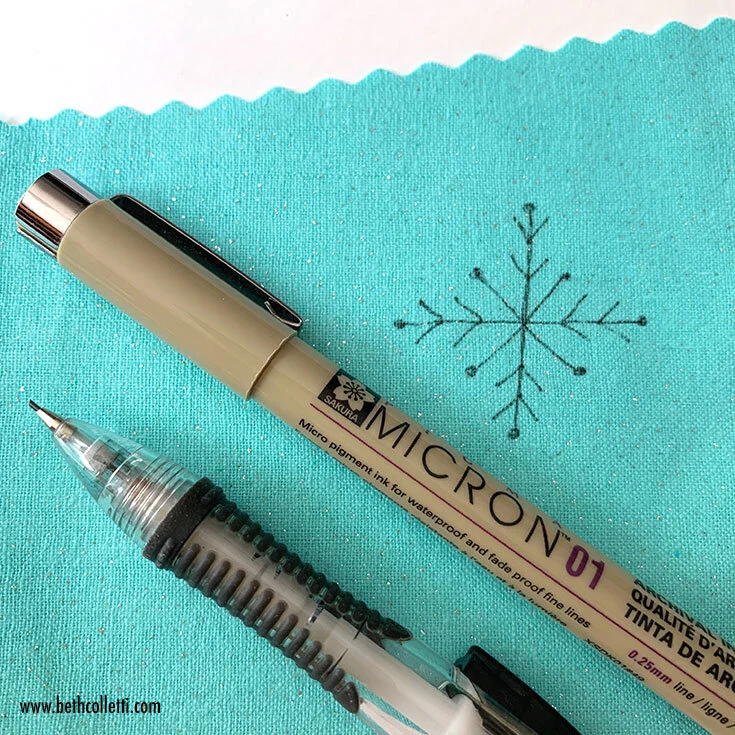
What it is: Embroidery patterns can also be traced using a sharp pencil or even micron pens. Although these methods aren’t my first choice because of the limitations listed below, they will work in a pinch if you don’t have other tools handy. Both methods are best on light colored fabric and lend themselves to freehand sketching of designs or patterns.
Pros: Inexpensive since most people have a pencil handy, so you don’t need to buy any special tools.
Cons: These methods may not be the best for fabric because they are permanent and you will need to completely stitch over your lines to hide them. Pencil lines can smudge and leave “dirty” marks on your fabric. Micron pens can bleed and may not be color fast so avoid getting your fabric wet if you use them.
