(From time to time I will use affiliate links for products that I love, or that I think you will find useful. Should you choose to purchase with the provided links, I will receive a small commission from the companies I work with at no cost to you.)
With the start of Spring in the northern hemisphere, I'm eager to throw open the windows and do some serious decluttering, especially in my work area. If you have limited space in your home, you know how easy it is for your stitching supplies and projects to take over and start multiplying into piles around your living space.
I don’t have a separate room for my craft materials - instead I run my hand embroidery business out of the dining room in my small townhouse. Since I work in a space that my family regularly uses, I need to be able to quickly put my stitching supplies away and make room for food. So as you can imagine, decluttering and reorganizing are high on my priority list!
Whether you’re looking to free up more space for your stitching storage, you need to take stock of your embroidery materials, or you just love to organize, here are thirteen simple ways to clean up, purge and order your embroidery projects, supplies, and workspace in this season! Bonus: Download and print the free checklist at the end of this article for help as you organize.
Purge & Sort
1. Donate, share or recycle craft magazines and books.
I love books and have quite a collection of stitching resources and magazines. Even vintage stitching books can be a treasure to someone else, so don’t be afraid to donate them to a local thrift store when you’re no longer interested. Pass along craft magazines to a friend after you’ve enjoyed them, and recycle any that are outdated.
What is an instructional or inspirational resource that you no longer want which someone else might love to dig into?
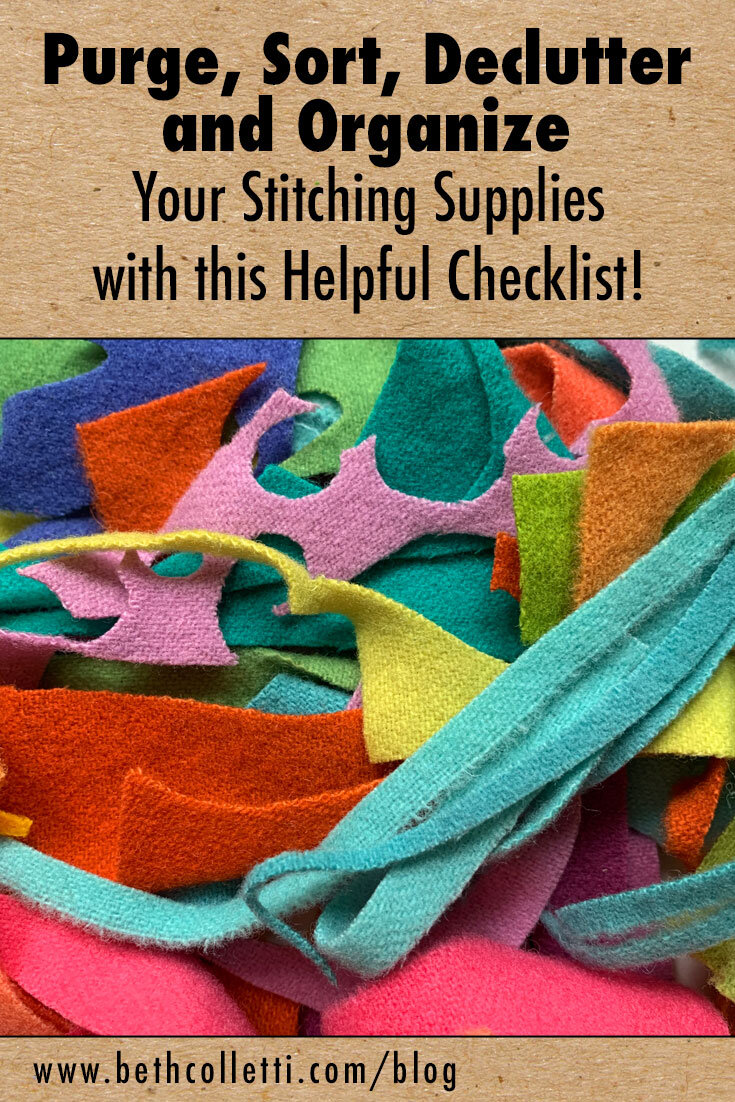
2. Upcycle, donate, or recycle fabric scraps.
I have a lot of little bits of fabric that are too small for an embroidery hoop, but they are great for mending or slow stitching projects. If you have larger pieces of fabric that are in good shape and you know you won’t use them, there are many different ways you can donate them. You can also recycle your fabric at a place like FabScrap if you are in the New York City area, or check your local area to see if there are organizations nearby that offer fabric recycling.
Where can you get creative with your fabric scraps and give them new life?
3. Purge old or broken supplies.
There’s no sense keeping supplies that have outlived their usefulness. Whether it’s a dinged blade on a rotary cutter, a spent fabric transfer pen, or busted embroidery hoop, part with any supplies that are at their life’s end.
What stitching supplies of yours could stand to be purged?
4. Gift completed projects.
If you love to stitch, chances are you have more pieces than you know what to do with. (That’s a whole separate blog post!) One of my favorite things to do is create for other people. It gives me the chance to do something that I love while sharing a handmade treasure with a friend or neighbor. As you go through your supplies and projects, take the opportunity to gift items that you’ve made to people who will enjoy them.
Where could you make space by parting with stitched decor that someone you know would love?
Organize & Store
5. Make use of what you already have.
When my husband and I got married, we sort of took the furniture we each owned and mashed it all together. So our home definitely has some random mismatched pieces we’re still holding onto, including a giant entertainment unit made for one of those old, boxy TVs. (Remember those?) The reason it still sits in our dining room where I work is because it just so happens to perfectly fit six of these stackable bins with folding tops behind its “TV doors”. I use these bins for all sorts of supplies from fabric to shipping boxes and sample embroidery kits (not to mention things like seasonal decor). I love how I can open the doors of my entertainment unit and pull out my bins when I’m working, and then tuck them away and shut the doors to hide my work mess.
Do you have an existing piece of furniture in your home that you could repurpose for creative stitching storage?
This old entertainment unit hides most of my stitching supplies behind its TV doors. The rest are in decorative fabric bins.
6. Add decorative storage to hide supplies.
Unfortunately I can’t hide all of my embroidery supplies behind closed doors, so I decided to look for something a bit more decorative to put on the shelves of my old entertainment unit. I considered baskets, which would be beautiful but expensive, and in the end went for some 13x13x13 inch fabric storage boxes. I love that I can easily reuse these cubes with some IKEA furniture in a different space and that they fold down flat when they aren’t being used. Definitely a win!
Where can you add a decorative storage container to your space to hide your craft stuff? It could be a basket, a ceramic jar or even something like a hollow ottoman.
My pile of UFOs is hidden in plain sight in these simple fabric bins.
7. Put your stitching UFOs in one place.
If you’re like me, you have more than a couple of UFOs (UnFinished Objects) around your home. So why not put as many as you can into a single storage box? I’m not sure why I never thought to do this before, but it makes it much easier to pull one thing out and work on it. Previously I had half-finished stitching and sewing projects stored in multiple places around my house and I was prone to forget about them. (Am I the only one?!?) Now I know exactly where to go when I want to do something creative and I’m hopeful that storing them together will help me stay focused and complete them! Bonus: It frees up storage space in other areas!
Where can you organize your UFOs by project type and put them in one place for easy access?
8. Store similar tools together.
Similarly to getting your UFOs in one spot, create one storage area for your tools so that when you start a new embroidery project, you don’t have to track down everything you need to prep it! This list might include having all your cutting tools (fabric scissors, rotary blade and mat) together, or keeping all of your pattern transfer methods (transfer pens, printable dissolvable stabilizer paper, and so on) in one spot. Whether you keep them in divided storage bins, drawers or something else, store like items together.
Are there stitching tools you use regularly that you can organize together for quick project prep?
9. Create a needle book for your needles and notions.
At the beginning of the year I stitched up this felt needle book to keep my wide assortment of needles (and favorite notions) in one place. Best decision ever!! Now I love having this needle book nearby whenever I embroider. I keep my favorite needles on the first page and then organize needles by type on each of the subsequent pages. Stitch up your own needle book following this tutorial.
Are you happy with how your needles are organized? If not, what would you like to change?
Needle books are a great ways to keep needles and other small notions together.
10. Hang unused embroidery hoops on the wall.
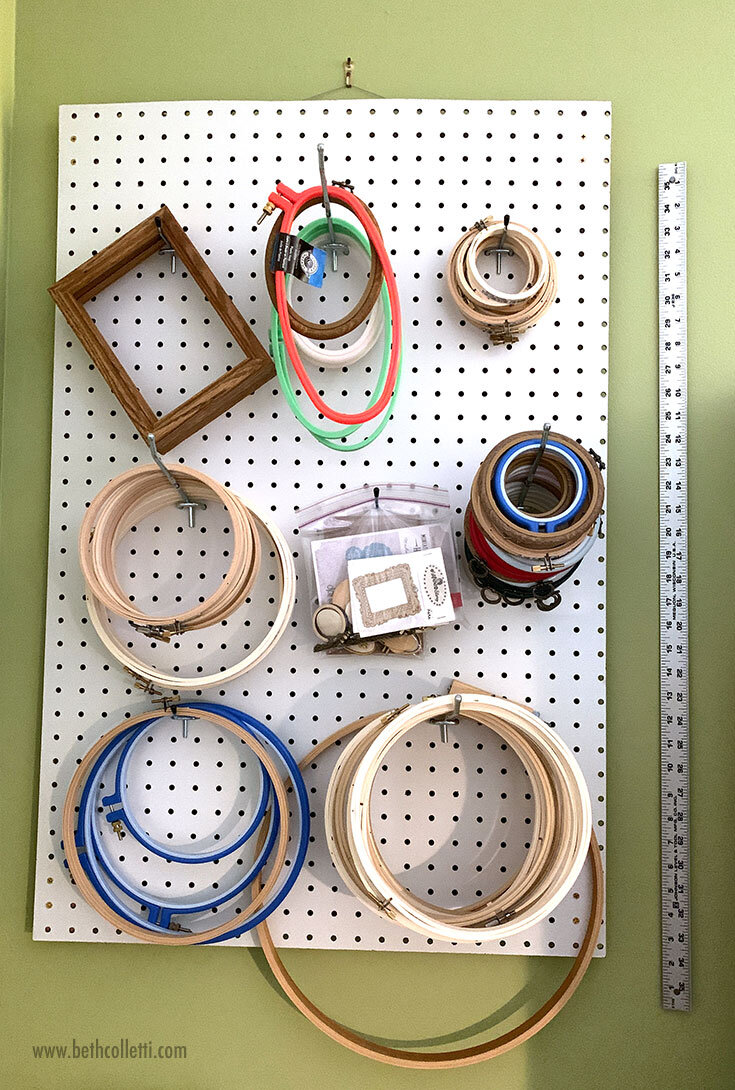
When it comes to embroidery hoops, I have a variety of sizes and materials I like to use. And hoops are one of those materials that don’t always fit so great in a drawer or bin. I love to hang mine on a simple pegboard with hooks so I can grab what I need quickly. Take time to gather up your spare hoops and get them on the wall so your storage bins are freed up for other supplies.
Do you have wall space where you can hang stitching supplies instead of putting them in a bin? Where can you get creative with a pegboard or floating shelves?
Don’t forget to use your walls for storage too!
11. Get your thread stash in order.
Wrangling my growing thread stash into storage bins and clearly labeling them has been top priority so I can find what I want quickly. There are so many ways to tackle thread organization so if you aren’t sure where to begin, look at this article for ideas.
Does your thread storage work for you? If not, what would make it better?
12. Save those felt scraps!
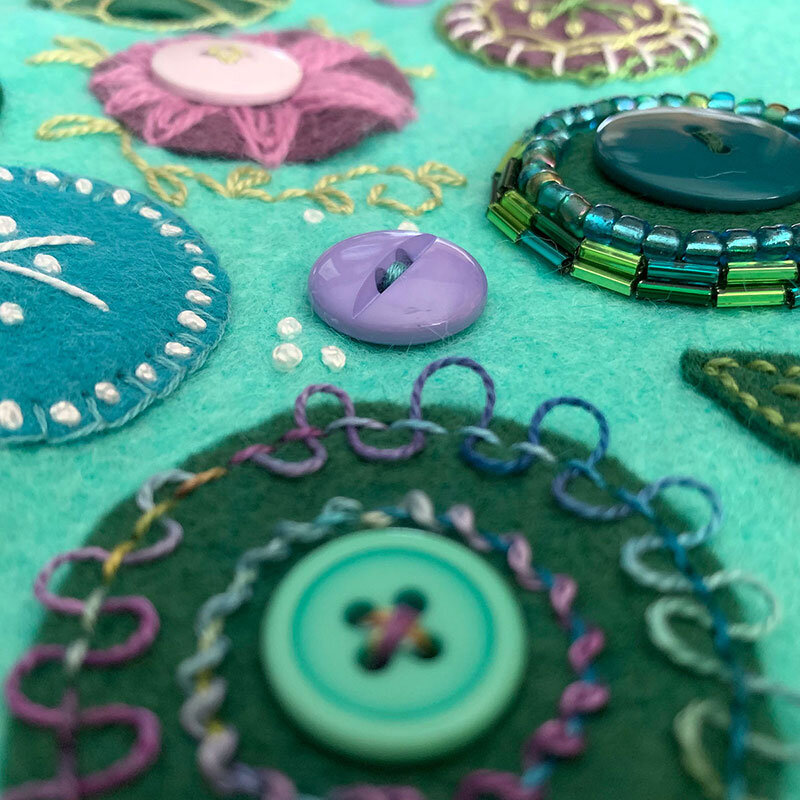
I’ve had some ongoing felt appliqué projects in the works and saving the scraps is always a good idea. Those little bits of wool felt are great for appliqué details. I put the really little pieces in baggies and roll up larger pieces for upright storage.
Looking for a project to do with your leftover felt? Join my newsletter to get access to this 30 Days of Felt Appliqué project and prompts.
Felt scraps are great for little hand appliqué sampler projects like this one.
13. Sort your embellishments.
Stitching, felt appliqué and sewing projects can always benefit from a few special decorative elements. Organize your beads, buttons, trim and other fun embellishments in a compartmented storage bin or transparent glass canning jars so you remember to use them.
How can you organize your embellishments so that you’ll remember to use them for your next stitching project?
