(I am an Amazon Associate and from time to time will use affiliate links for products that I love, or that I think you will find useful. Should you choose to purchase with the provided links, I will receive a small commission from Amazon at no cost to you.)
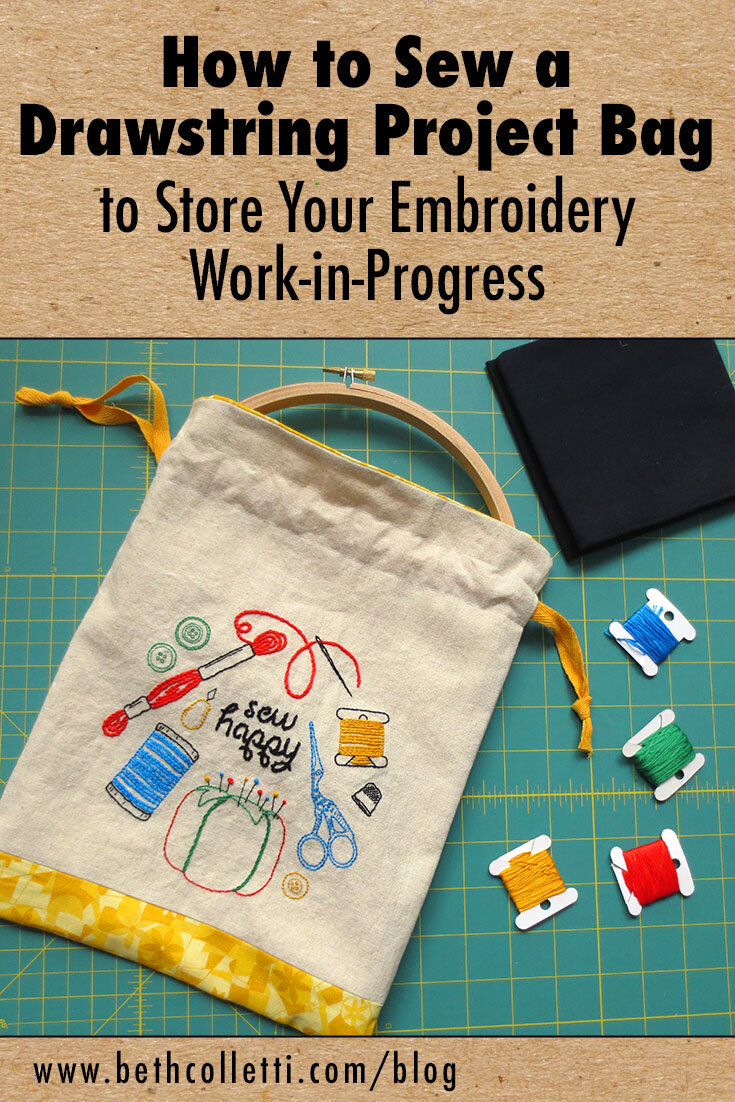
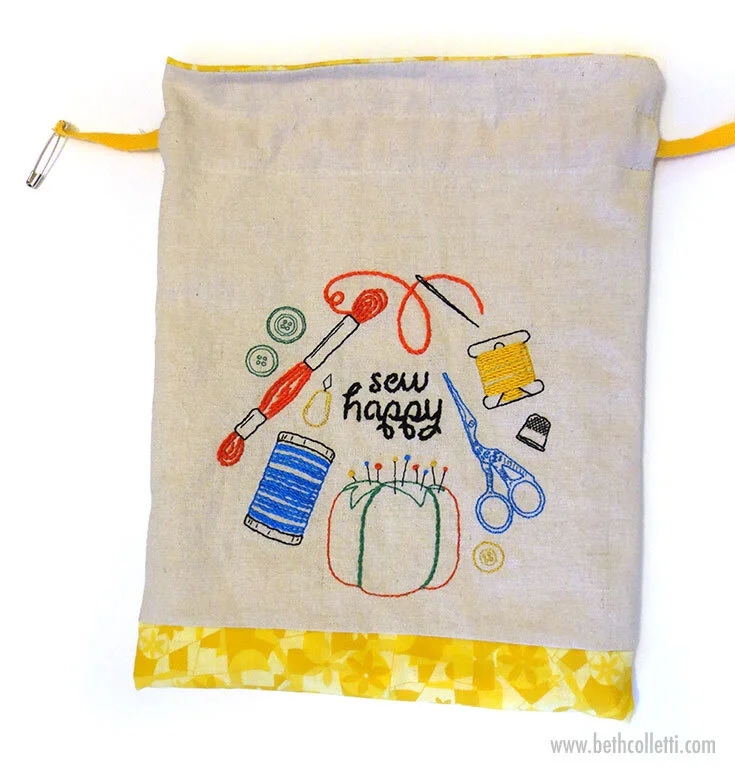
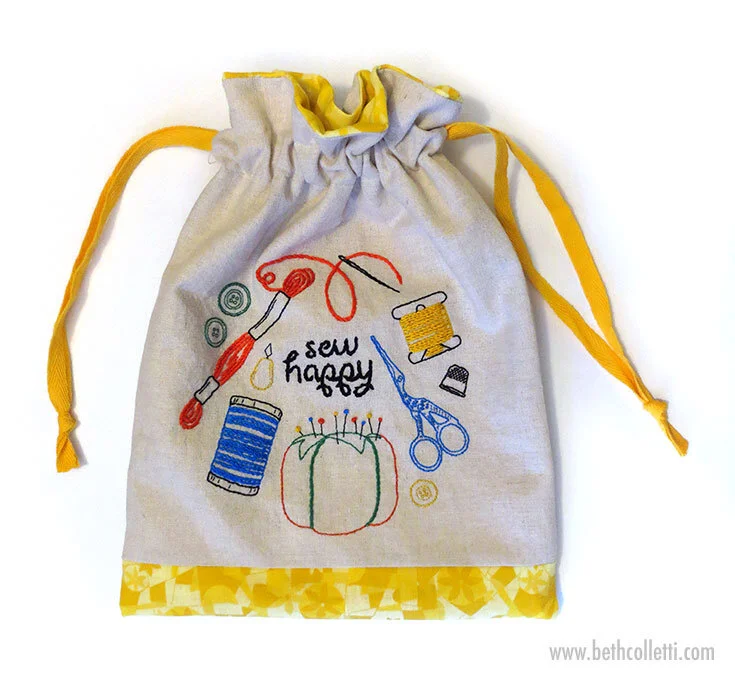
When working on any sort of sewing or stitching project, staying organized and keeping your supplies at your fingertips makes the experience that much more enjoyable. Sew up this cute drawstring project bag to store your next embroidery project when you’re not working on it. The finished size is 9.5” wide x 12” high and perfect for an 8-inch embroidery hoop and all of your other supplies and notions.
Supplies Needed:
Sewing machine
1 beige fat quarter (18” wide x 21” tall)
1 yellow fat quarter (18” wide x 21” tall)
2 yards of 3/8” (10mm) yellow twill tape (I purchased mine from At the House of Nico)
Beige thread (for sewing machine)
Rotary cutter (or fabric scissors)
Straight pins
Large safety pin
Iron & ironing board
Skill Level: This drawstring bag is an intermediate sewing project, appropriate for people with some sewing experience.
Seam Allowance: 1/4” seam allowance is used in this sewing pattern.
Finished Bag Measures: 9.5” wide x 12” tall
Step 1:
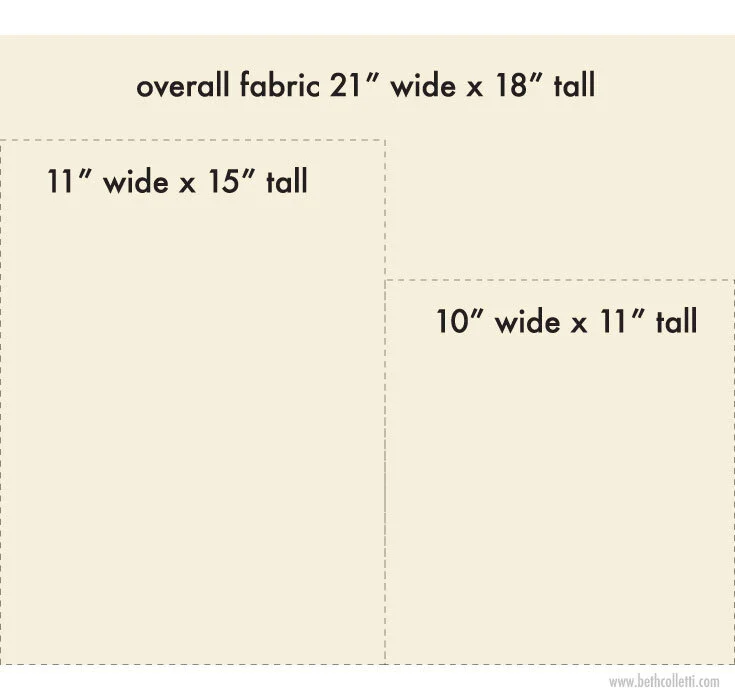
From the beige fat quarter cut a piece of fabric 10” wide x 11” tall and another piece 11” wide x 15” tall.
Step 2:
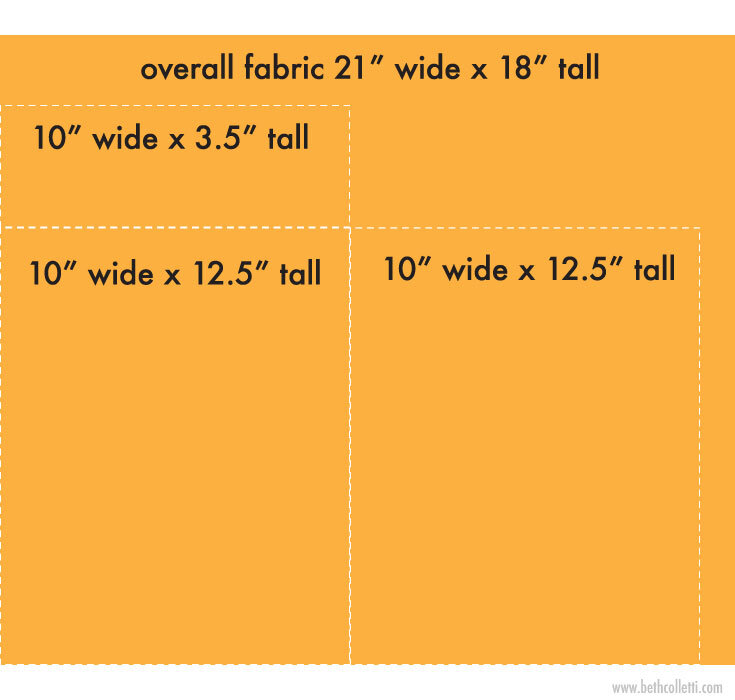
From the yellow fat quarter, cut two pieces of fabric sized 10” wide x 12.5” tall for the bag’s lining. From the remaining yellow fabric, cut a rectangular piece of fabric 10” wide x 3.5” tall.
Step 3:
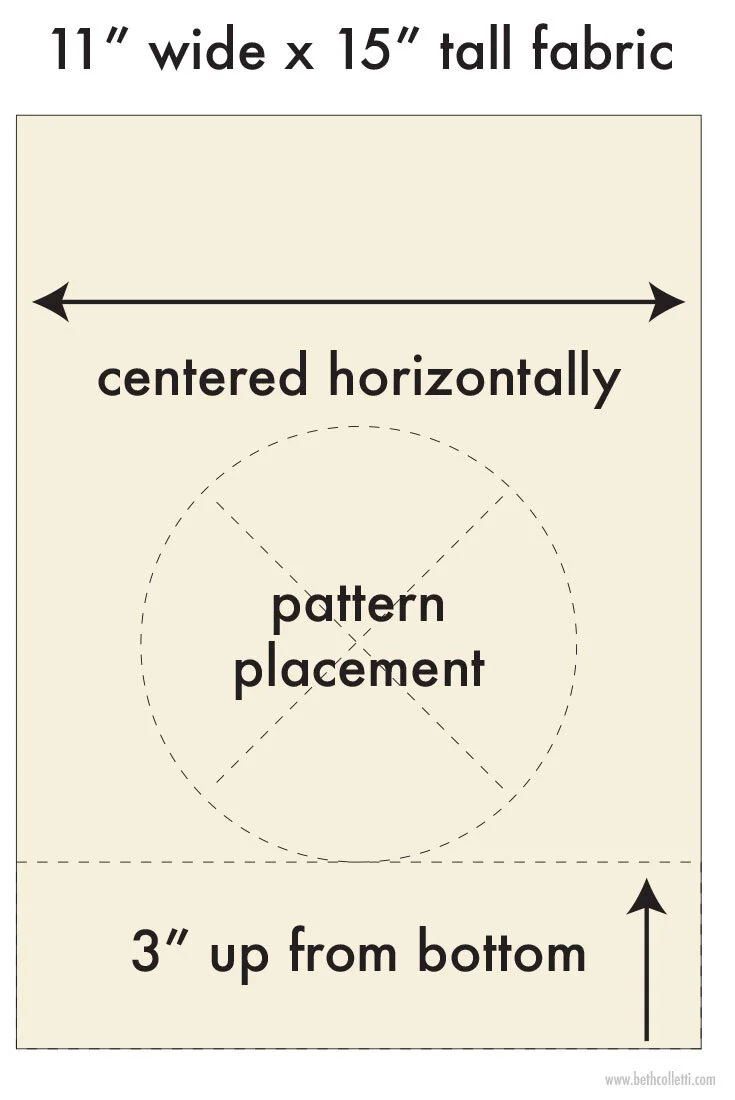
On the 11x15” piece of fabric, position the Sew Happy pattern three inches up from the bottom edge of the longer 15” height and center it on the 11” width.
Step 4:
Stitch the Sew Happy pattern following the instructions provided. Then trim the fabric down to 10” wide x 11” tall with the bottom of the tomato pincushion 1” from the bottom of the fabric and the design centered horizontally.
Step 5:
Cut two 30” pieces of twill tape.
Step 6:
Pin the two pieces of yellow lining right sides together and sew one short edge together.
Step 7:
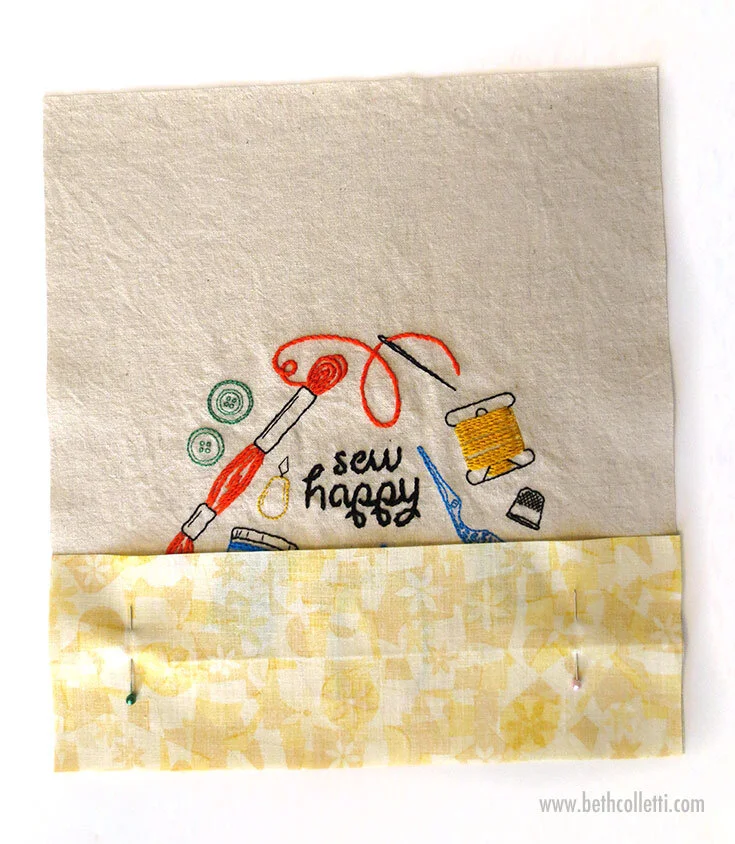
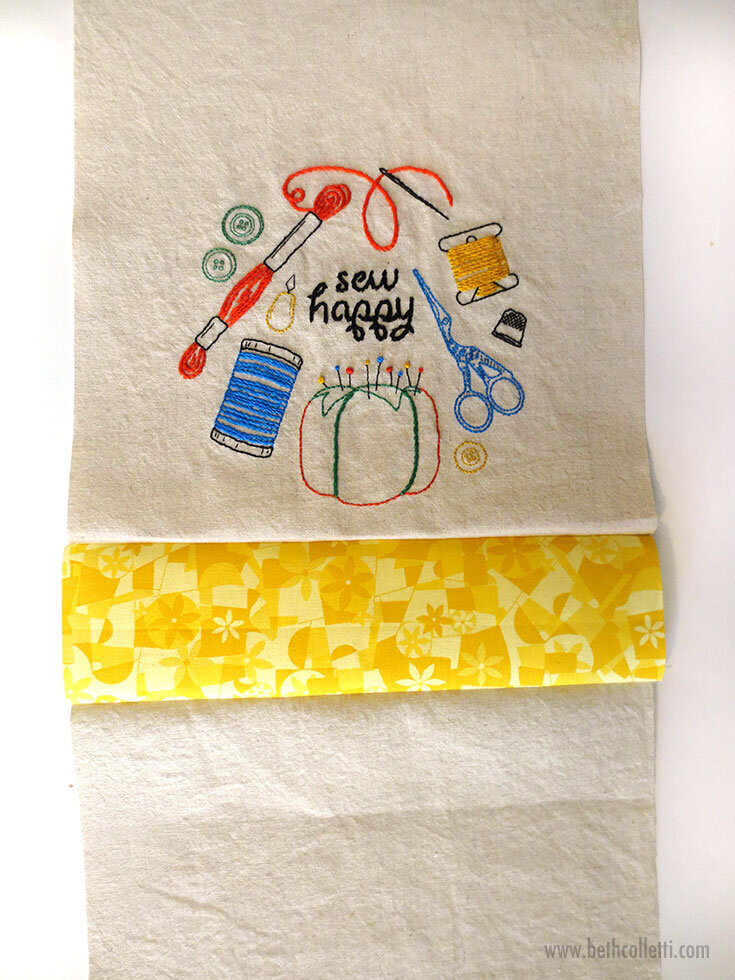
Pin the 3.5” piece of fabric to the bottom of your embroidered panel (right sides together) and sew along the bottom 10” edge. Press the seams open so the fabric lays flat.
Step 8:
Pin the other edge of the 3.5” piece of fabric to the other beige panel (right sides together) and sew along the bottom 10” edge. Press the seams open so the fabric lays flat. This is the outside of your bag.
Step 9:
Lay the beige fabric flat and pin it to the yellow fabric lining (right sides together). Sew only the shorter 10” sides together. Press the seams open.
Step 10:
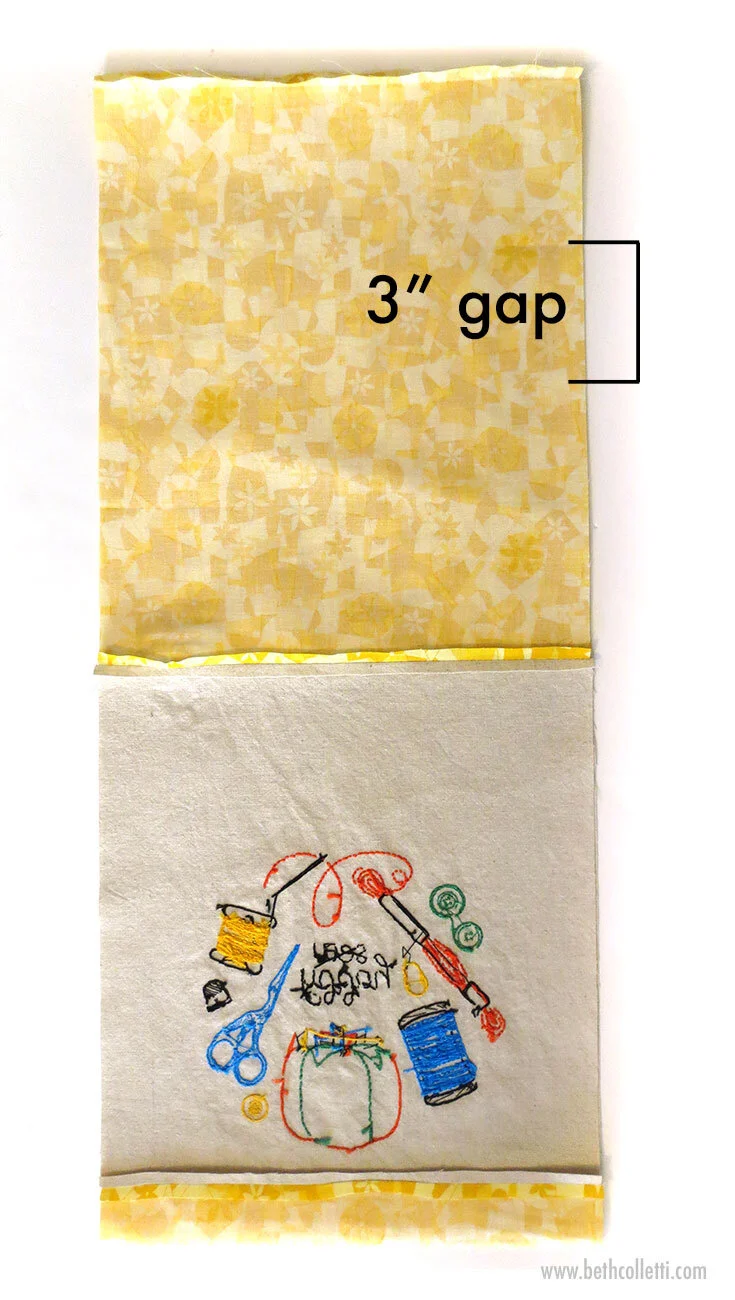
Take the pins out of your fabric and refold the bag so that the yellow liner pieces are facing each other and the outside beige pieces are facing each other (right sides together).
Step 11:
Pin the long sides together but leave a 3-inch gap on one side of your liner. (You’ll turn your bag right side out through this hole.)
Step 12:
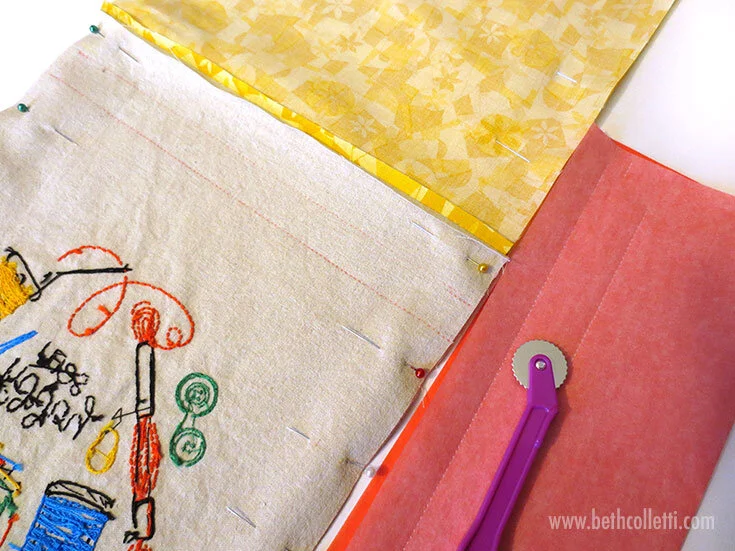
On your embroidered panel, mark a straight line one inch down from the top edge of the beige fabric. (You can use a tracing wheel and carbon paper to mark your fabric or a Chaco liner - marks from either rub out easily). Mark a second line .75” down from this first marked line. This is the channel for your drawstring and you’ll need to make sure that you leave the edges open when sewing around the outside of the bag.
Step 13:
Sew the long sides of the bag, avoiding the 3” gap in the lining and the .75” gap on both sides of the channel.
Step 14:
Turn the bag right side out through the hole you left in the liner.
Step 15:
Pin the hole in the liner closed and stitch it shut with a ladder stitch. (Bring your needle up inside the fold of your seam so the knot is hidden.)
Step 16:
Push the lining down into the bag. Mark on the embroidered beige fabric a line that’s one inch down from the top of the bag. Mark a second line .75” down from the first line. Repeat on the back of your bag. These lines should coincide with your channel.
Step 17:
Pin the beige fabric and your yellow liner together and sew along the lines you just drew at the edges of your channel. Be careful not to sew through all four pieces of fabric at once.
Step 18:
Once you’ve created your channel, use a large safety pin to thread one piece of twill tape through the channel. You want to go all the way from right to left, and then back around from left to right on the other side of the fabric. The ends of your twill tape will both be on the right side of your bag.
Step 19:
Repeat using the second piece of twill tape but approach from the opposite side. Left to right and then right to left so both ends of the twill tape are on the left side of your bag. Test the closure of the bag by pulling the twill tape ends in opposite directions.
Step 20:
Clip any frayed edges from your twill tape and knot together the two ends on the right side. Repeat on the left side.
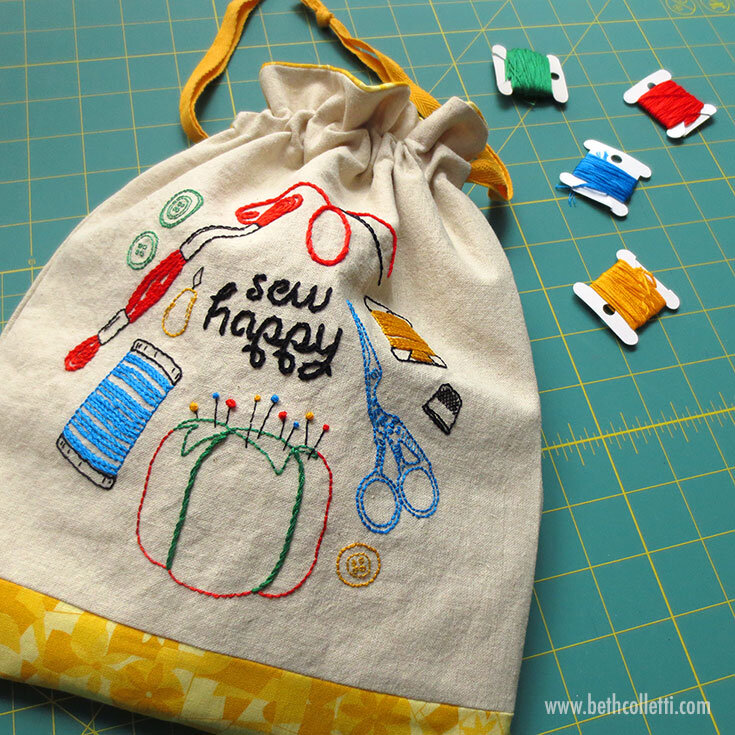
Your bag is ready to store your stitching projects, or help you take your embroidery on the go!

