(I am an Amazon Associate and from time to time will use affiliate links for products that I love, or that I think you will find useful. Should you choose to purchase with the provided links, I will receive a small commission from Amazon at no cost to you.)
It’s that time of year when everyone is thinking about purging, sorting, and getting organized! For a long time I had my many needles jammed in a bin with a lot of other little embroidery odds and ends, and I really wanted a more convenient (and cute!) way to store them. So I set out to create a needle book, and a tutorial to go along with it!
A quick search on Pinterest will reveal that there are a lot of needle book designs and patterns out there, but I really wanted one that had double thick pages so that I could insert needles on both sides. This type of layout also allowed me to add some pockets and other embellishments on the pages without the backs of my stitches showing. Thirdly, I wanted to include several pages in my needle book - I have A LOT of different needles for different applications and really wanted to keep them organized by size and type. And lastly, although I have a sewing machine, I wanted to create a needle book that could be hand-sewn in case anyone following along didn’t have a machine to use.
I love that this little needle book stores everything so nicely. Plus its size makes it easy to toss into your luggage when traveling so you can stitch on the go!
If, like me, you not only want to organize your needles and embroidery notions, but do it in a super-functional and pretty way, follow the steps below to stitch up your own needle book!
Supplies Needed
Felt: six pieces 4”x6”, two pieces 4.5”x7.75”, one piece 1.5”x3.5” + scraps (I purchased mine from Benzie Design)
Sharp scissors for cutting fabric
White gel pen for drawing on felt
A button about .75” in diameter (or smaller) for the clasp
Straight Pins
Embroidery scissors
Needles for stitching (I used size 22 and 18 chenille needles and a size 1 milliners needle)
Thread (I used pearl cotton size 8 and 5)
Iron
Ironing Board
Needles, pins and other notions to store inside of your finished needle book
OPTIONAL other assorted buttons (for decorating your cover)
OPTIONAL rotary blade or pinking shears
OPTIONAL rotary mat
OPTIONAL Pencil
OPTIONAL Freezer Paper
Step 1 - Cut out your felt.
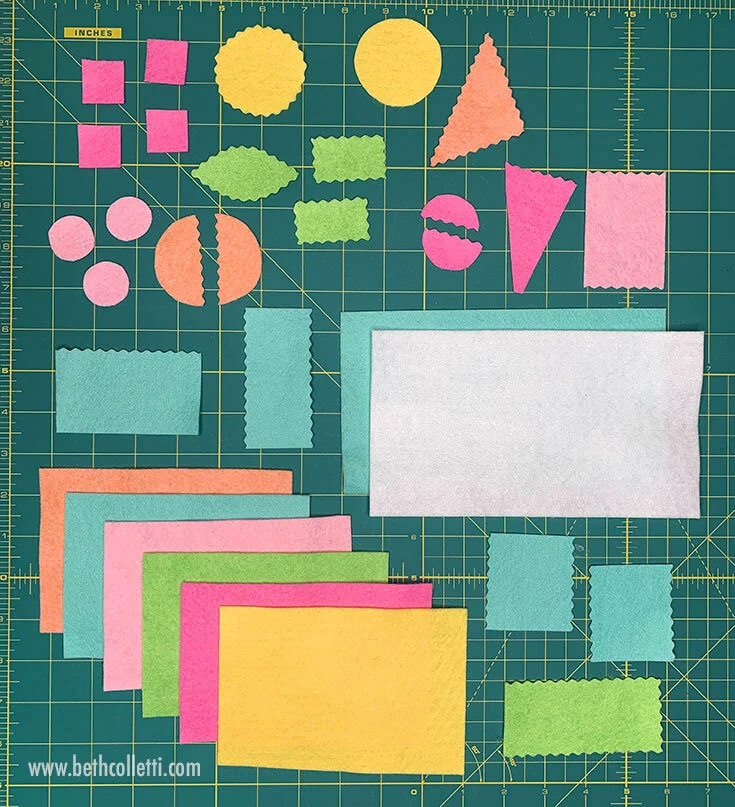
Begin by cutting out all of the pieces you’ll need for this project - this includes six rectangles sized 4”x6” for the pages, two rectangles sized 4.5”x7.75” for the inside and outside cover, and a rectangle 1.5”x3.5” for the clasp. Note: If you decide to create your needle book with fewer pages, you’ll have to adjust the size of the cover since your book will have a narrower spine.
Cut out your felt pieces.
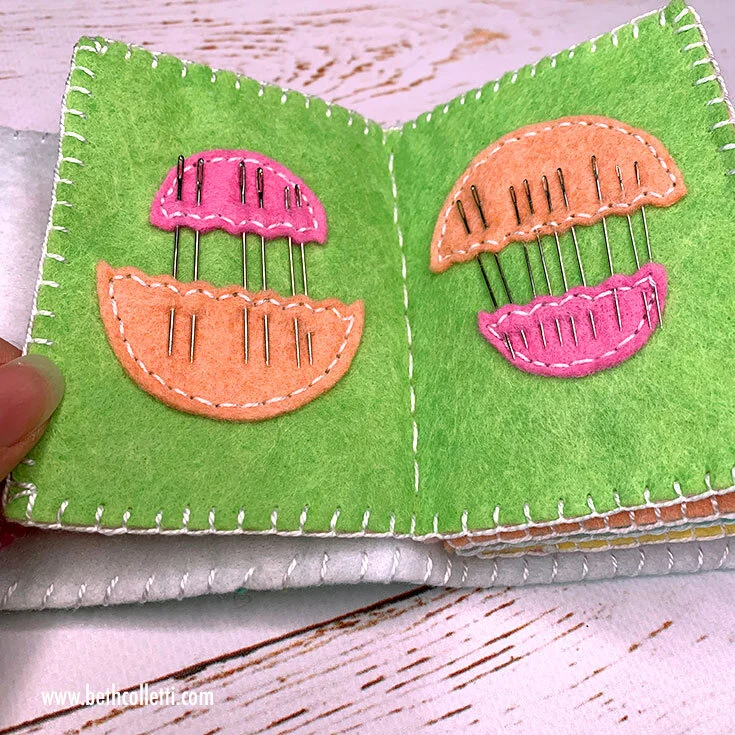
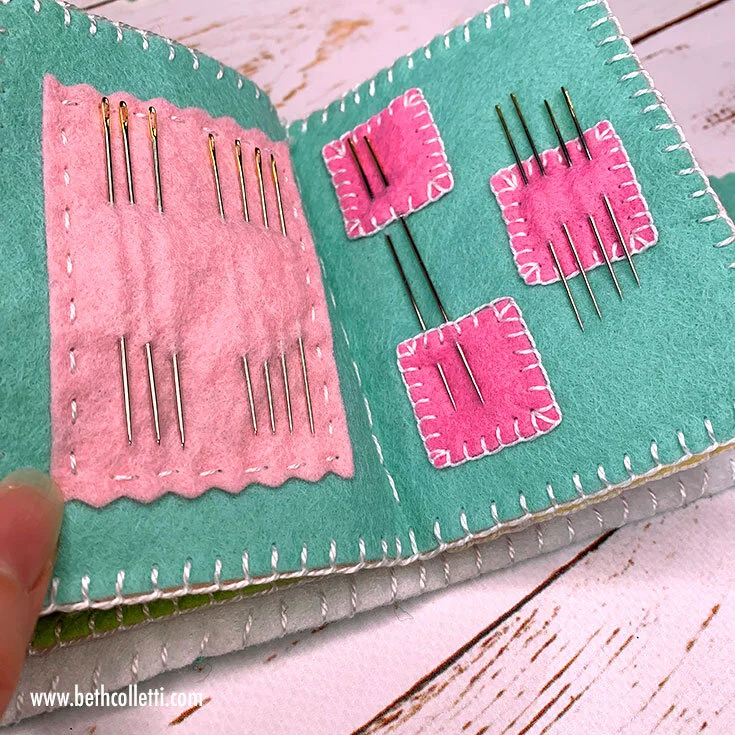
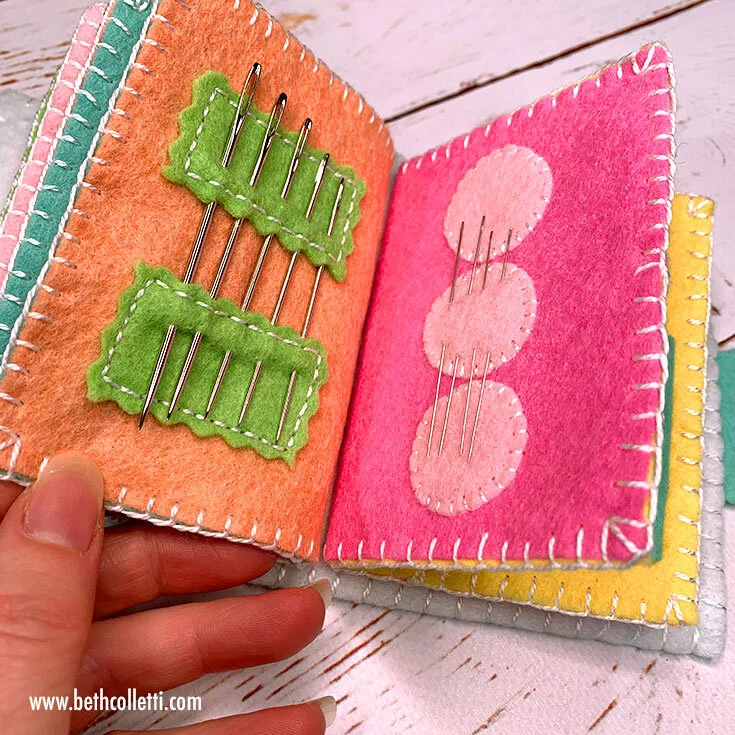
If you’d like to include pockets or other decorative elements for your pages, cut those out as well. I used felt scraps to cut out an assortment of geometric shapes such as circles, rectangles and triangles and then added decorative elements with a scalloped rotary blade. The pocket I cut out for my needle threaders was about 3.5”x2”.
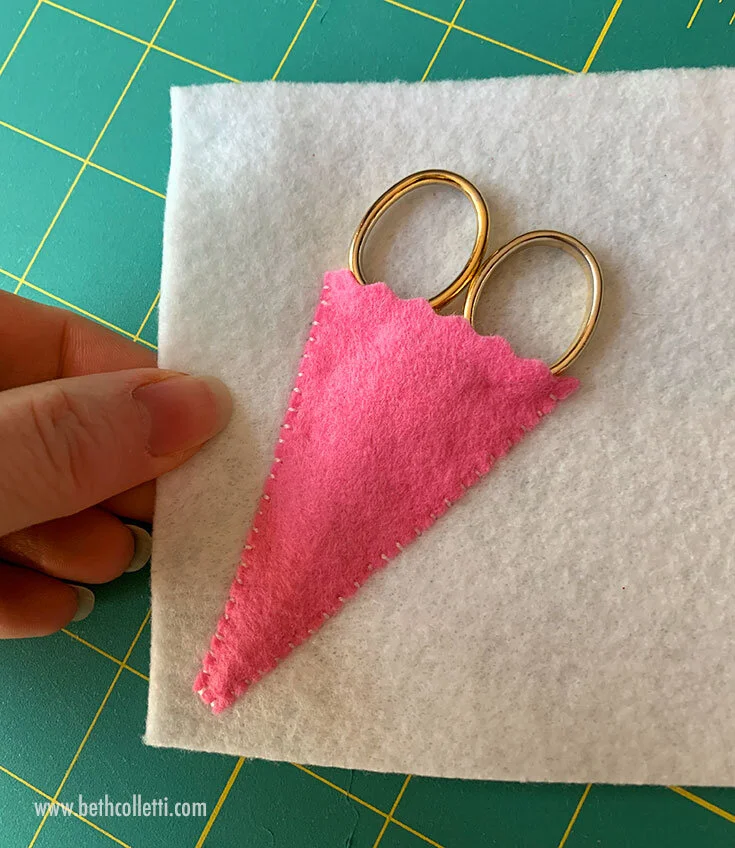
I also knew I wanted to include a pocket for my embroidery scissors in this needle book. Using the technique shown in this scissors caddy tutorial on Benzie Design, I measured out a felt pocket with a pencil and freezer paper to store my favorite embroidery scissors.
Step 2 - Add embellishments to your pages.
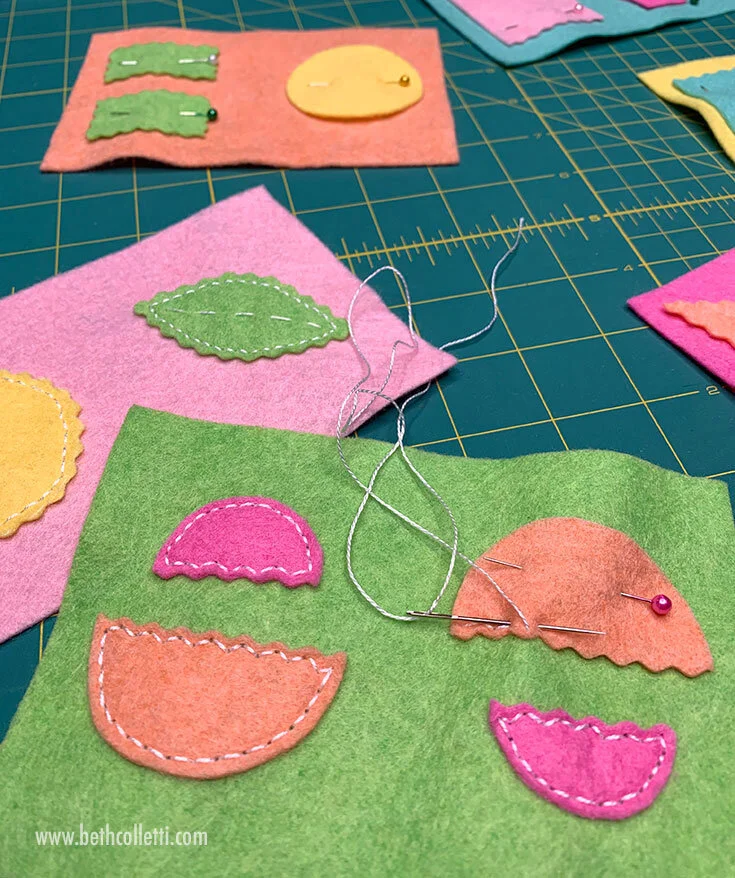
Once you have all of your desired pieces cut out, it’s time to embellish your pages. Take your six 4”x6” rectangles and add whatever decorative elements you want. Be sure to only add pockets and embellishments to one side of each of these rectangles. Later on you will stitch them back to back so the back of your stitches are hidden.
Embellish your felt pages as desired (one side of each).
As I added my embellishments, I also chose to leave space around the edges and center of each of these rectangles since they will get stitched together and folded in half. Decorate your pages as much or as little as you’d like!
Step 3 - Embellish the cover and attach your felt clasp.
Next it’s time to work on the cover. Choose one of your 4.5”x7.75” rectangles to be the inside of your cover. The center of this rectangle will contain your pages so leave that area open for your spine. If desired, add pockets to the left and right side. Note: Consider leaving the open side of the pocket facing toward the spine so that the contents can’t accidentally fall out.
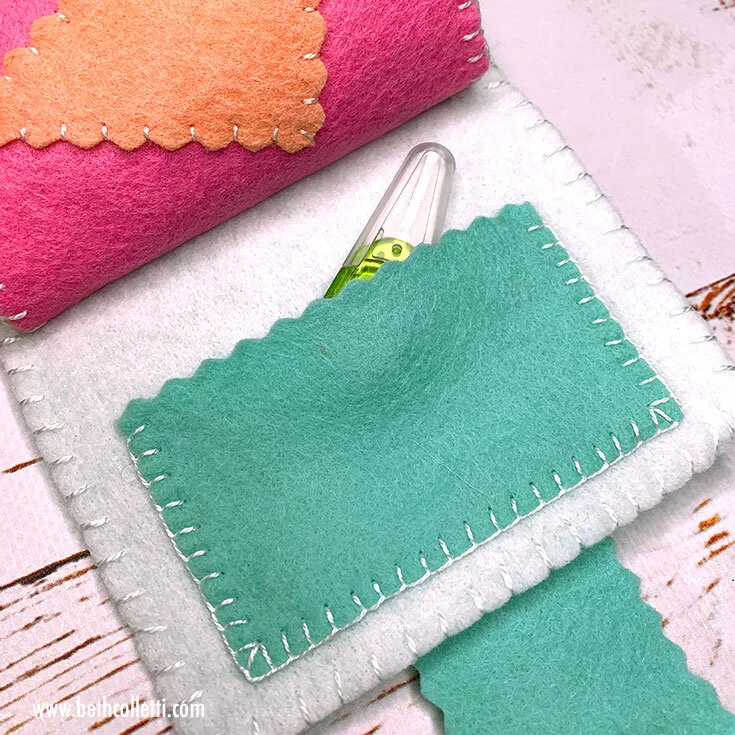
My inside front cover: I decided to add a scissors pocket on the left side and a pocket for my needle minders on the right side.
Ta-da! A pocket for your embroidery scissors.
Take your other 4.5”x7.75” rectangle for the outside of your cover. Leave room at the center of the rectangle for the spine stitching. The right side of the rectangle will be your front cover. The left side will be your back cover. Attach a .75” diameter button to the felt .375” in from the right side and centered vertically.
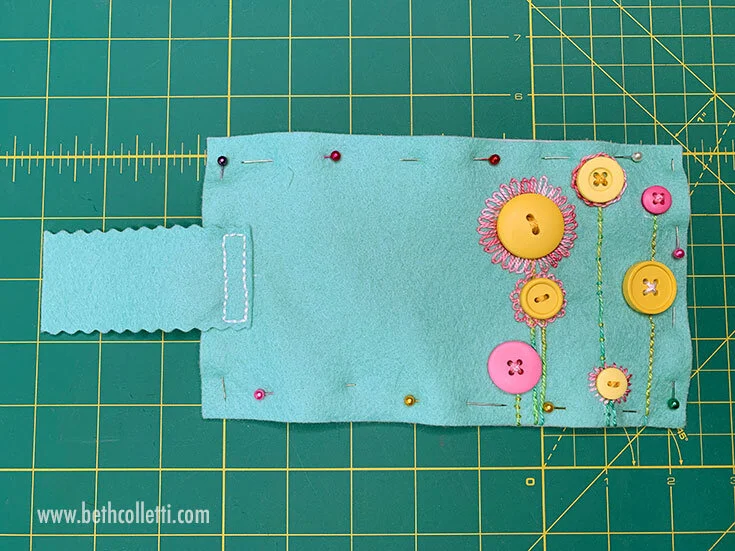
Next take your 1.5”x3.5” piece of felt for the clasp and position it on the left side of your felt. Center it vertically on the short side and about .75” in, pin it in place. Make sure you are happy with the placement and that it lines up with the button on the right side of the felt. Then using a back stitch, attach the felt clasp to the left side (the back cover) about .25” in from the left edge.
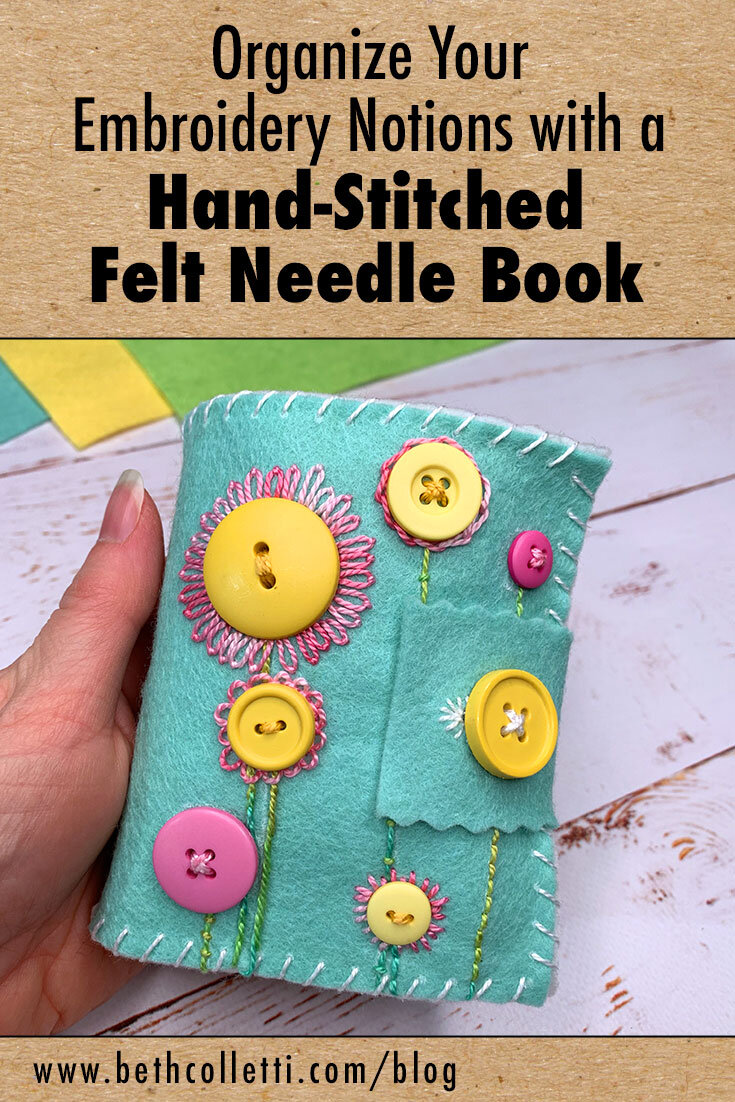
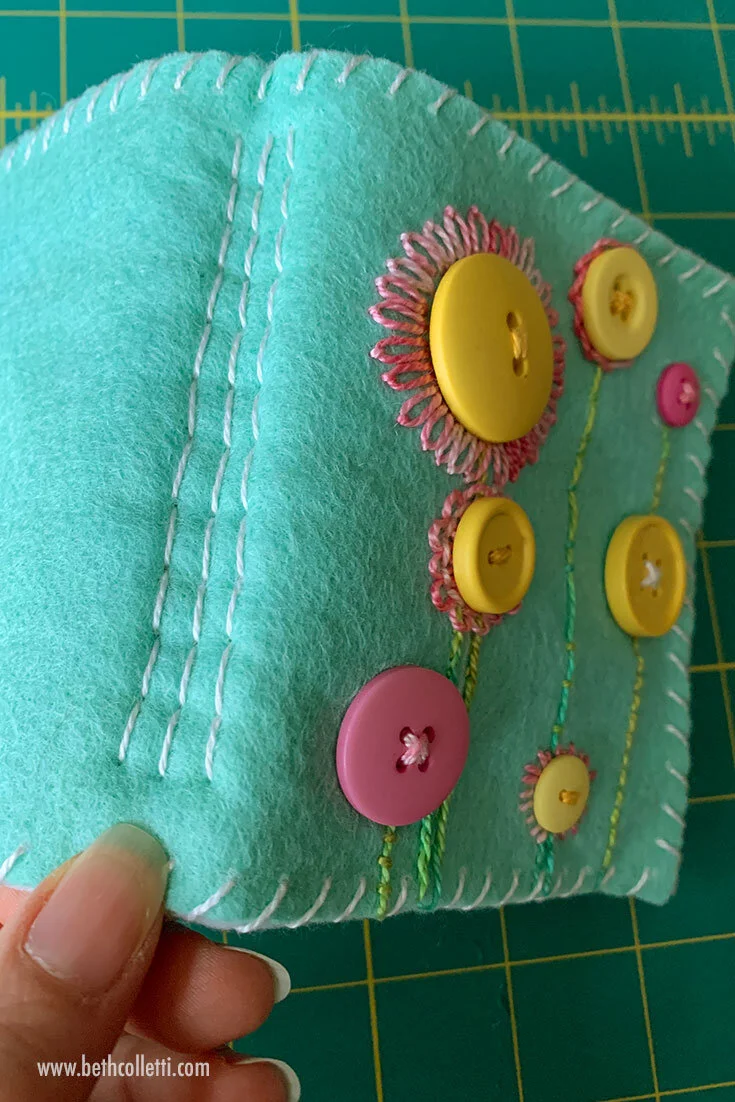
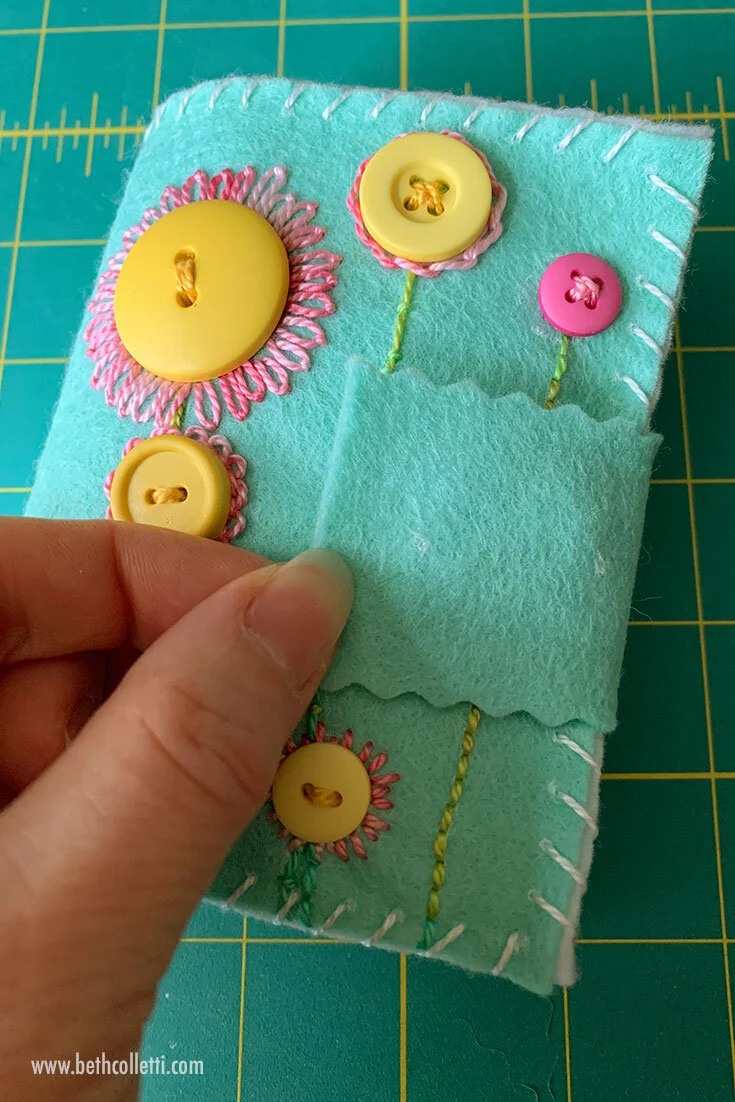
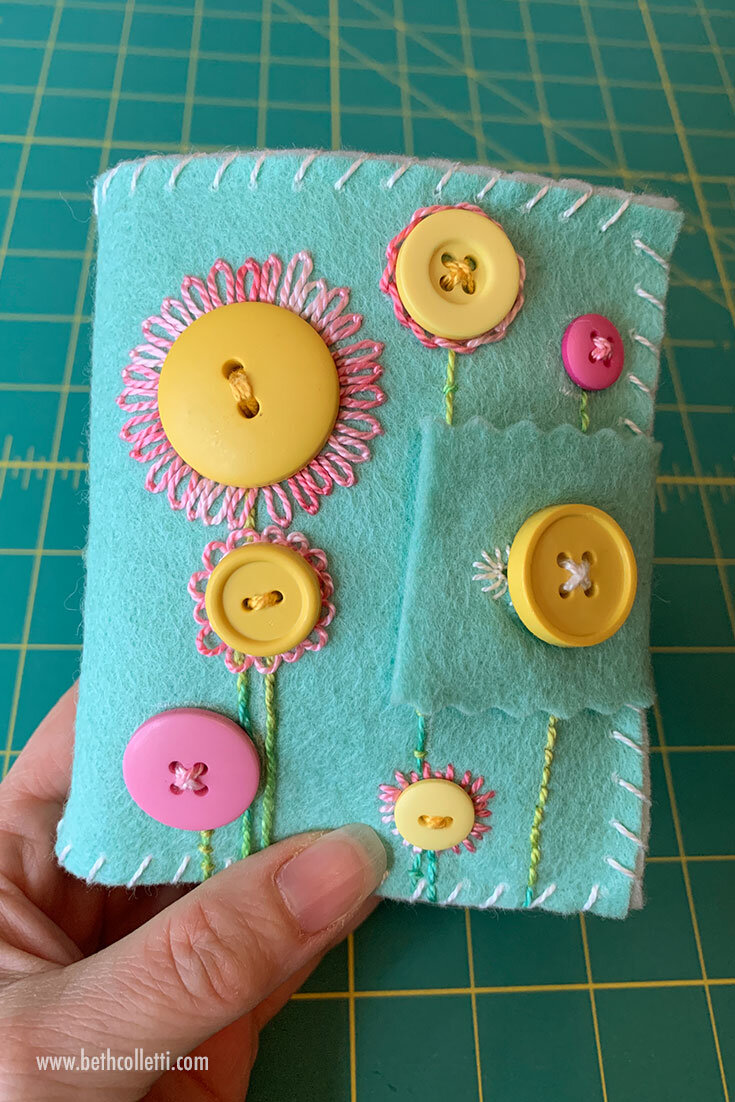
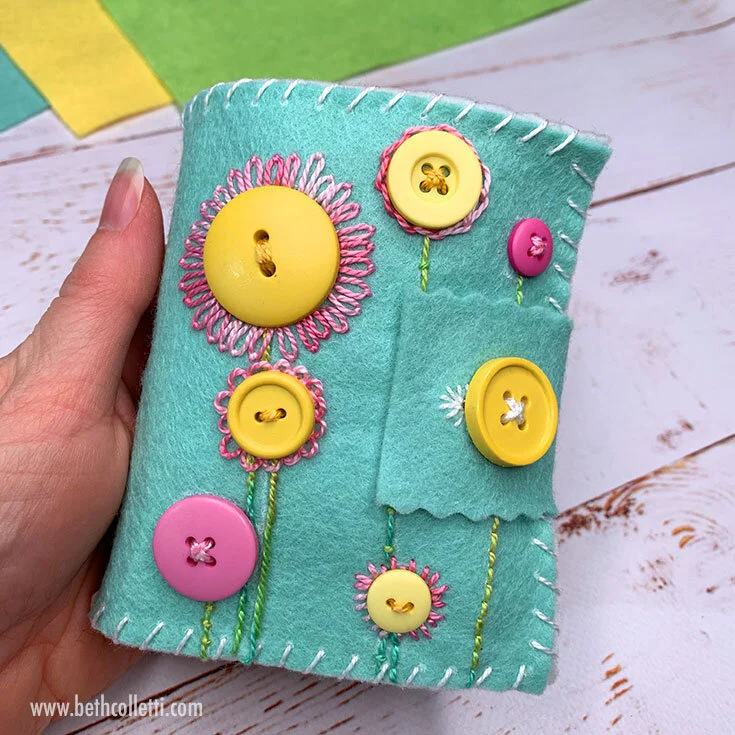
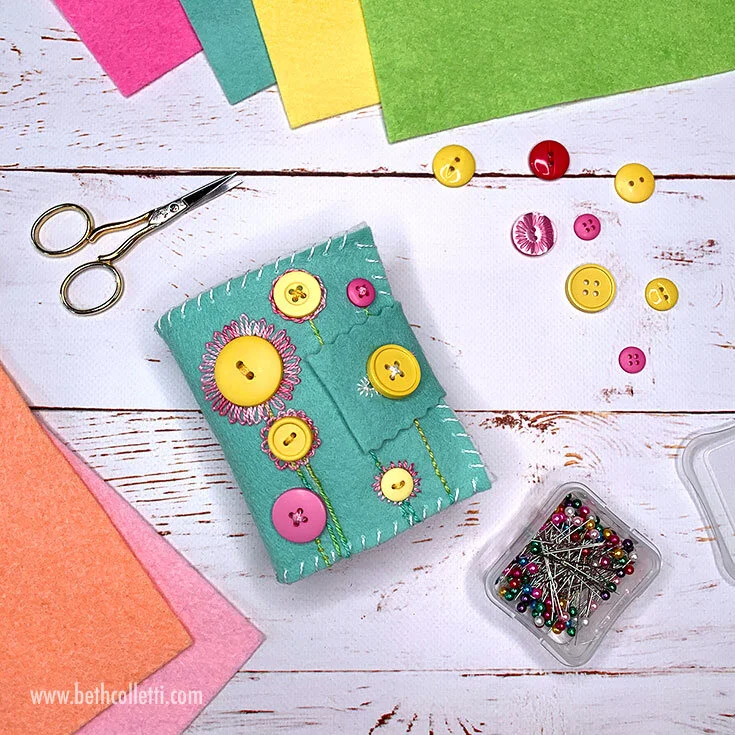
Embellish the front of your cover (right side) however you’d like. I added some cute buttons to mine and turned them into flower shapes.
Attach your felt tab on the outside front cover (left side).
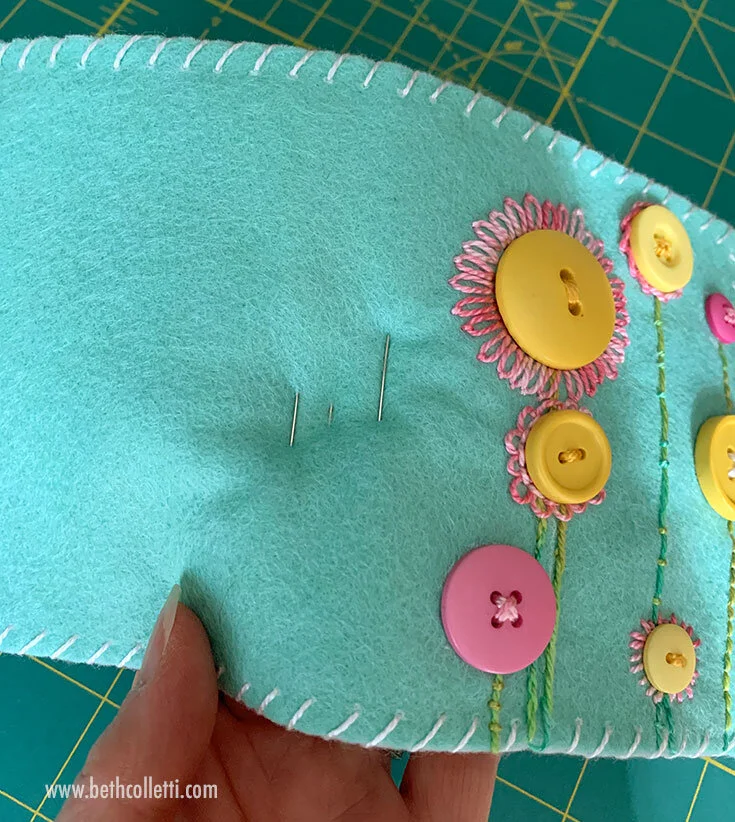
The outside cover of my needle book. The front is embellished with buttons and the yellow button furthest to the right is for the clasp.
Step 4 - Stitch your page spreads and cover pieces together.
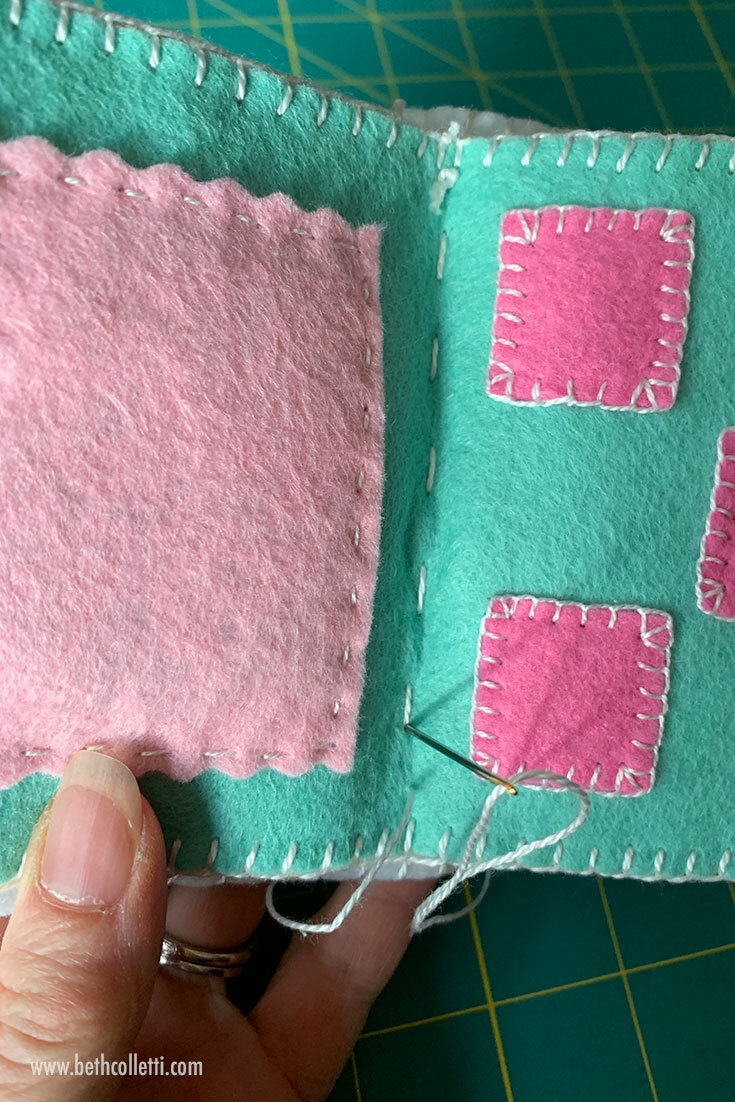
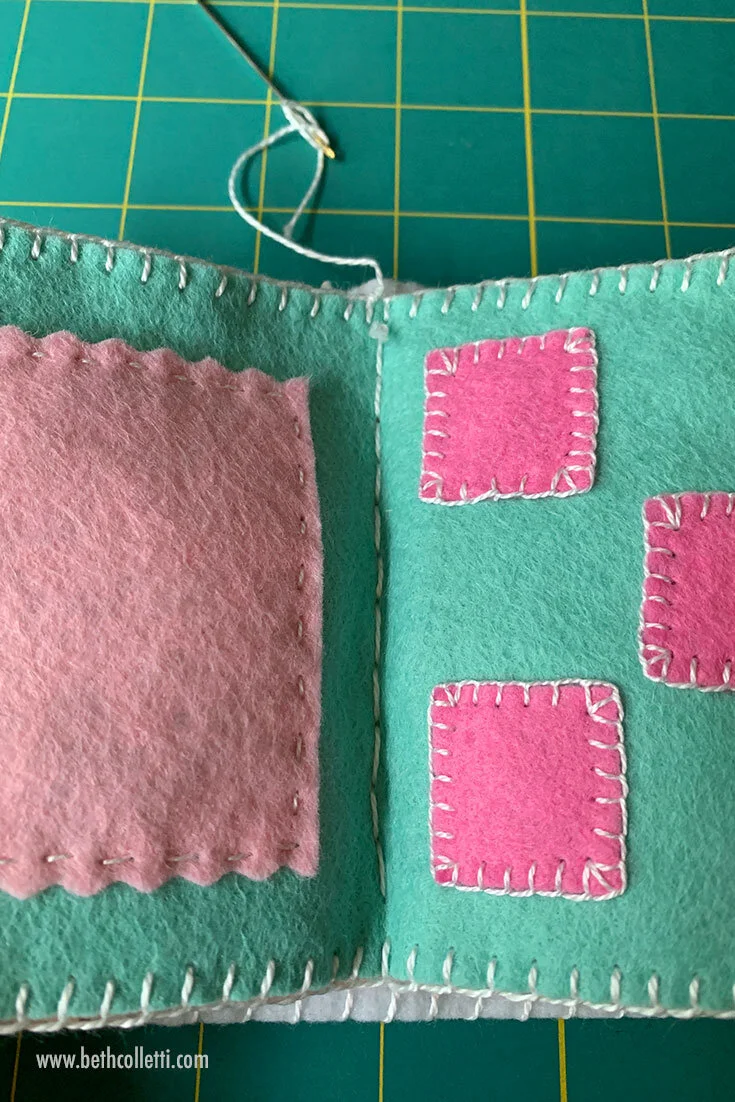
Now we’ll stitch our pages and cover pieces back to back. Pin two of each of your pages together so that you have three spreads. The wrong sides of your fabric and back of your stitches should be facing each other. Next, stitch each set of pages together using an overcast (whipped) stitch or a blanket stitch. Tip: Stitch through only one piece of felt to begin your stitch so that your knot is hidden between your two pieces. Watch the video below for reference.
Repeat this for each set of pages as well as the inside and outside cover. When stitching the cover pieces together, be sure to avoid stitching through the felt clasp.
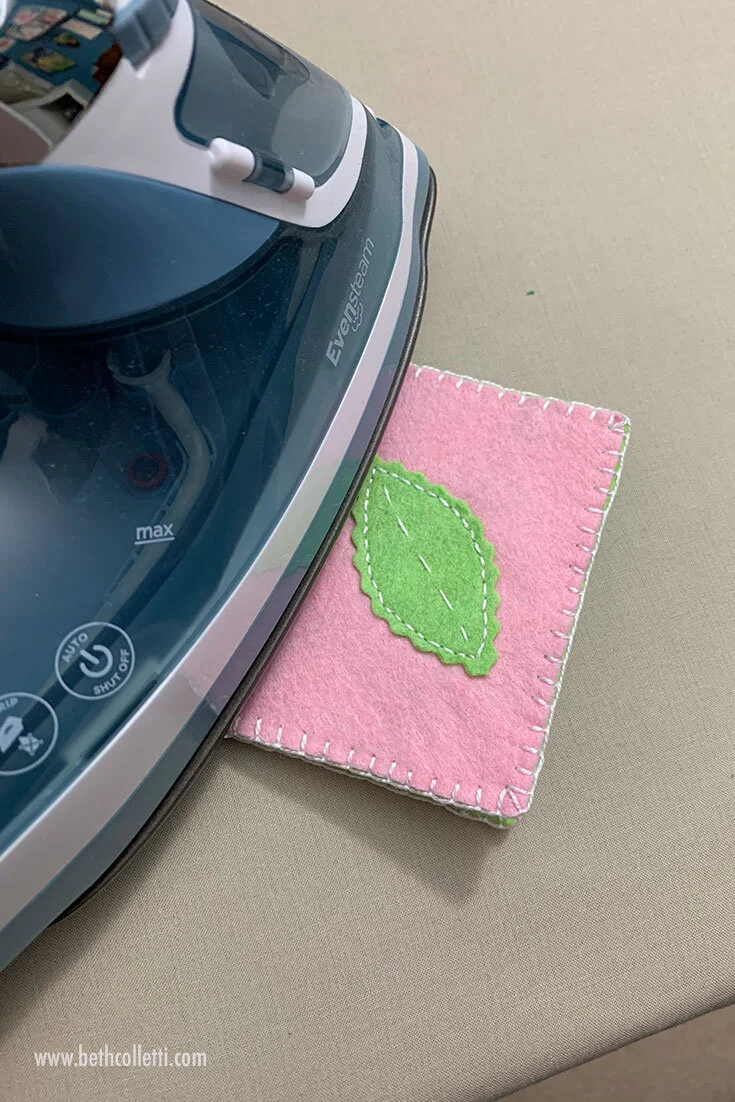
Fold each of your stitches pages in half and using a hot iron, create a crease for their spines. This will leave you with a three folded felt rectangles sized 3”x4”.
Iron the spine of your pages
Note: These folded rectangles can also serve as individual mini needle books if you just want to create something quick!
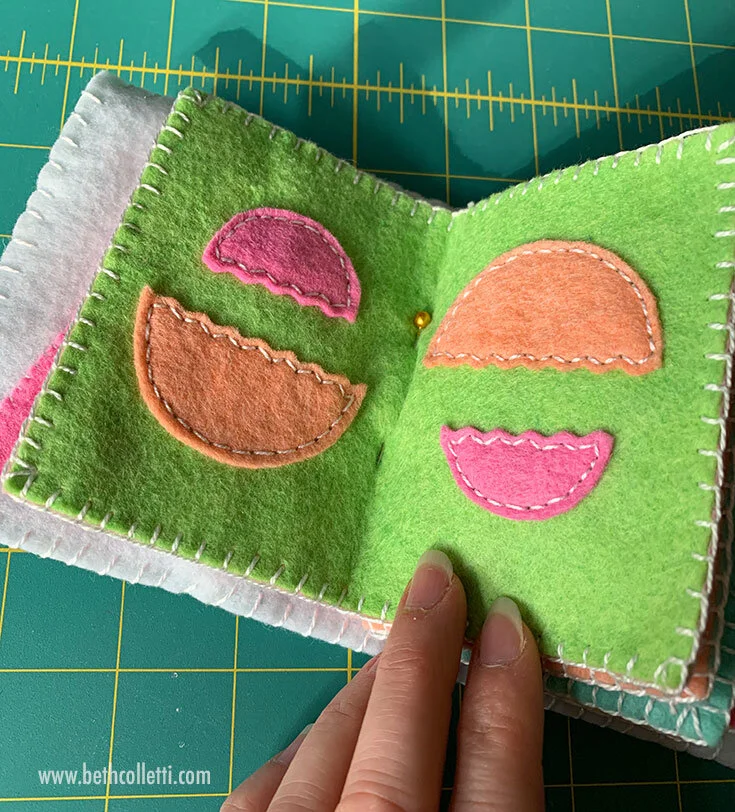
The three sets of pages for my needle book.
Step 5 - Attach your pages to the cover.
Stack your felt pages so they line up and the spines are all facing the same direction. Then center the stack of pages on the center (horizontally and vertically) of the inside of your cover. Fold your cover around your pages and pin each of the pages to the spine of the cover. Stitch down each spine with a double running stitch. Tip: Use a milliners needle to stitch this part, if you have one, and start by stitching the center page spread in place. Then stitch another spread to the right and left of the center spread.
Pin your felt pages into the center of your inside front cover.
Here’s what the outside cover will look like with the pages pinned in place.
Here’s what the inside spine area will look like with the pages pinned in place.
Attach the center set of pages first with a running stitch going through the spine. I used a milliners needle for this part.
Complete the stitches with a second set of running stitches to create a double running stitch.
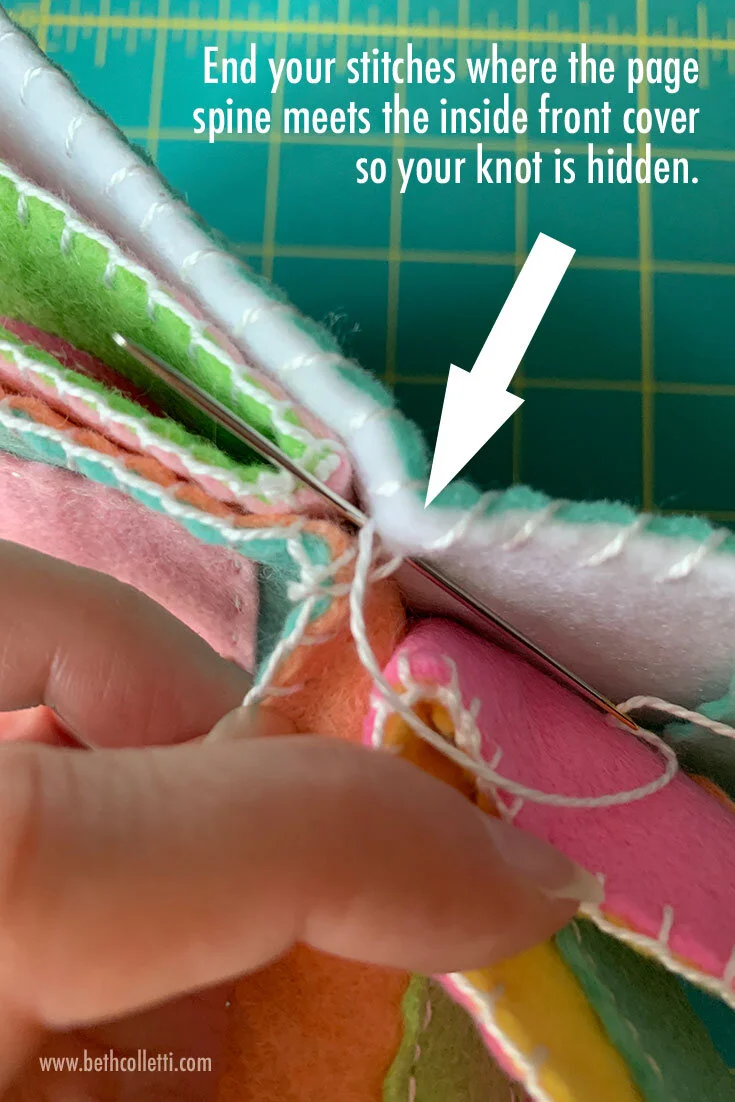
Hide your knot on the inside of the spine.
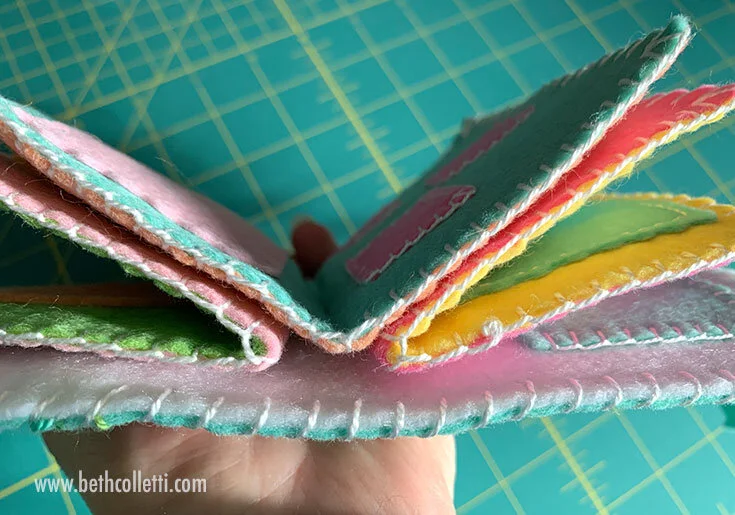
Here’s what the finished spine of your book will look like with the three sets of pages stitched in place.
Step 6 - Add a slit for your button.
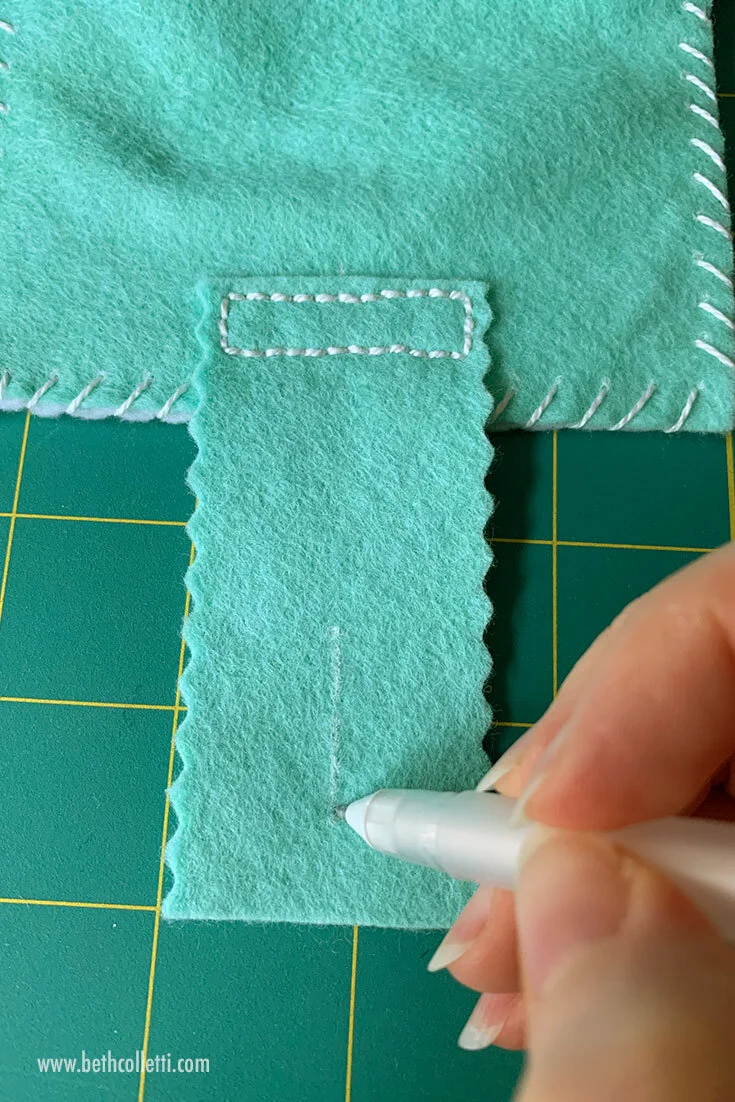
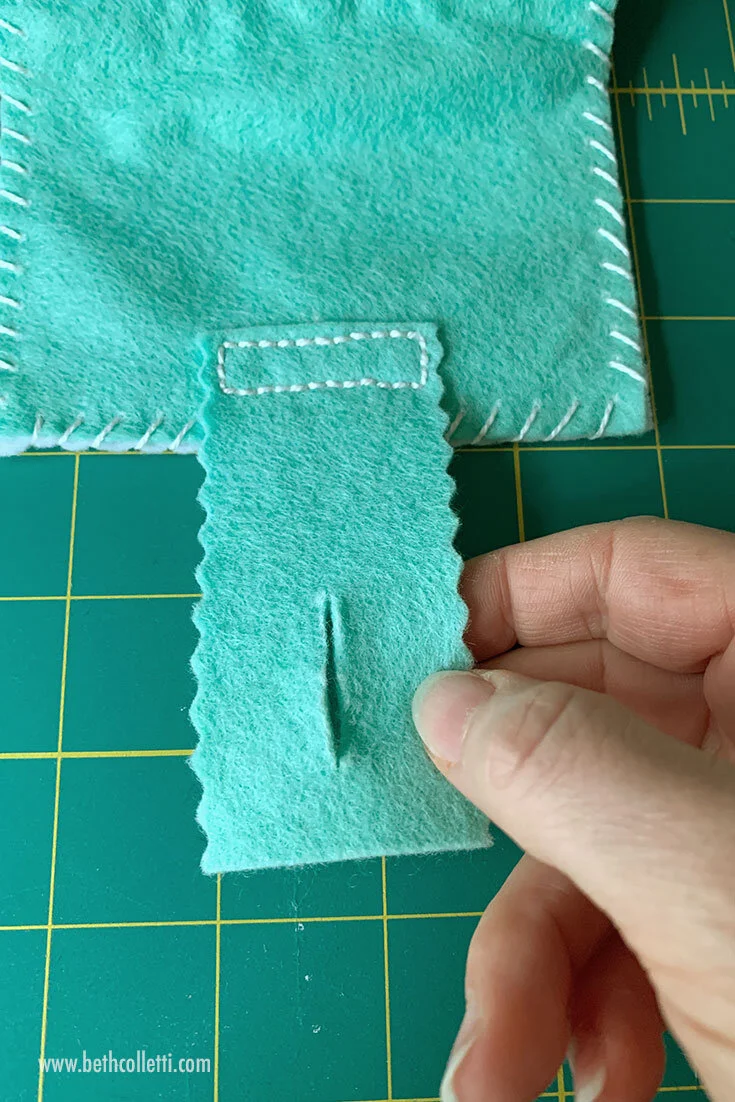
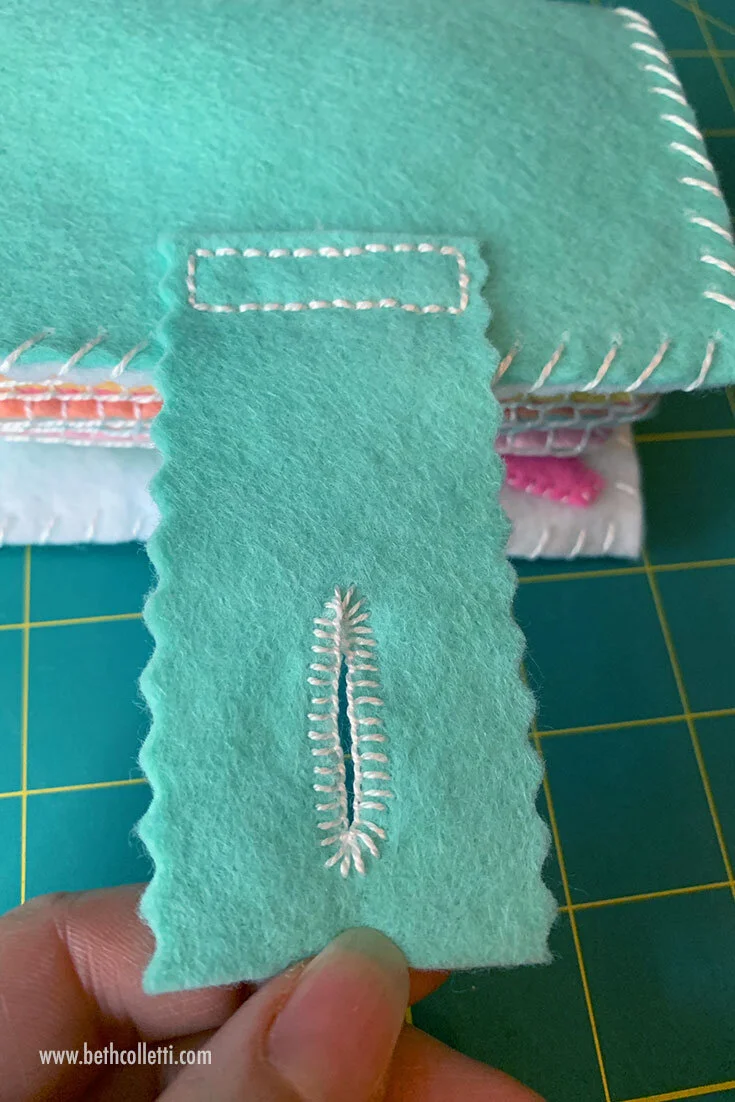
Once your pages are stitched to your cover, fold the felt clasp over your button and cut a slit just large enough for your button to fit through. If you’d like to reinforce the slit, you can stitch a blanket (buttonhole) stitch around the opening. Note: I used size 8 pearl cotton thread to reinforce mine.
Pull your clasp over your button and mark where its edges are.
Draw a slit for your button in the center of the area you marked.
Cut your button’s slit (I used a rotary blade for this part.)
If you’d like, you can reinforce your buttonhole with a buttonhole (blanket) stitch!
Secure your clasp with the button.
Step 6-1/2 - Secure your scissors, if needed.
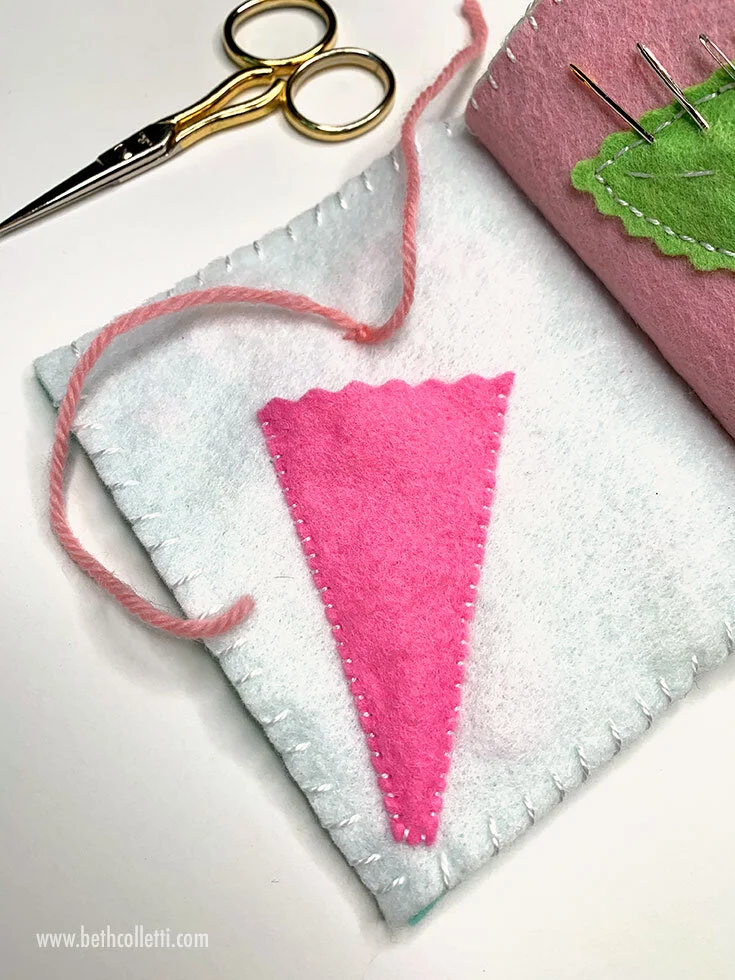
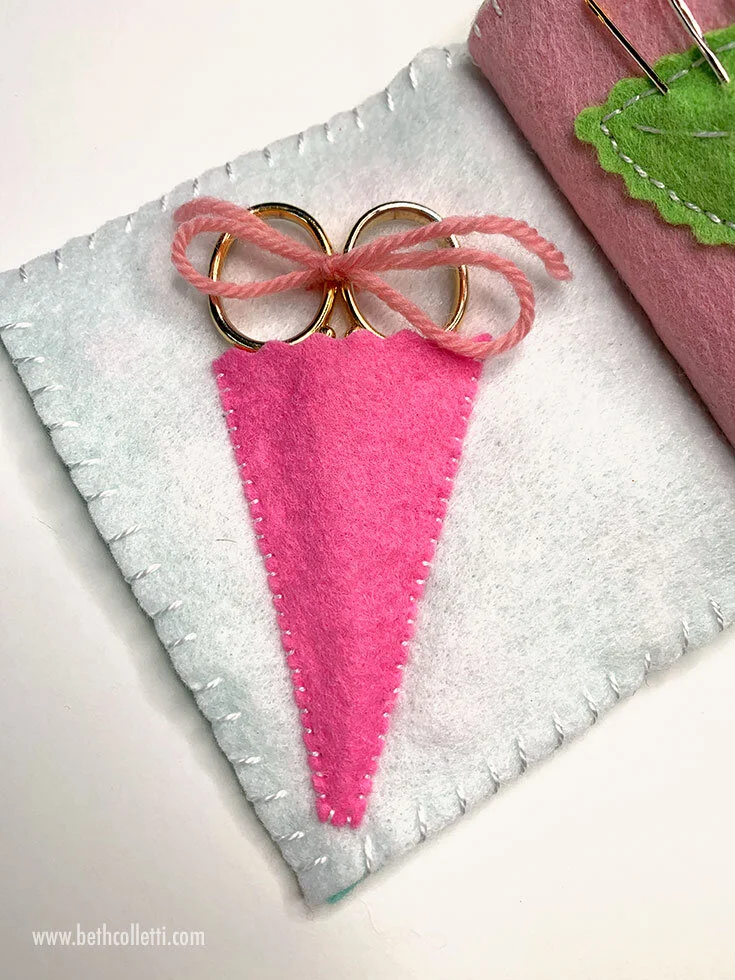
As I was filling up my needle book, I noticed my embroidery scissors kept slipping out of their pocket! So I added a small piece of yarn, strung through only my inside front cover and tied it in place. Now when the scissors are in their pocket, I can secure them with a little bow.
I ran a bit of tapestry yarn just under the inside cover and knotted it on the outside so it could serve as a tie for my scissors.
I use this bit of yarn to secure my scissors in their pocket.
Step 7 - Fill your needle book!
Voila! Your needle book is finished and ready to fill with all your needles and notions!
The finished needle book!
