(I am an Amazon Associate and from time to time will use affiliate links for products that I love, or that I think you will find useful. Should you choose to purchase with the provided links, I will receive a small commission at no cost to you.)
Do you love felt appliqué and hand embroidery? Did you know that you can turn most hand embroidery patterns into felt appliqué projects? By making a few small adjustments and using the technique in this article, you can give a favorite embroidery pattern a completely different look.
Not only is incorporating felt appliqué elements a fun way to add a pop of color to the shapes in your embroidery design, but it creates some great dimension in your projects too! Read the simple step by step tutorial below for a look at how to do it.
Supplies Needed:
Embroidery pattern of your choice (like this free ice cream cone pattern)
Background fabric
100% wool felt, wool blend felt or craft felt for the shapes you want to appliqué (I like to use the wool blend felt from Benzie Design)
Six strand embroidery floss that matches your felt colors
Thread for the embroidery portion of your pattern (you can either use the colors that the pattern suggests, or come up with a new palette)
Assorted embroidery needles
Small pair of embroidery scissors
Freezer paper for tracing felt shapes
Iron & ironing board for freezer paper
Sharp scissors for your felt appliqué shapes
Pencil
Straight pins
Erasable Frixion pen (optional)
Step 1:
Begin by identifying where you would like to incorporate felt appliqué into your embroidery pattern. Some areas that would be perfect for felt appliqué include:
Large shapes, such as the flower pot in this floral embroidery pattern.
Replacing areas that have fill stitches. The door of the beehive in this pattern would be a prime candidate!
A section of the design where you want to add some extra dimension, like the center of a sunflower from this stitch sampler.
Outlined shapes that you particularly want to highlight, such as the chicken in this embroidery pattern.
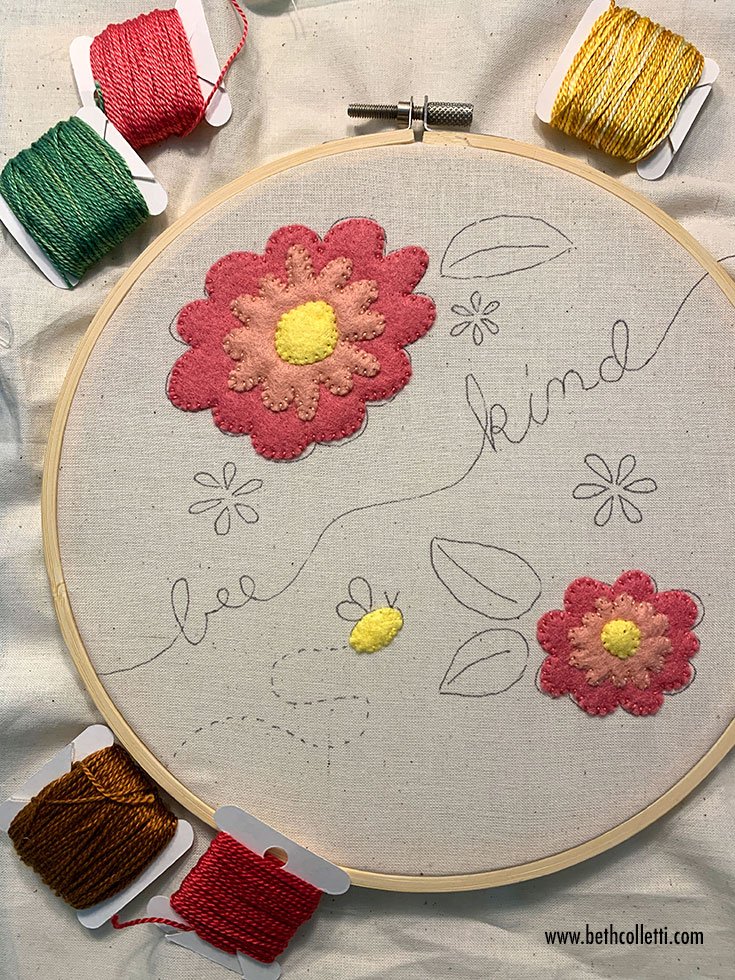
I decided I’m going to highlight some flowers in my Bee Kind embroidery pattern.
Step 2:
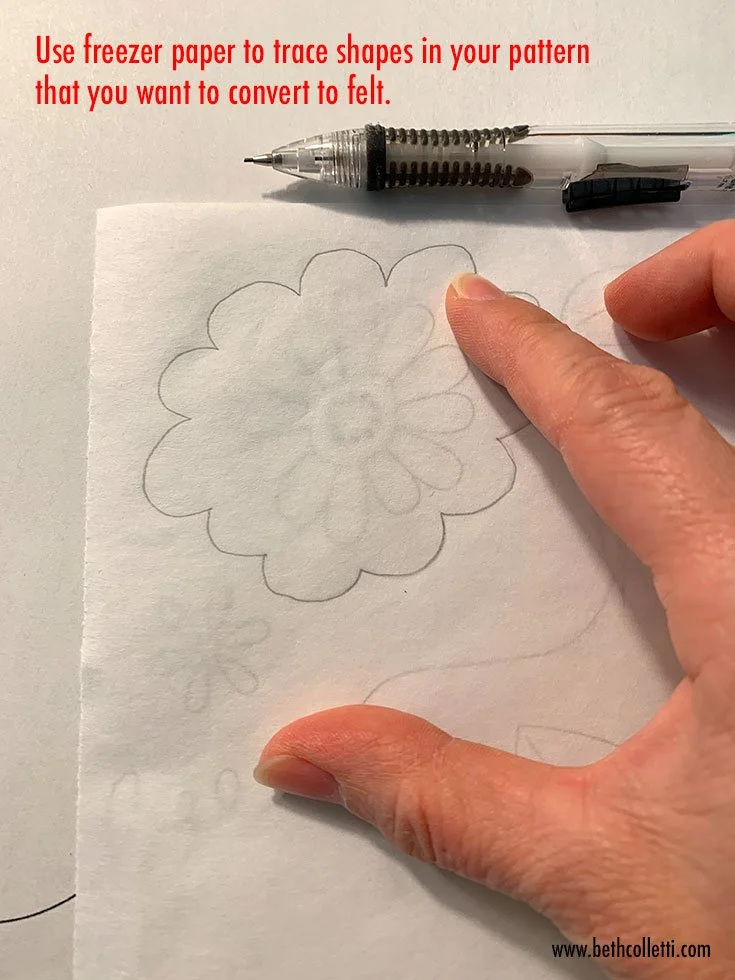
If your pattern is digital, print out the line art. If you already have a printed copy of your pattern, you’re ready to go. Using your freezer paper and a pencil, trace the shape(s) you plan to replace with felt. Follow these instructions to apply the freezer paper to your felt and cut out your shapes with sharp scissors.
Step 3:
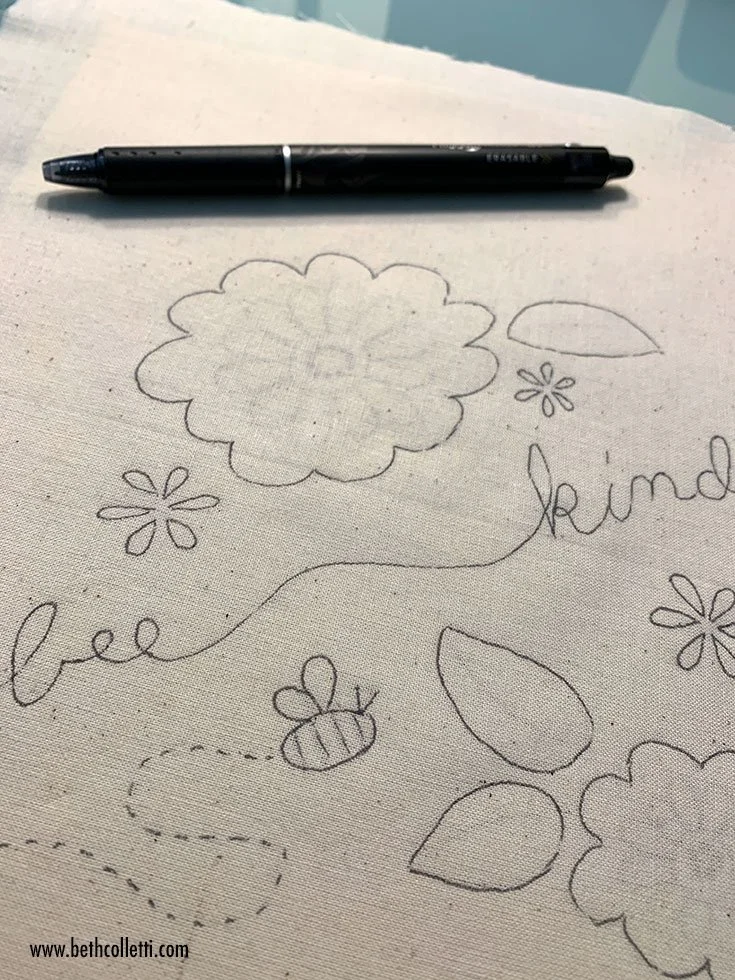
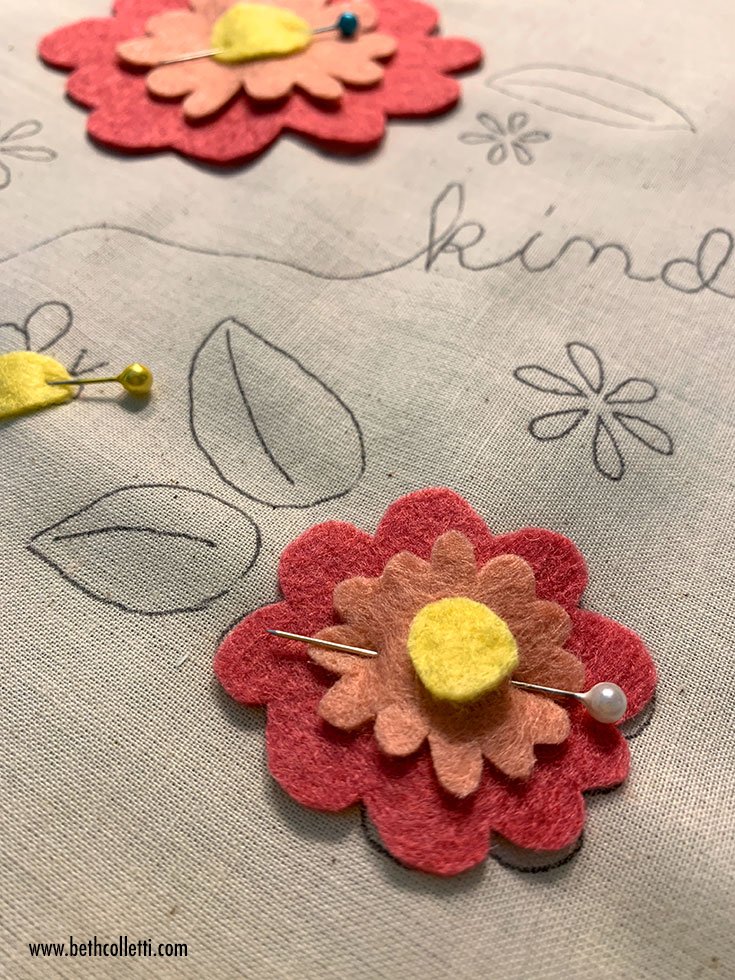
You’ll also need to transfer the full embroidery pattern to your background fabric. I suggest using a method that doesn’t have to be rinsed out with water, such as an extra fine Frixion pen. Then pin the felt appliqué pieces in place using your pattern transfer marks as a guide. In my example below, I skipped tracing some of the details that will be covered by felt.
I left out some details in my pattern transfer since I’ll be covering some of the shapes with felt.
Step 4:
Attach your felt appliqué to the background fabric, and then stitch the rest of the embroidery pattern around it as desired. If you’d like to embroider additional details onto your felt appliqué elements, you can use one of these transfer methods to draw on your felt.
Once I’m done with embroidering details, I’ll use a warm iron to remove the Frixion pen lines.
A few tips to keep in mind when using this technique…
It’s ok to simplify complex shapes.
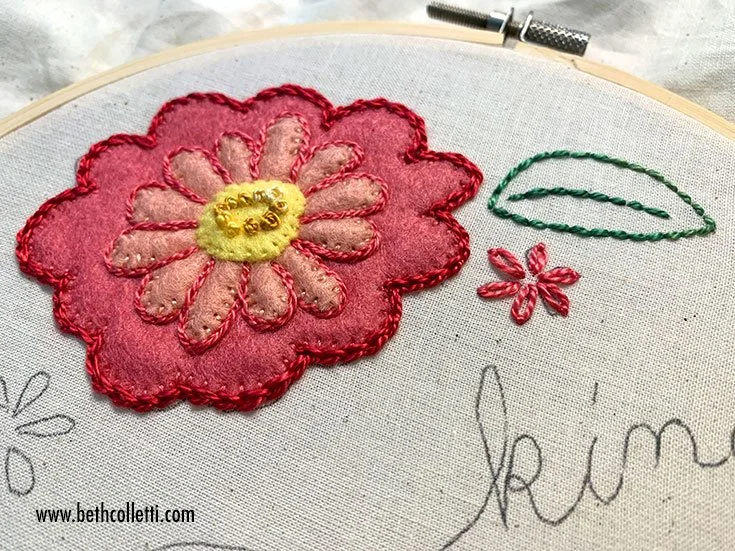
You can see that instead of cutting out a dozen individual flower petals in my example below, I combined them into one shape so they’d be easier to cut out.
Consider skipping felt appliqué on smaller shapes.
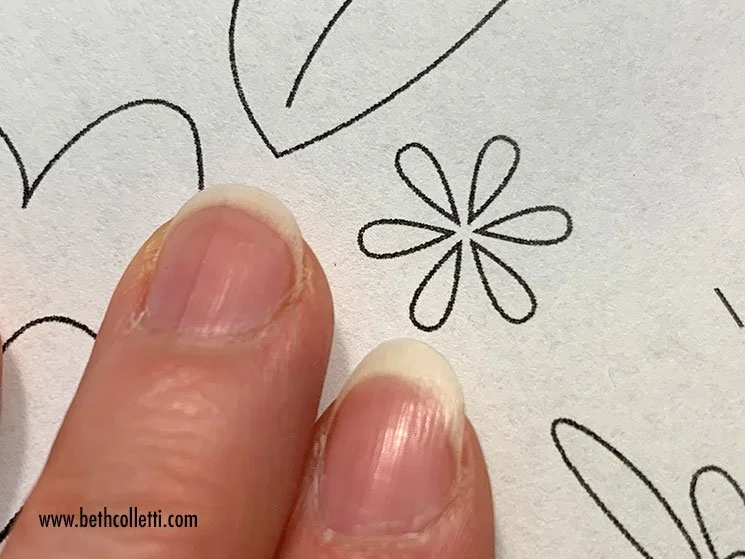
Smaller shapes, like the flower next to my finger, will be harder to cut out of felt. I usually embroider these details instead. However, if you want to cut out some smaller shapes from your felt, use sharp scissors to get nice clean cuts.
Choose your transfer method carefully.
If your felt has wool in it, rinsing it with water will cause shrinkage. Keep that in mind as you choose pattern transfer methods and supplies. I suggest using an extra fine Frixion pen with this technique and removing the lines with a warm iron.
Embellish your felt.
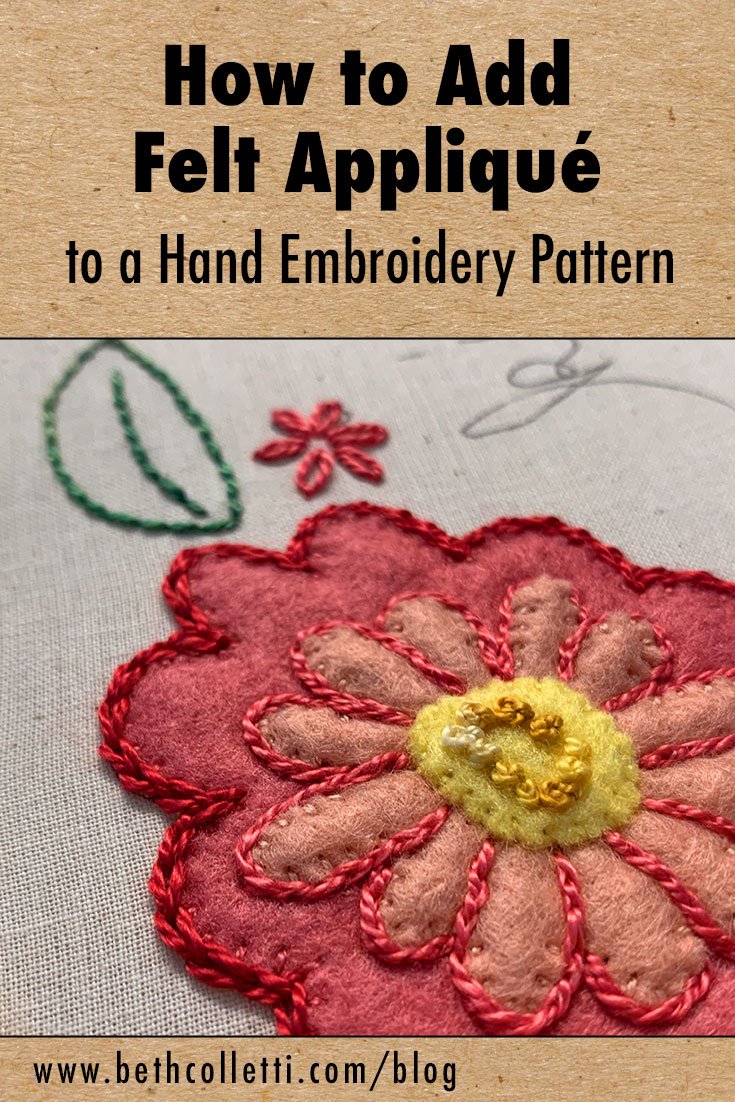
Part of what makes felt appliqué fun is embellishing the felt with stitches. (See mine below!) For stitch ideas, check out my free stitch videos, or for even more variety, take my online Step-By-Step Stitches for Creative, Textured Embroidery class.
Get creative!
Remember that you’re putting your own twist on an embroidery pattern with this technique. Think outside the box and do what works for you!
