(I am an Amazon Associate and from time to time will use affiliate links for products that I love, or that I think you will find useful. Should you choose to purchase with the provided links, I will receive a small commission from Amazon at no cost to you.)
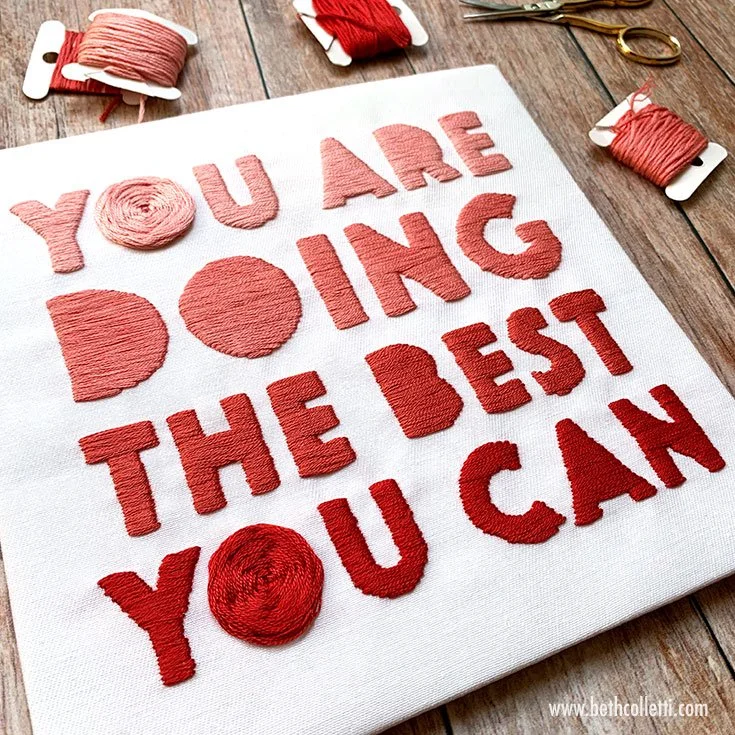
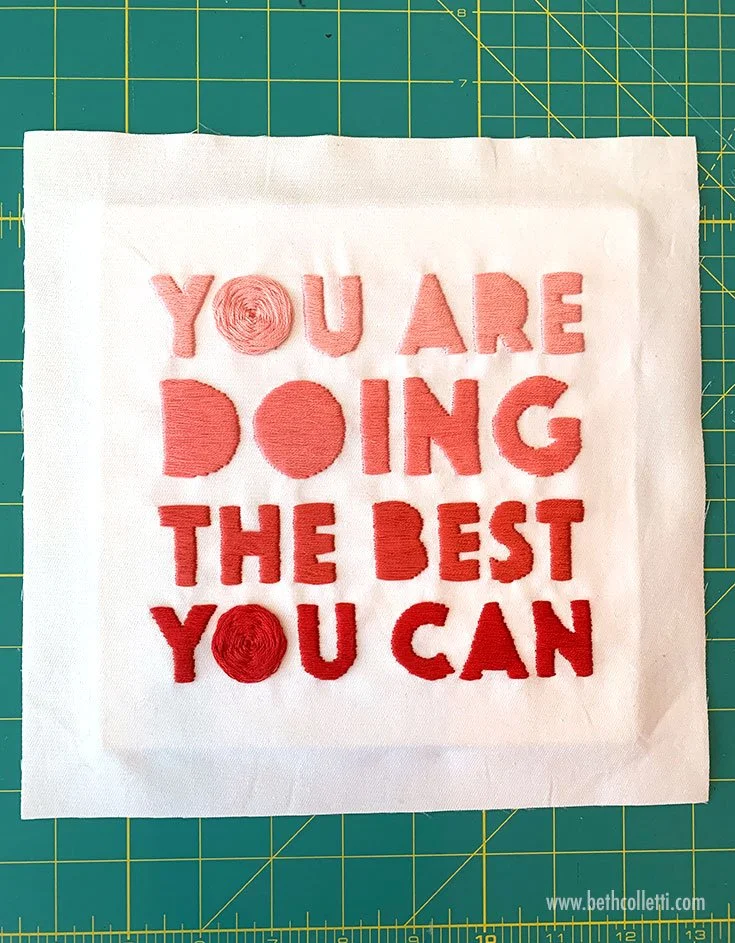
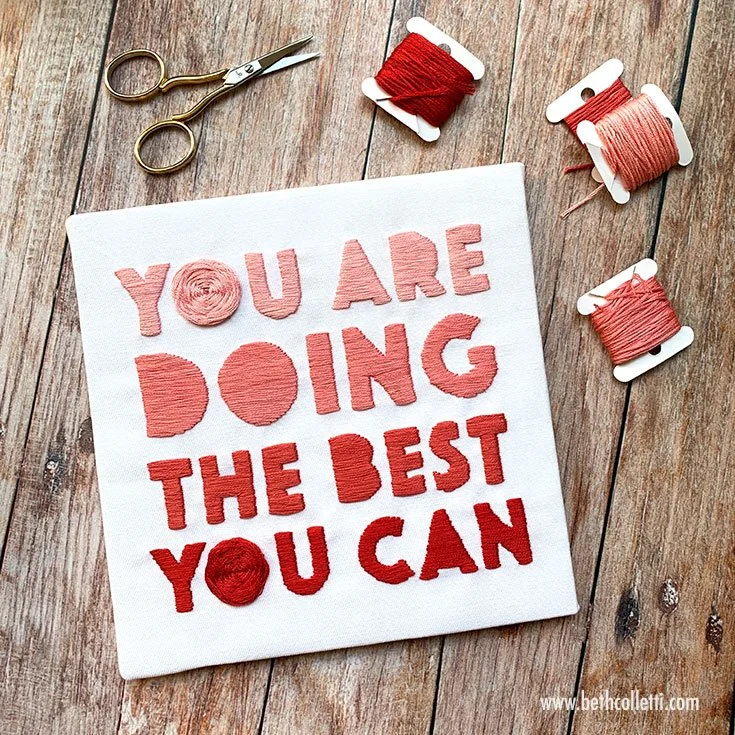
Displaying your embroidery project doesn’t mean it has to stay in a hoop. Download THE BEST YOU CAN embroidery pattern and follow the instructions below to create mounted embroidery that can be placed on a desktop, shelf, or mantle. Once the finished embroidery is mounted on adhesive board, you can also frame it.
Supplies Needed:
Finished “THE BEST YOU CAN” embroidery pattern on piece of 12x12” (31x31 cm) piece of fabric
7x7” (18x18 cm) piece of felt for backing
Iron & ironing board
Fabric scissors
Pencil
8x10” (20x25 cm) Acid-free adhesive mounting board for needlework
Hot glue and hot glue gun
Thin cord for hanging (optional)
FINISHED DISPLAY MEASURES: 7.5” wide x 7.5” tall (19x19 cm)
Step 1:
Using an iron, press out any wrinkles from your finished embroidery.
Step 2:
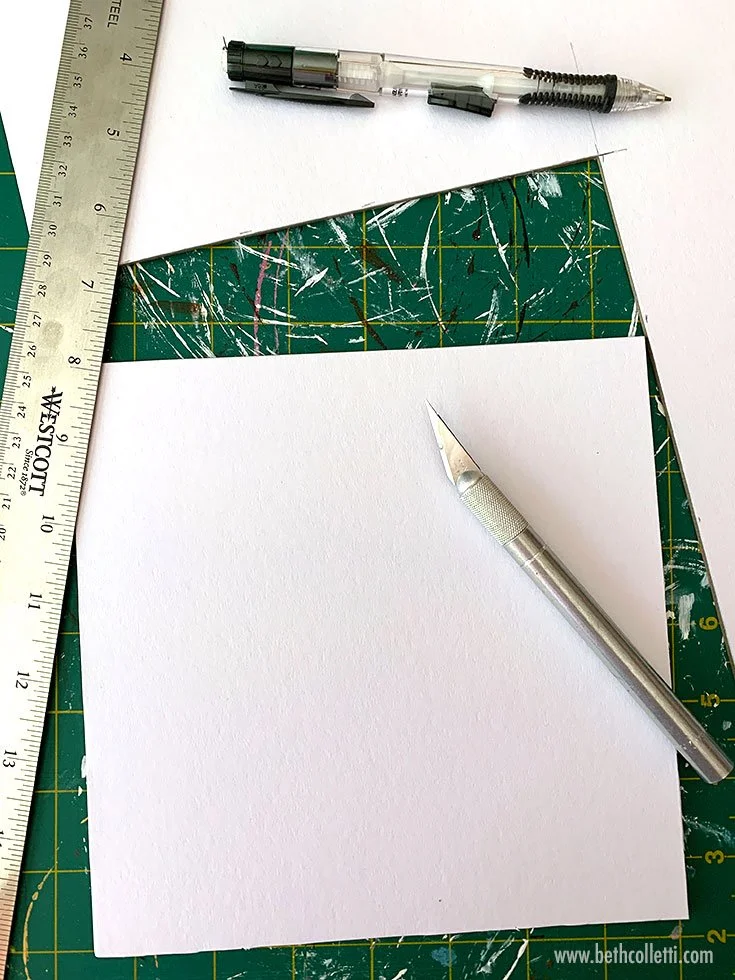
Use your ruler and pencil to draw a 7.5” (19 cm) square on the back (non-adhesive side) of the mounting board. Using your craft knife, ruler, and cutting mat, cut out the square of mounting board.
Step 3:
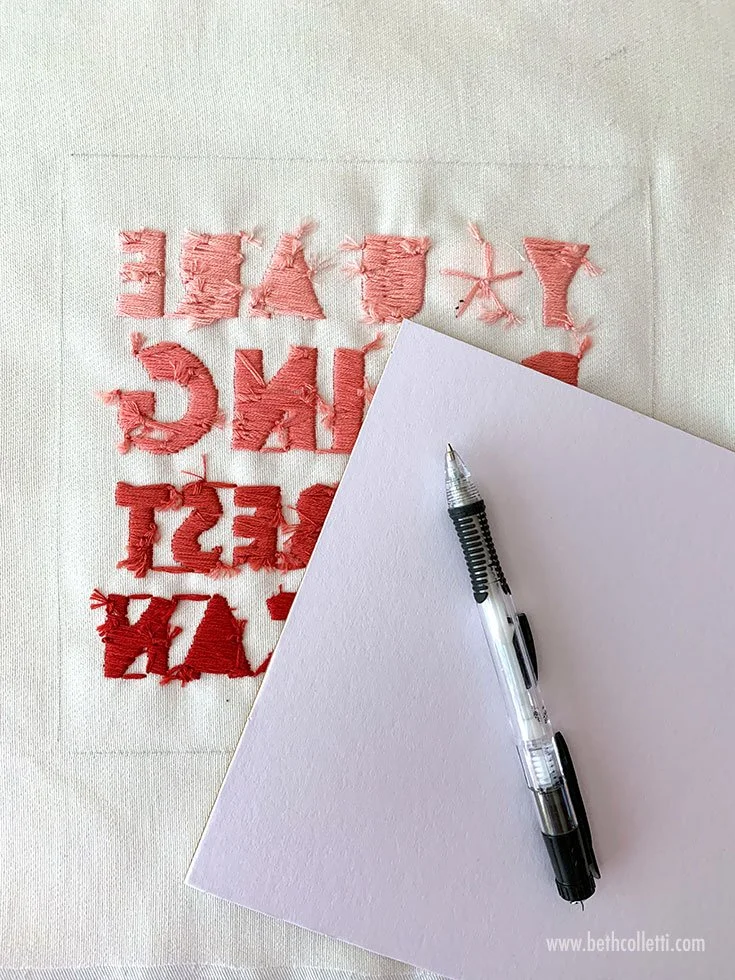
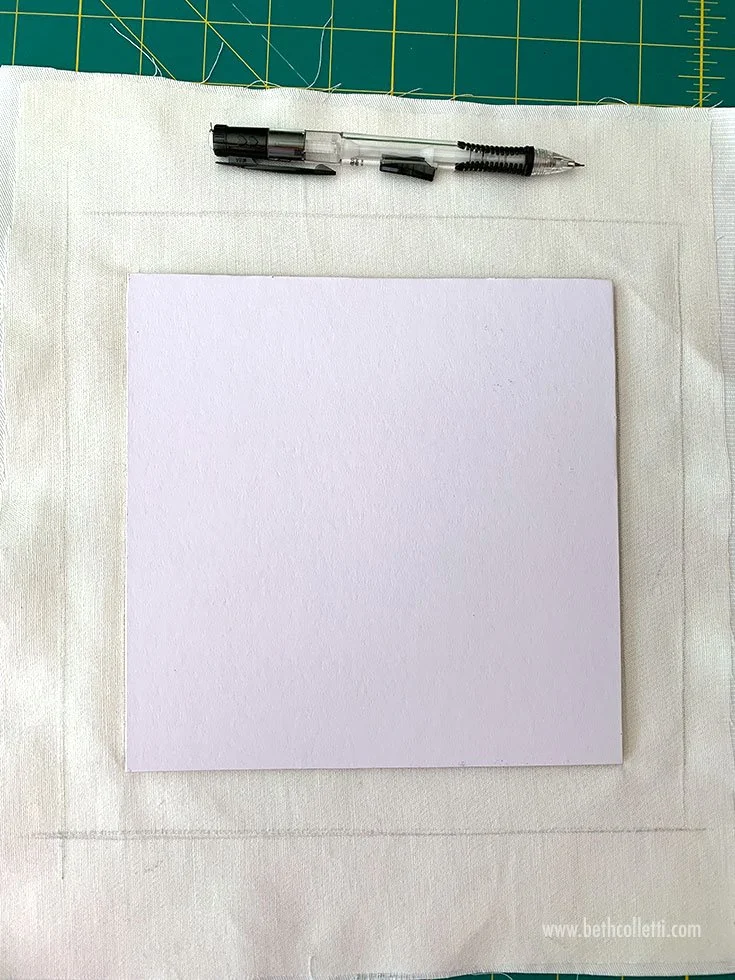
Lay your embroidery face down on your work area (the back of your embroidery should be facing up.) Without removing the paper backing from the adhesive, use the square mounting board as a template: lay it centered over the back of your embroidery and lightly trace around the square on the fabric with the pencil.
Step 4:
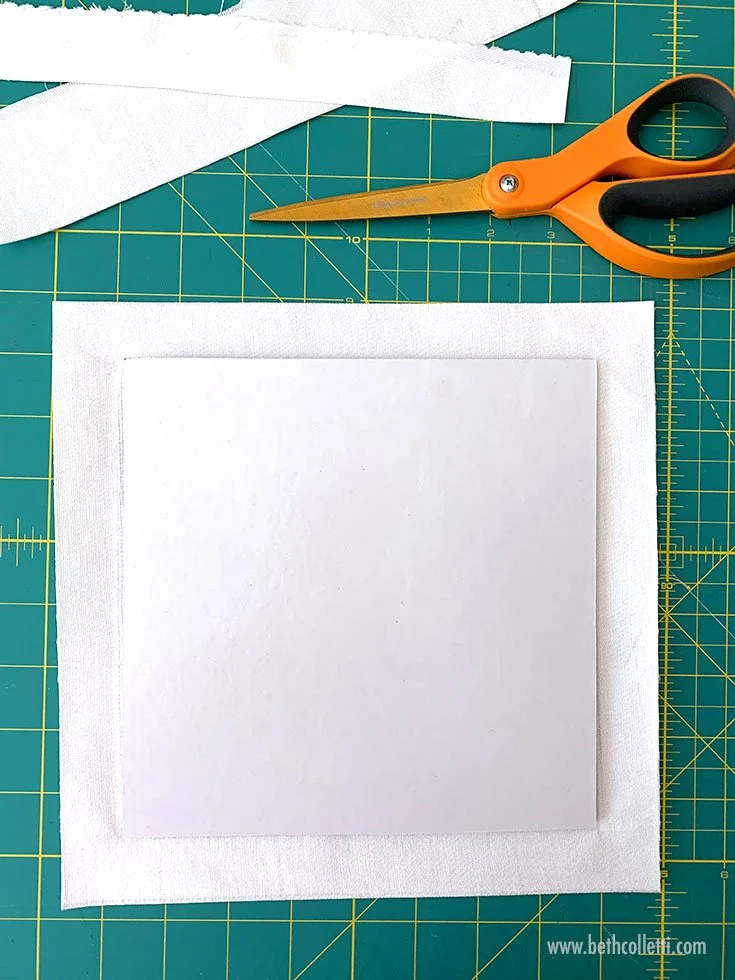
Using a ruler, add 1” (2.5 cm) of margin to each side of the drawn square on the back of your fabric. This will create a 9.5” (24 cm) square. Use fabric scissors to out the 9.5” square of fabric containing your finished embroidery.
Step 5:
Place your embroidery face down on your work area again. Remove the backing paper from your adhesive mounting board. With the adhesive facing down, gently position it within the 7.5” (19 cm) pencil-drawn square on the back of your embroidery. DO NOT PRESS DOWN ON THE ADHESIVE BOARD YET.
Step 6:
Before pressing the mounting board firmly in place, gently turn the embroidery and board face up and make sure you are happy with the placement of your board. NOTE: It’s best not to remove the board once it’s firmly pressed in place as this can damage your embroidery.
Once you are happy with the placement, begin by gently pressing from the center outward, slowly stretch the sides of the fabric to remove any wrinkles. Then press the fabric to the board more firmly.
Step 7:
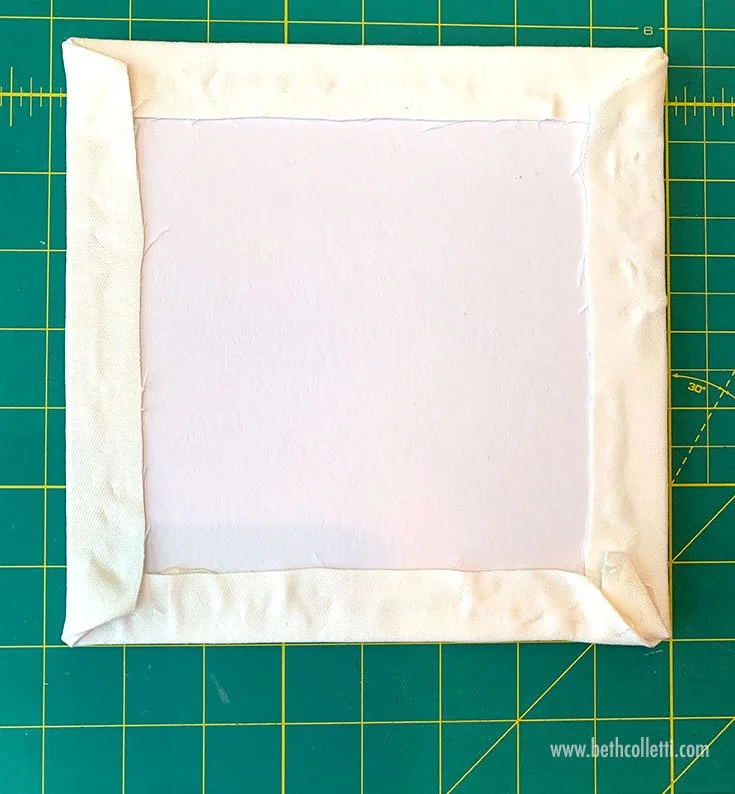
Turn your mounted embroidery face down again with the back of the board facing up. Fold the edges of the fabric over the back of the board, gently stretching and hot gluing them in place.
Step 8:
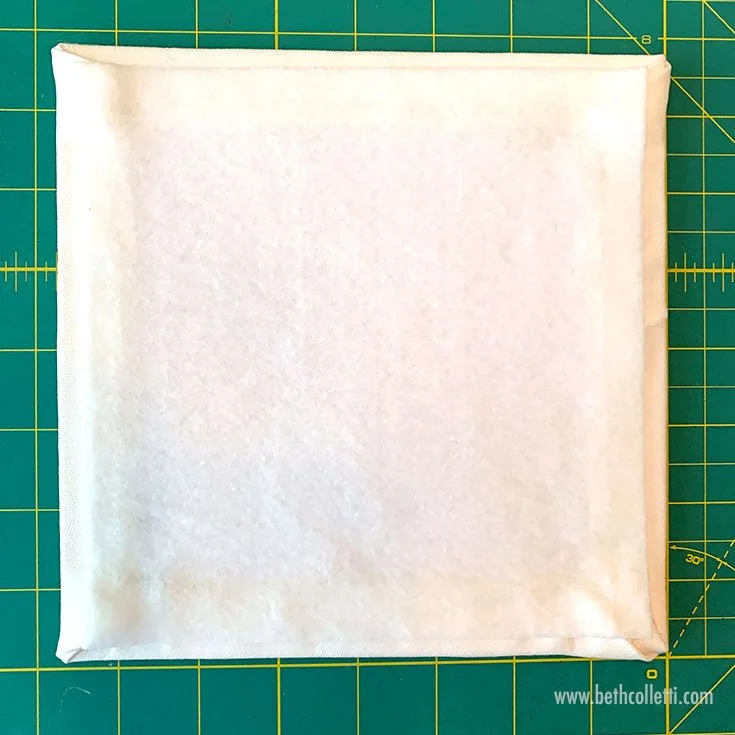
At this point you can glue a cord on the back if you’d like to hang the board, or leave it off and move on to adding the felt backing. Center the felt backing over the back of the mounting board and glue it in place, covering the raw edges of the embroidered fabric.
Your finished mounted embroidery is now ready to hang on a wall, add to a frame, or sit on a flat surface like a desk or shelf!
More inspiration…
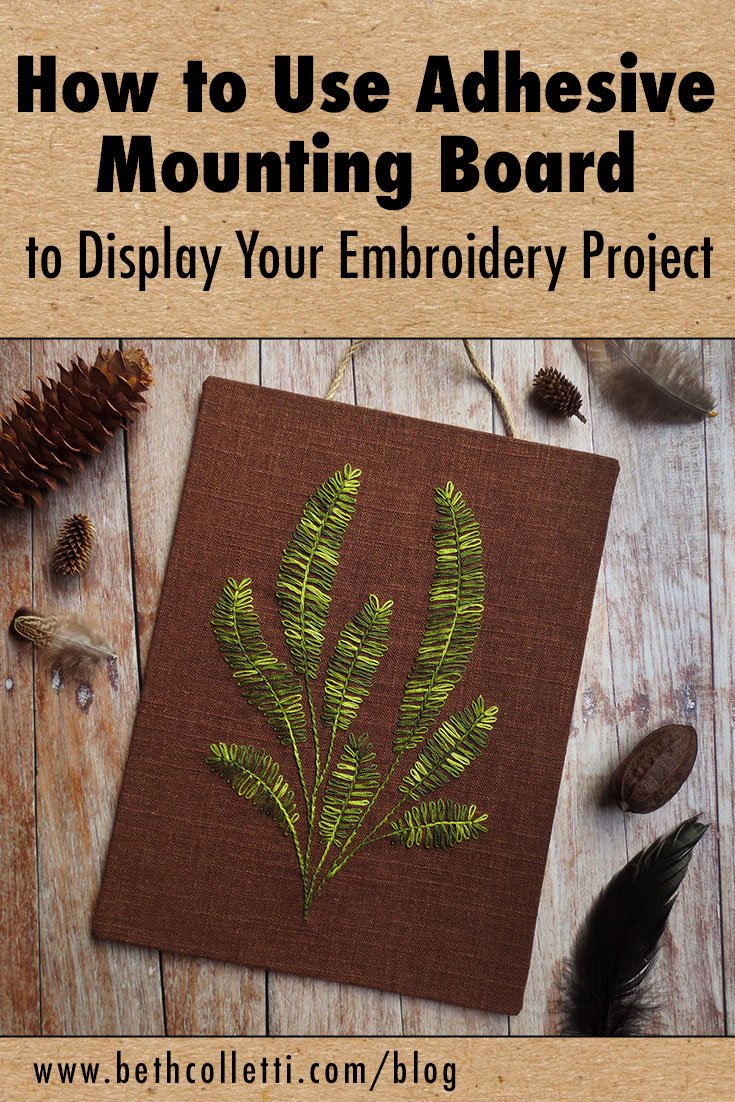
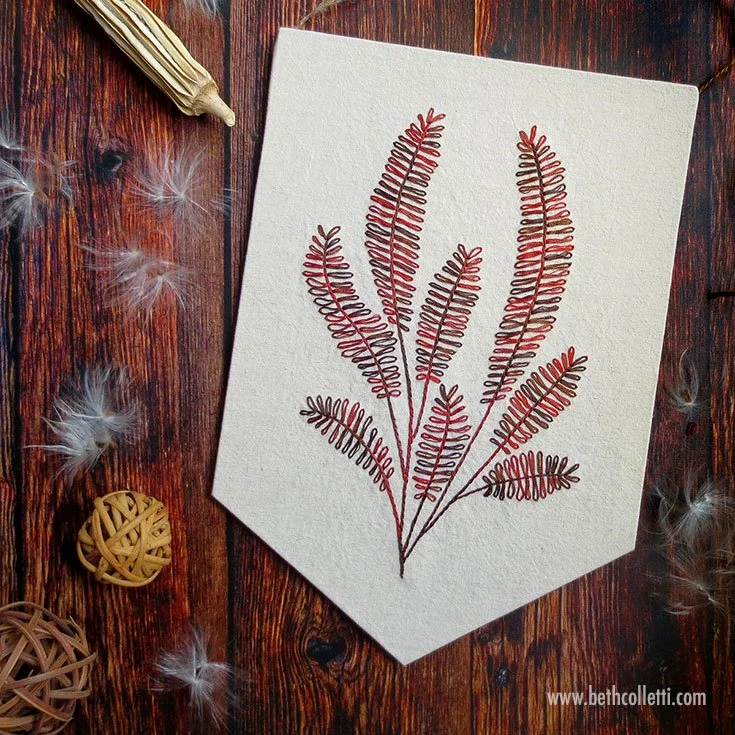
Looking for different ways to use mounting board to display your embroidery? Try adding different kinds of ribbon or cording for hanging, or cut your mounting board into different shapes, like a pennant or diamond.
Add ribbon or cording to hang your mounted embroidery project.
Try cutting your mounting board into a shape that complements your finished embroidery project.
