(I’m an Amazon Associate and from time to time I will use affiliate links for products that I love, or that I think you will find useful. Should you choose to purchase with the provided links, I will receive a small commission at no cost to you.)
As someone who loves a lot of different arts and crafts, I have always enjoyed combining materials to see what new things I can discover and create. This curiosity led me to the exploration of mixed media art, and the creation of many one-of-a-kind embroidery art pieces which integrated paint and thread.
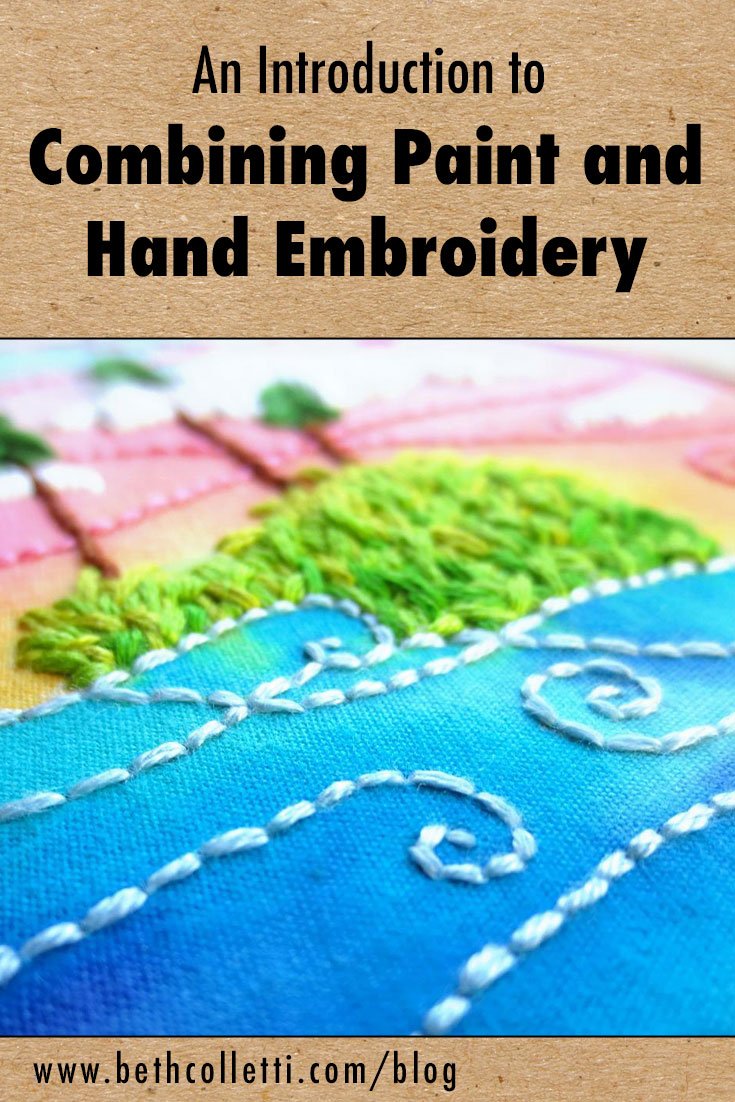
Adding paint to hand embroidery—or adding embroidered elements to a painting—is a wonderful way to experiment with layering colors and textures, decorating fabric, and delving into the wonderful world of mixed media art. If you have been curious about mixing these beautiful art forms, below is an overview of some common methods which can help you get started.
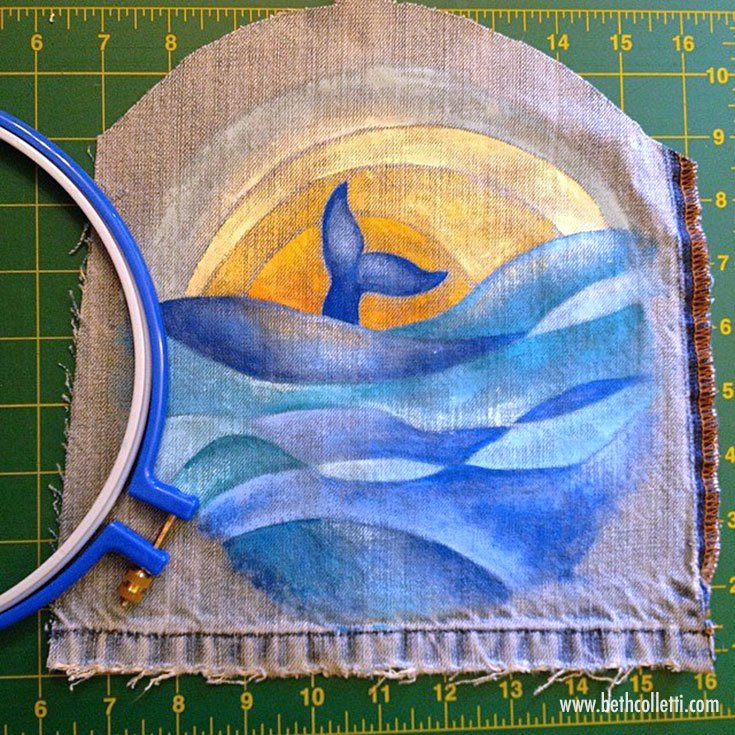
Acrylic paint on old denim jeans prior to embroidery work.
Decide What You Want to Create
Before you begin to thread your needle or put paint on a brush, give some thought to what type of project you want to create.
Will the piece be decorative or functional? Will it need to be laundered? Will it hang on the wall, or be worn?
Having the answers to these questions will inform what type of base material you can begin with, and what type of paint to use.
Regardless of what type of paint and base you use, you have the option to paint first and then embroider, or embroider first and then paint. Both are valid options and you can use both techniques on one project depending on the look that you want to achieve.
Embroidery and acrylic paint on denim.
Choose Your Method
In my experiments I’ve discovered there are lots of great fabrics to paint and embroider on, but you can also dive into embroidering on painted paper, use primed canvas, and even paint things like wood or pegboard while drilling holes for your needle and thread. Below I’ll be exploring a few different options as well as the features and benefits of each.
Fabric + Watercolors + Embroidery
About this method: Watercolors are a great place to start if you’re new to combining paint and embroidery. Although they are not as easy to control as acrylic paint, the supplies are inexpensive and easy to find. You can start with a simple Crayola watercolor set and a beginner brush set.
You can paint with watercolors either before or after embroidering. Some bleeding may occur into your thread if you paint after stitching, so experiment to see what you like best.
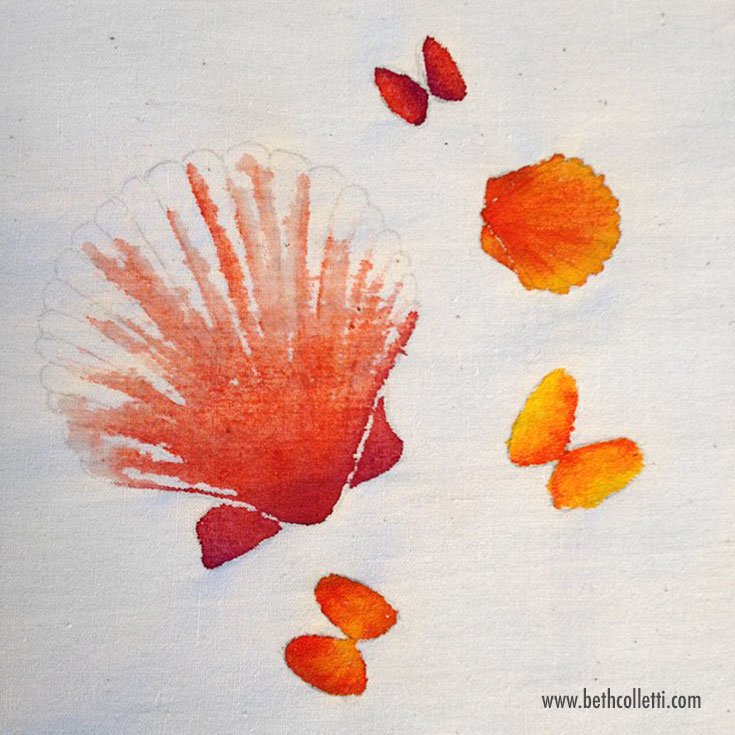
Watercolor and embroidery on unbleached cotton muslin fabric.
Fabric to Use: My favorite fabric to use with watercolors is unbleached cotton muslin. The imperfections in this natural cotton keep the watercolors from running all over, which is much more prone to happen with bleached white cotton. You can also experiment with thicker fabric such as duck cloth, however the paint will not spread far because the fabric is heavily textured and quick to absorb the water.
Cons: Because watercolors are semi-transparent and washable, they cannot be laundered and they work best on light colored fabrics. Watercolors may fade with time on the fabric so hang your project out of direct sunlight and avoid exposure to damp air or extreme heat or cold (like storing in an attic or damp basement).
For more tips on using watercolors with your embroidery, check out the article Pairing Watercolor with Hand Embroidery: 7 Learnings.
Watercolor and embroidery on unbleached cotton muslin fabric.
Fabric + Acrylics + Embroidery
About this method: Acrylic paint is a water-based paint which becomes water-resistant when dry. Its formula allows it to be used on a wide range of surfaces. And because it’s opaque, it’s great for darker colored fabrics. It will also stay vibrant as long as it’s kept out of direct sunlight.
My favorite acrylic paints to use are Liquitex Basics or FolkArt, but you can use other brands as well. Keep in mind that the cheaper the acrylic paint, the less opaque it may be and you may have to apply more than one layer to your fabric, depending on the look you want to achieve. Although I normally paint with acrylics before stitching, you can embroider your fabric either before or after you add acrylic paint.
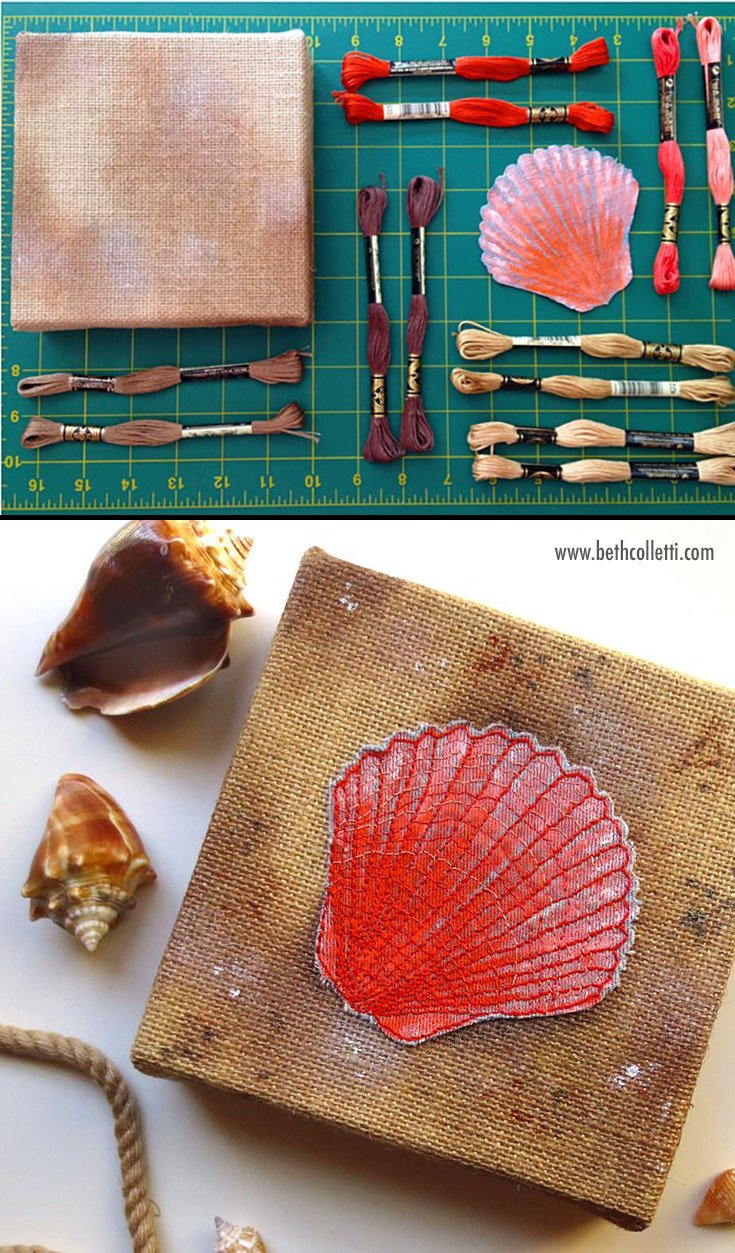
Denim and burlap painted with acrylics. Shell is then hand appliquéd to burlap and embroidered.
If you want to be able to launder fabric that uses acrylic paint and embroidery, such as a jean jacket or table cloth, you’ll need to add some Liquitex Fabric Medium to your acrylic paint. The fabric medium makes the paint more fluid and pliable when used on fabric while maintaining the paint’s color. It can also be washed without cracking or bleeding and doesn’t need to be heat set. For more tips on using Liquitex Fabric Medium, read this article.
Acrylic and embroidery on denim.
Fabric to Use: In this article I share some of my favorite fabrics to use for embroidery, and many of these work great with acrylic paint too. If I’m using acrylic based paints, I prefer to choose fabric with a bit of texture so that I can bring out the weave of the fabric. Some of my favorite fabrics include:
Denim (as close to 100% cotton as you can get)
Cotton twill
Duck cloth / canvas
Burlap
Quilting cotton
Cons: The more paint layers you add, the stiffer it will be on fabric. Thicker paint may show needle holes in it, so be careful about tearing out your stitches. You must use Fabric Medium with your acrylic paint if the fabric will be laundered or the paint will crack and flake off over time.
Burlap fabric painted with acrylics and embroidered.
Papers + Paint + Embroidery
About this method: You can also paint on paper and embroider details afterwards. There are so many fun ways you can use this method from greeting cards to place cards to wall art. For tips on embroidering paper, read the article How to Hand Embroider Paper.
Papers to use: Because of its absorbency, watercolor paper is best for watercolors, whereas acrylics can be used with a variety of papers from bristol board to cardboard or card stock. Stiffer papers work best so they won’t tear or crease when you begin to embroider.
Cons: Although heavier paper will resist tearing when stitching, that also means for best results you should pre-drill or poke holes prior to stitching. As a result the process is a bit more time-consuming.
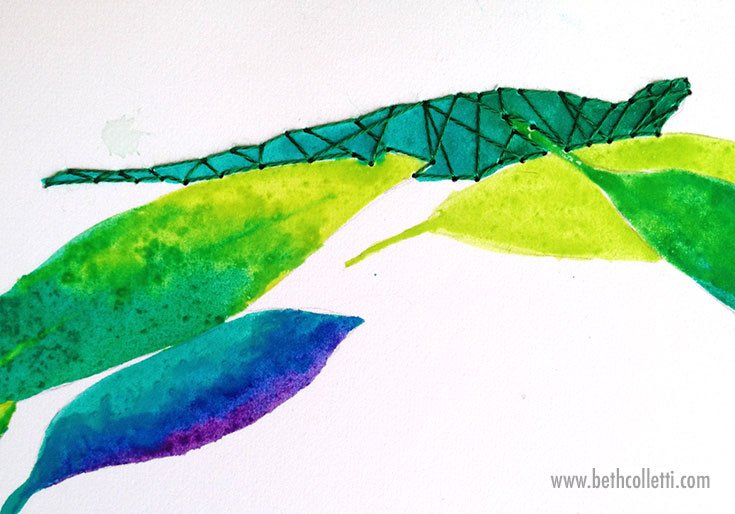
Watercolor and embroidery on paper.
Canvas + Paint + Embroidery
About this method: If you want to get more heavily into incorporating embroidery into mixed media, using a stretched, primed canvas is a great way to go. Canvas fabric, also known as duck cloth, has been sized, stretched over wooden bars, and then painted with gesso so it is ready to be decorated. The sturdiness of this base material allows you not only to include heavy layers of paint and embroidery, but also found objects and other embellishments.
Paint to use: Acrylics are best on stretched canvas, but you can also experiment with colored pencils, oil pastels and other media before stitching. Skip the watercolors as they will not adhere well to the gessoed canvas.
Cons: If you use a canvas that has already been stretched over wood, you will not be able to stitch to the edge of the canvas because of the wood along the edges. Alternatively you can paint and stitch on whatever fabric you choose and stretch it over wooden bars yourself using this method.
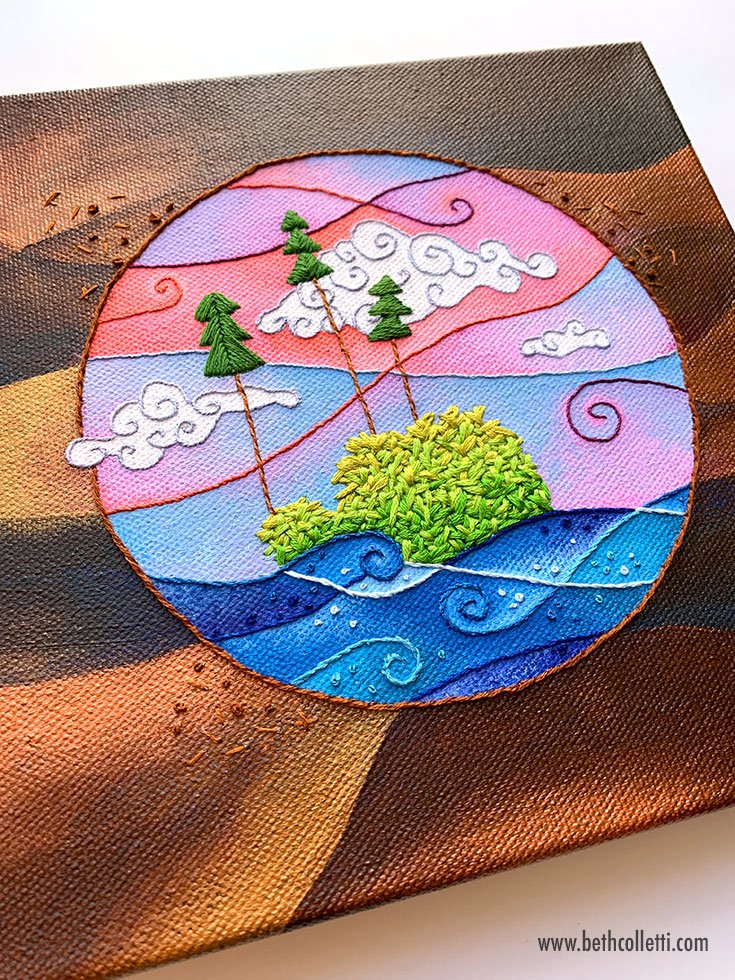
Acrylic and embroidery on canvas.
Transfer Your Pattern
Once you’ve zeroed in on the paint/embroidery method you want to use for your project, you can either choose to do some free-style stitching, or you can transfer a pattern. Pattern transfer will work a bit differently than with an embroidery project with no paint. That’s because many commonly used pattern transfer methods use water to rinse out pattern marks, but that can often rinse out some paints too!
There are two ways to tackle this pattern transfer hurdle:
Stitch first, paint second: You can choose to transfer your pattern and stitch it before doing any painting. The downside to this method is that you have to be careful about getting paint on your stitches, if that concerns you. It also limits how much layering of the paint and embroidery you can do because it’s easier to stitch over paint than it is to paint under stitches.
Use a permanent transfer method: If you decide to paint prior to stitching, choose a more permanent method of pattern transfer. For example, draw your design with a pencil or even an ultra fine-tipped permanent marker. NOTE: If you use a permanent marker to transfer your pattern, always let it dry completely and do a test on scrap fabric first to make sure that it will not bleed into your paint! Once your pattern is traced you can paint in and around the lines. Begin stitching details when the paint has dried.
For a full range of transfer options, take a look at the article How to Choose the Best Way to Transfer Your Hand Embroidery Pattern.
Pencil sketch and watercolor on fabric prior to embroidery.
There are many other base materials and paints that you can try to use with your embroidery, but this overview will give you a good place to begin. With all of these methods I encourage experimentation to see what you like best, and what new creative discoveries you may stumble upon!
