(I’m an Amazon Associate and from time to time I will use affiliate links for products that I love, or that I think you will find useful. Should you choose to purchase with the provided links, I will receive a small commission at no cost to you.)
When doing felt appliqué, one piece of felt is layered on top of another and stitched in place, often in a decorative way. I’ve written quite a bit about felt appliqué and how to get started, but if you already have some experience with this craft you may be looking to try some new techniques!
Incorporating reverse appliqué into your embroidered felt appliqué projects can be an interesting technique to try because it adds even more dimension to your layered felt. With reverse appliqué you layer two pieces of fabric with the bottom layer being visible through the top layer. This technique is done by cutting out a shape in the top piece of fabric to allow the fabric under it to show through.
Using Reverse Appliqué on Your Background Fabric
Felt shapes can be appliquéd on all different types of background fabric from denim to quilters cotton to linen. However, if you want to use a reverse appliqué technique and cut shapes out of your background, it’s helpful to use felt fabric because it won’t fray.
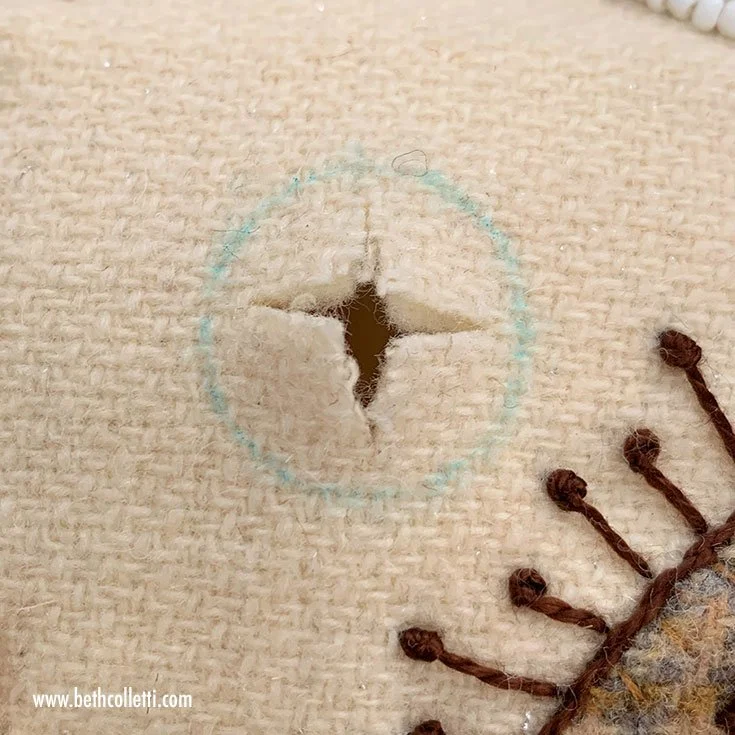
To create reverse appliqué on your background, draw the shape you’d like to cut out of your felt fabric.
Then use small sharp scissors to remove the pieces from your background; you’ll be left with a hole in your background fabric.
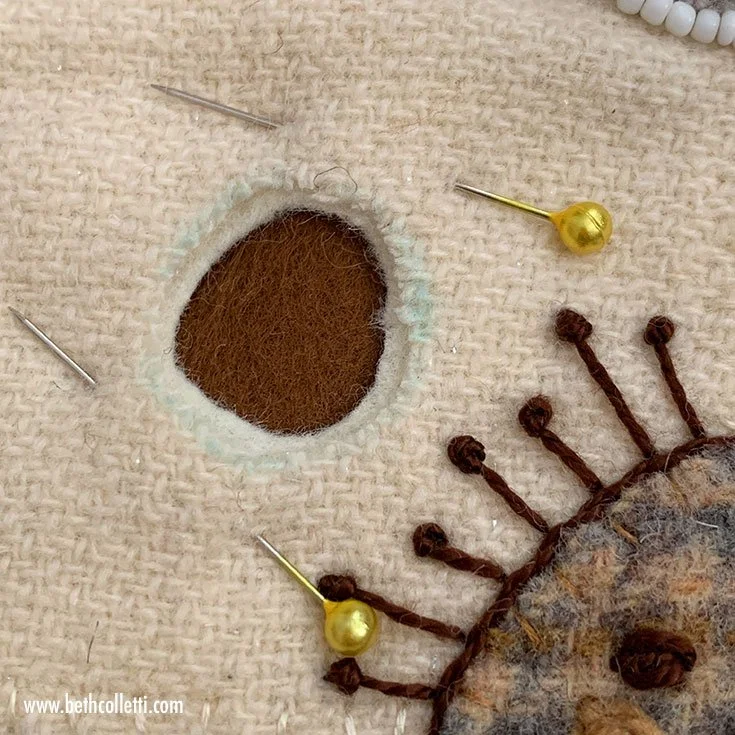
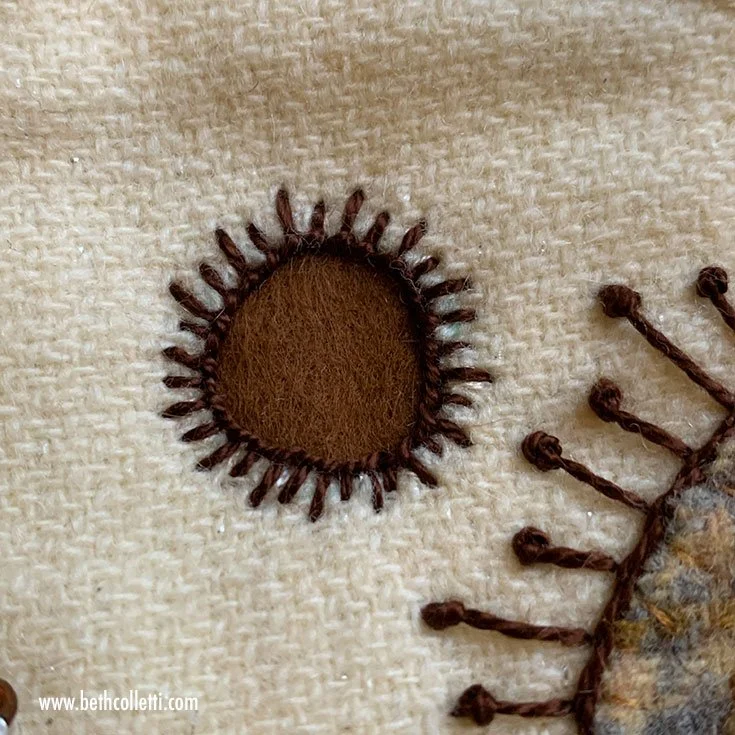
On the wrong side of your background fabric place whatever fabric you want to show through to the front. Then pin it and secure it in place with a whipstitch. You can embellish the edges of your reverse appliqué with embroidery stitches just as you would regular appliqué.
Layering Shapes That Use Reverse Appliqué
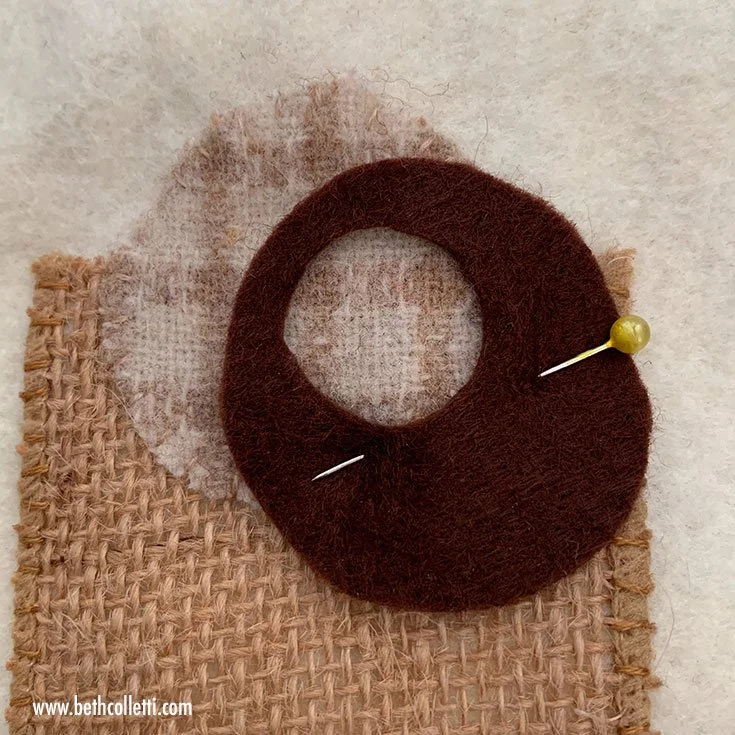
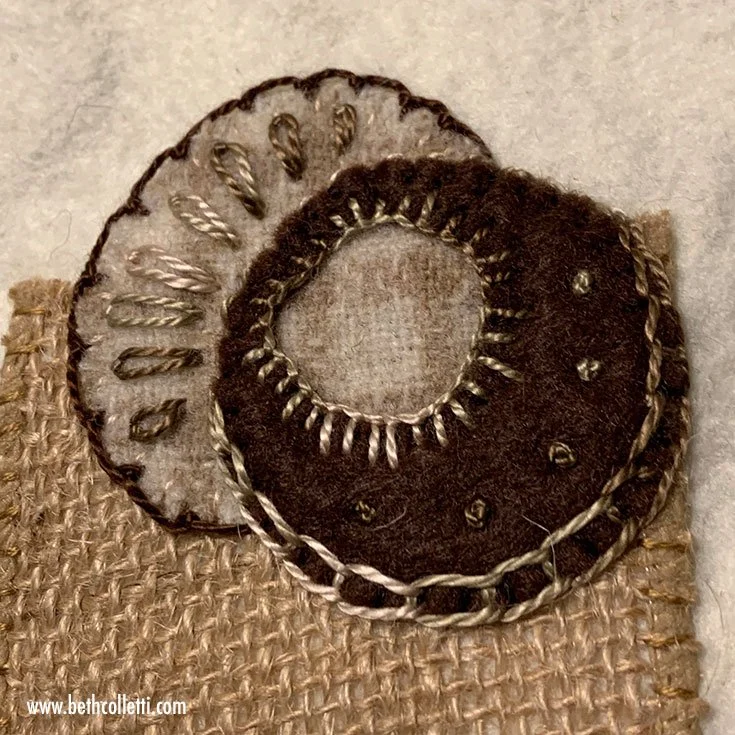
You can also work elements of reverse appliqué into the pieces of felt layered on top of your background fabric.
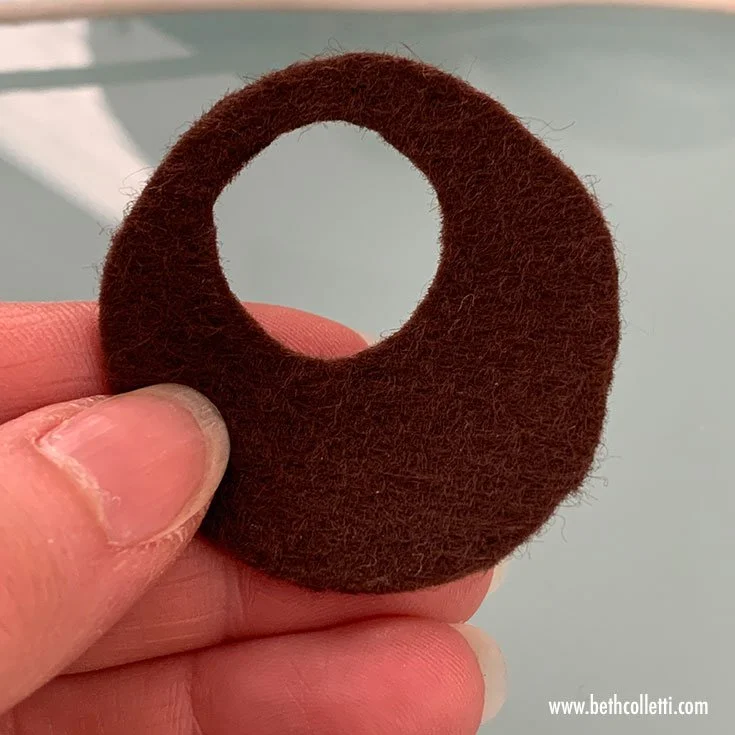
Again, cut out pieces of felt from inside your shape to allow your background fabric to show through.
In my example below, I cut a circular hole out of a larger circle and layered it to allow the felt shapes underneath to show through.
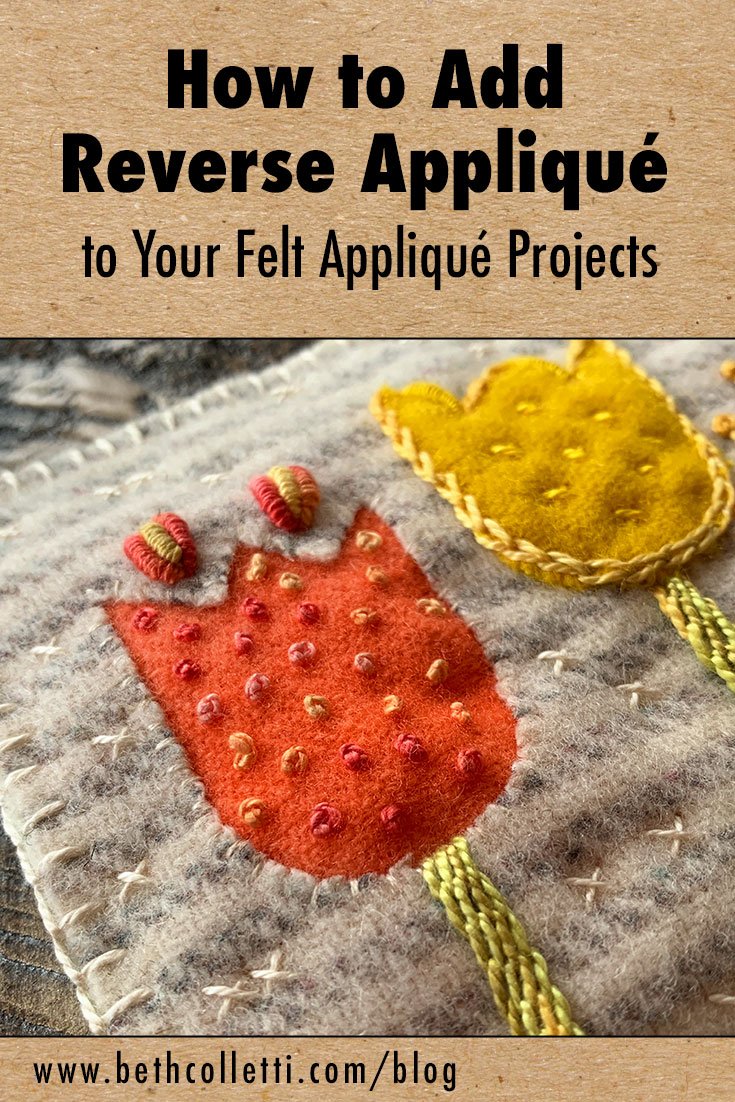
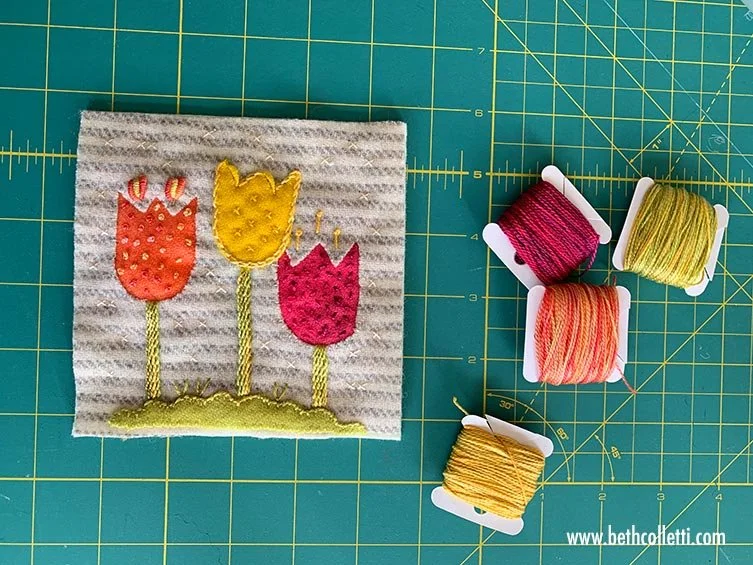
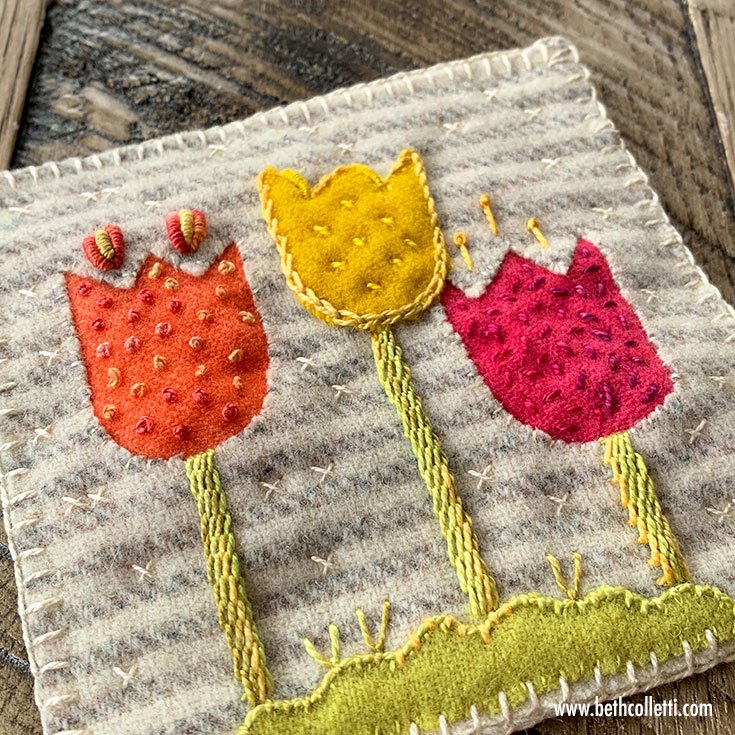
Try Reverse Appliqué With This Tulip Mug Rug
This simple felt appliqué coaster project can be completed over a weekend and is a great way to use up scrap pieces of felt. Plus it will give you the chance to try reverse appliqué!
Supplies Needed:
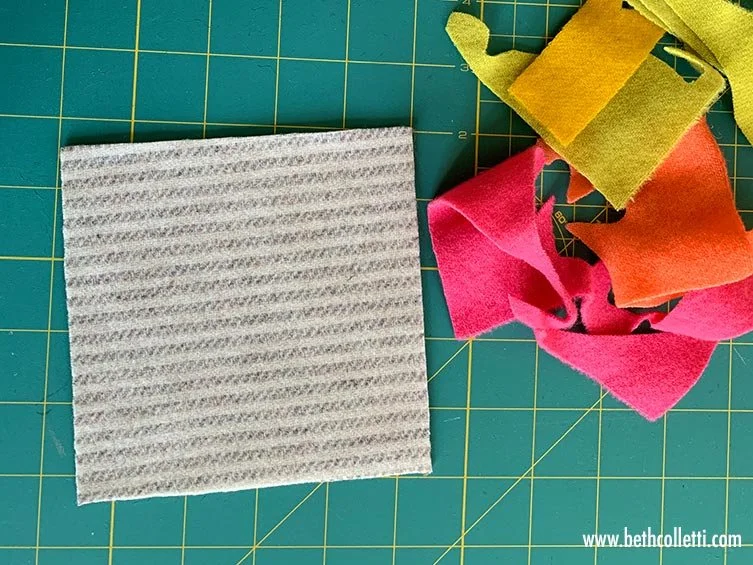
5x5” (13x13 cm) piece of wool felt, wool blend felt or craft felt for the background of your project
5x5” (13x13 cm) piece of wool felt, wool blend felt or craft felt for the backing of your project
3 pieces of scrap felt approximately 2x2-¼” (5x6 cm) in size for the tulips
Small rectangular piece of scrap felt for the grass (about 5” or 13 cm wide)
Six strand embroidery floss that matches your felt colors
Pearl cotton embroidery threads for embellishment
Small pair of sharp scissors
Freezer paper for tracing felt shapes
Iron & ironing board for freezer paper
Pencil
Straight pins
4-¾x4-¾” (12x12 cm) piece of batting (optional)
Step 1:
Print the tulip template at 100% size and trace the shape with pencil onto your freezer paper. (If you are unfamiliar with using freezer paper for felt appliqué, see the video and tutorial here.)
Step 2:
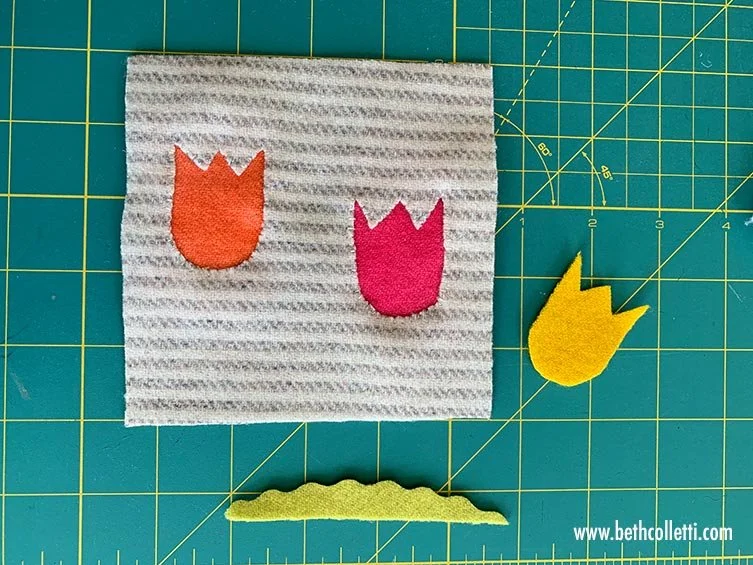
Decide how you want to arrange the tulips on your background felt. Then using the freezer paper, cut one tulip shape out of colored felt and two tulip shapes out of your background fabric.
Step 3:
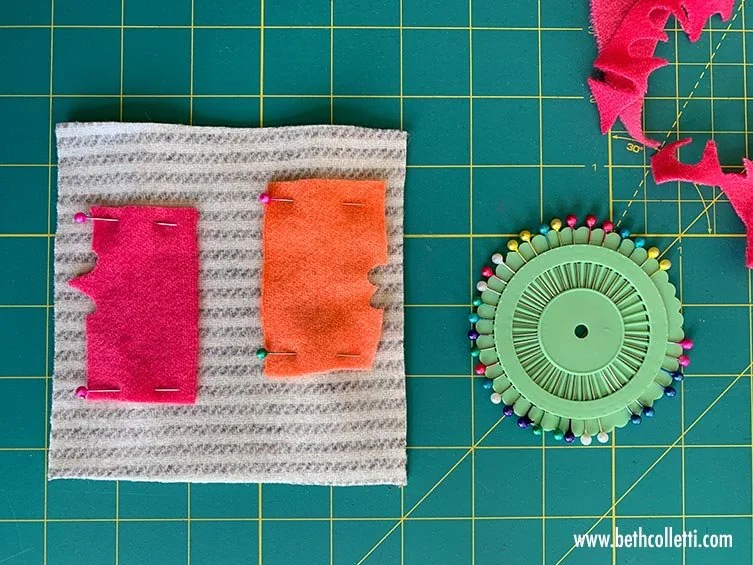
Cut out two rectangles of colored felt approximately 2x2-¼” (5x6 cm) in size. These will go under your background fabric where you’ve cut out two of your tulip shapes.
Pin each in place and attach it to the wrong side of the background fabric using whipstitches and two strands of six-strand embroidery floss. Your colored felt will show through the tulip shape on your background to create reverse appliqué.
Step 4:
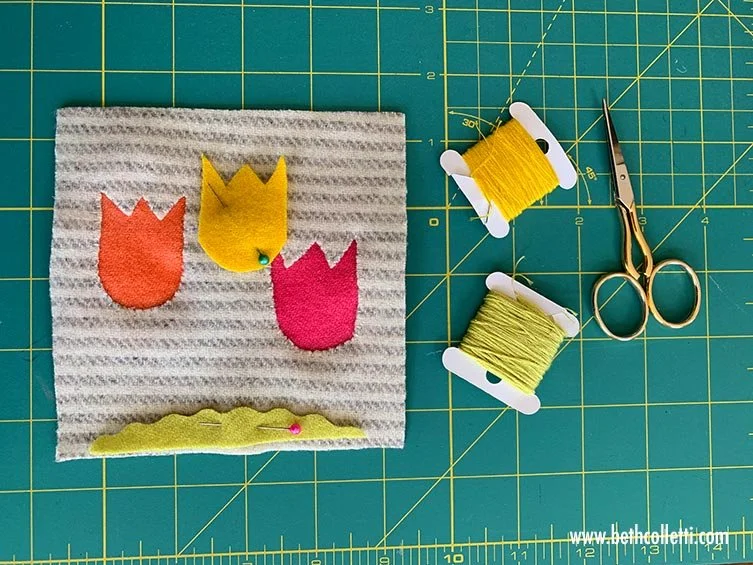
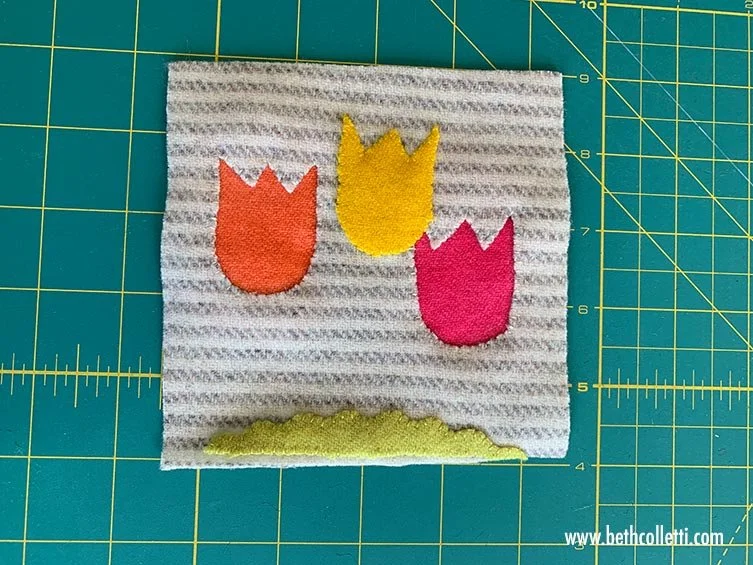
Next take your third tulip shape and put it on top of the background felt. Pin it and stitch it in place using whipstitches and two strands of six-strand embroidery floss.
Step 5:
Cut out your grass into whatever shape you’d like. (I used some craft scissors with a decorative edge to give mine a wavy look.) Pin and attach to the bottom edge of your background fabric using whipstitches and two strands of six-strand embroidery floss.
Step 6:
Now the appliqué portion of your coaster is done and it’s time to decorate your felt project! If you want to use batting, pin it to the wrong side of your background fabric and then use your pearl cotton threads to embellish your background, grass, and tulips.
A few ideas…
Add texture to the flowers with french knots, cross stitches or seed stitches.
Outline the flower edges with a line stitch of your choice like a split stitch, chain stitch, couching stitch, or stem stitch.
Add details such as bullion knots, woven picots, or pistil stitches to the top of the tulips.
Create tulip stems with stem stitches, raised stem stitch bands, couching over multiple threads, or working needle weaving onto your background. You can even create stems with narrow pieces of felt appliquéd to your background.
Decorate your grass and background with fly stitches, french knots, cross stitches or line stitches of your choice.
Step 7:
Once you’re finished embellishing your design, you can pin your second piece of 5x5” (13x13 cm) felt to the other side of your batting, if using, or the wrong side of your background felt. This piece of felt will cover your batting and the back of your stitches to protect them.
Use a blanket stitch or a whipstitch around the edge of your coaster to attach the front and back pieces of felt.
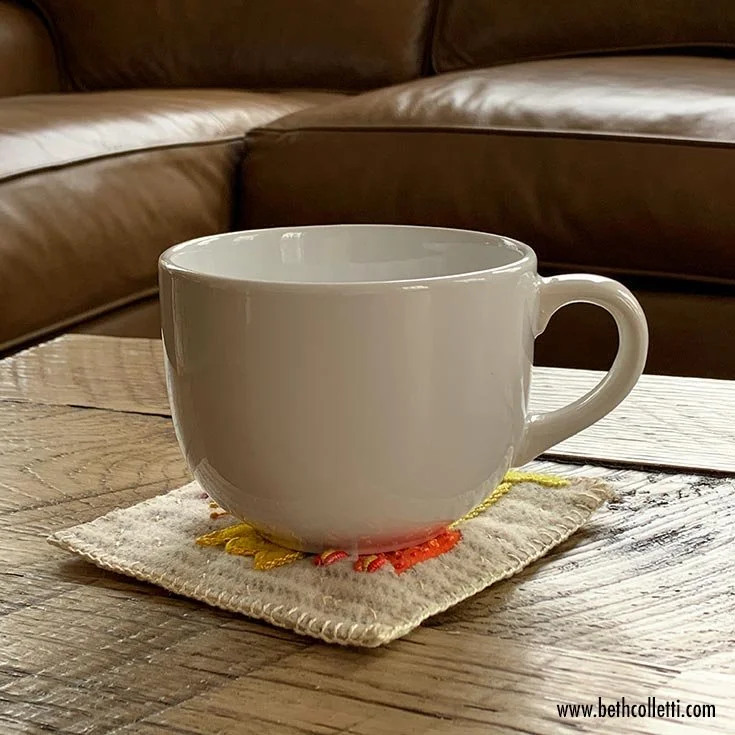
Ta-da! Your mug rug is now ready to use with your favorite beverage!
