(I’m an Amazon Associate and from time to time I will use affiliate links for products that I love, or that I think you will find useful. Should you choose to purchase with the provided links, I will receive a small commission at no cost to you.)
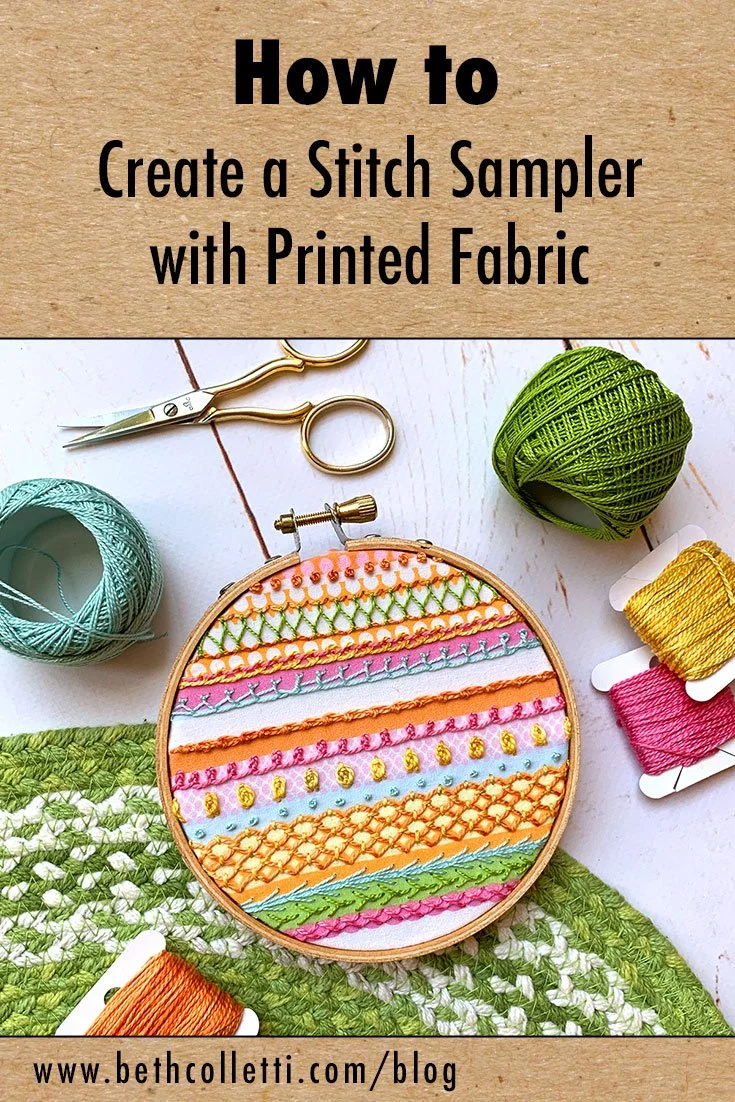
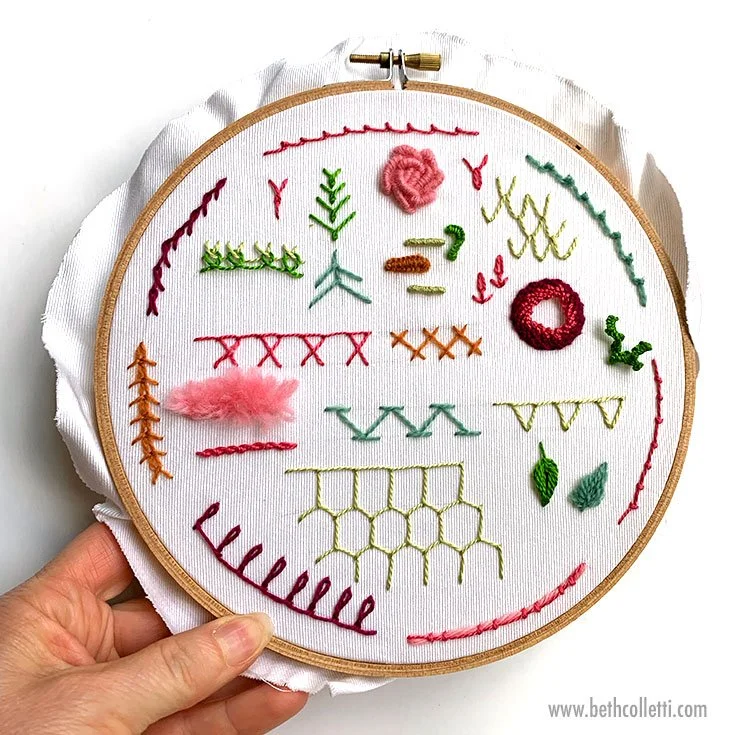
Stitch samplers are a great way to experiment with a variety of stitches and techniques, and they are one of my favorite ways to practice new stitches. Quite simply, a stitch sampler is a sampling of stitches embroidered onto fabric. They can be randomly laid out or have a structured appearance, and can be decorative or merely educational. They can be as simple or complex as you want them to be, and are an opportunity to create some quick decor. Plus they make great reference tools when you are looking for inspiration on future projects!
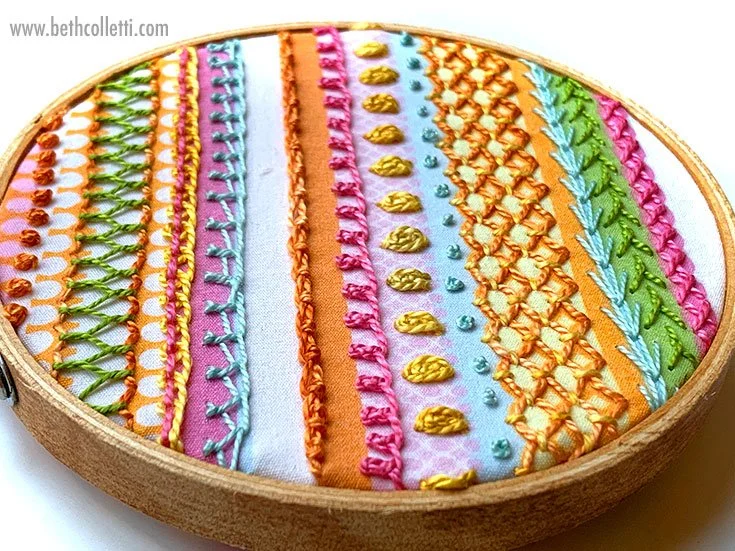
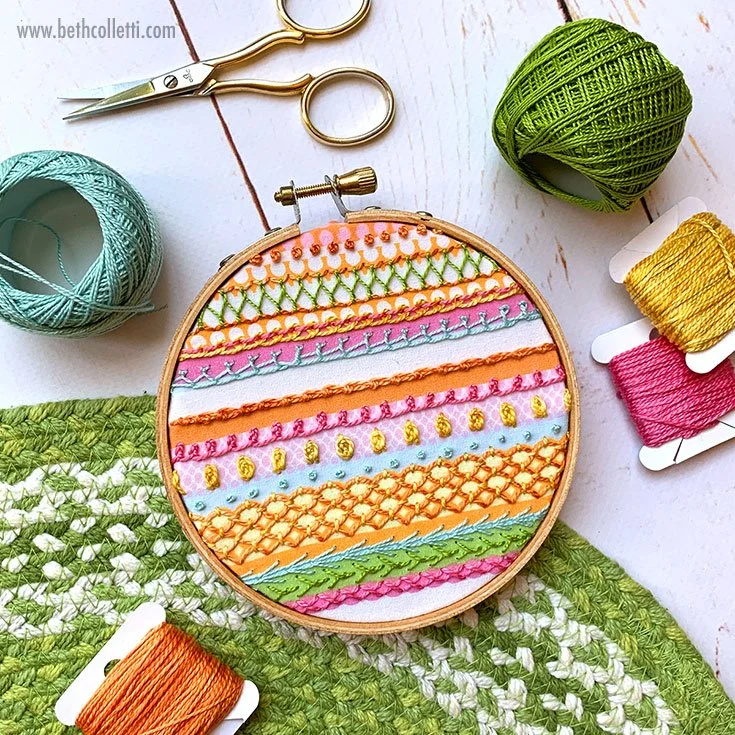
While you can use plain fabric to create stitch samplers, a way to make them a bit prettier is to use some printed fabric, allowing the stitches you embroider to create a pattern of color and texture. For some quick tips on how you can create your own stitch sampler with some patterned fabric, read the tutorial below.
Supplies:
Variety of thread (I chose different sizes of pearl cotton, which can be less likely to tangle)
Needle(s) that work with your thread
Small embroidery hoop (I used a 4-inch hoop)
The fabric
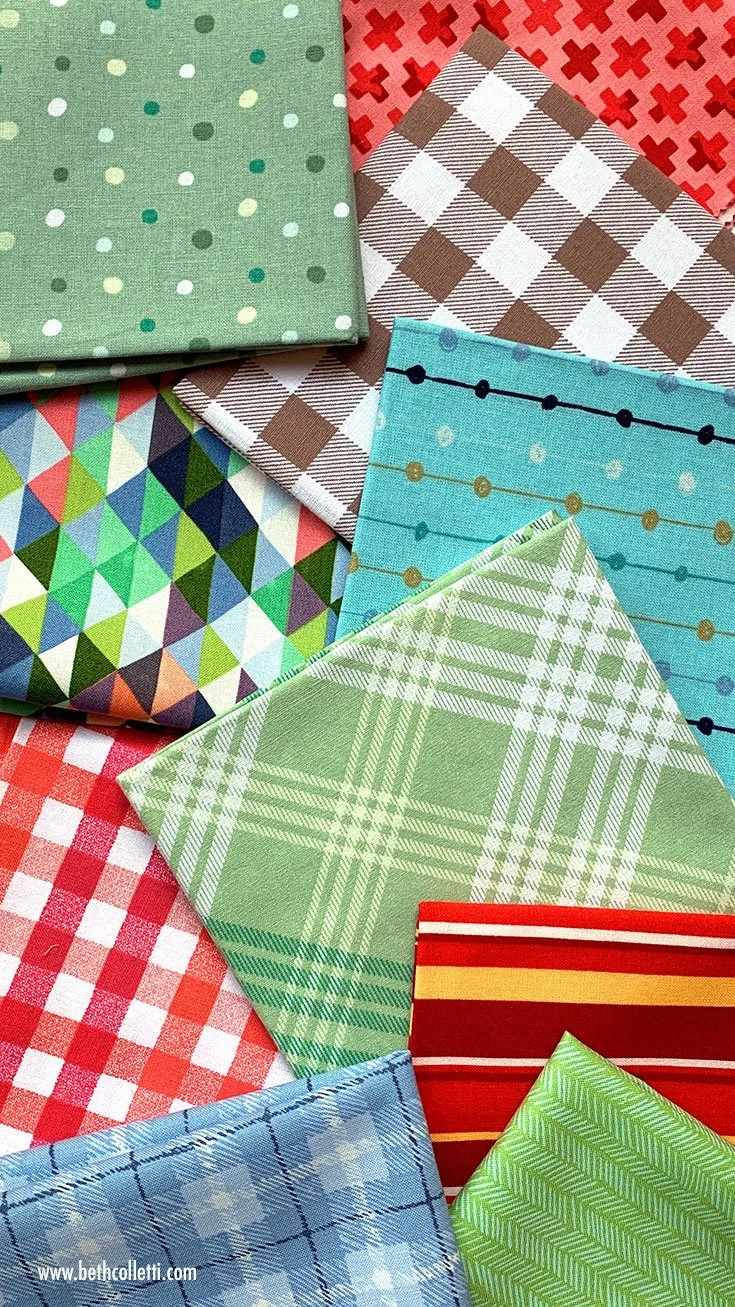
When you want to give your stitch sampler a little pizazz, try using printed cotton fabric with a geometric pattern. My favorite fabrics are ones with straight lines, whether they are striped, plaid, checkered or have another pattern. Polka dots can work great too, especially if they create a grid. The reason why I like to work over lines is they create some guides for you as you stitch so that you don’t have to draw anything yourself.
The threads
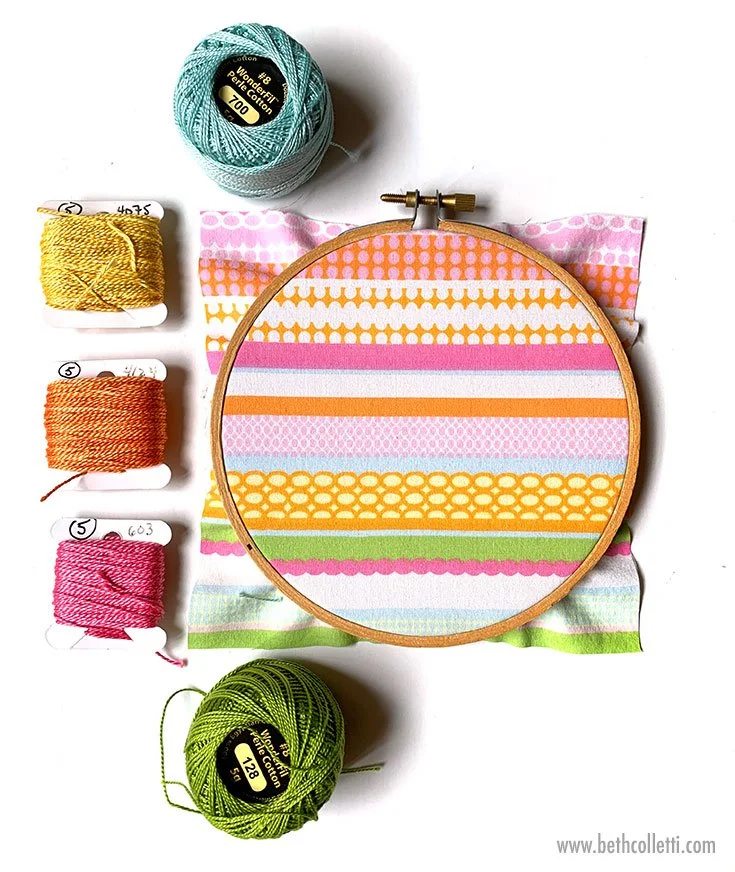
For my project. I used this scrap swatch of vintage fabric and chose different sized pearl cotton threads that complimented the colors in the fabric (shown above). Using between three and six different colors of thread will give you enough of a variety while also limiting your color palette so you aren’t overwhelmed with choices.
It’s also great to use different weights of thread when practicing stitches. If you use pearl cotton, you can do this by choosing different sizes, such as 3, 5 and 8. If you use six-strand embroidery floss, you can use more or fewer strands to create bigger or smaller stitches. Most stitches look great in heavier thread, especially when you are learning them for the first time. The thinner the thread, the smaller the stitches will appear and the details can get lost.
The needles
Using varying weights of thread means you will probably need more than one sized needle. Having multiple needles will also give you the chance to do some couching, which is lots of fun. Embroidery needles, also known as sharps, are fine for this project. If you are using pearl cotton threads and find you need needles with larger eyes, try a variety of chenille needles.
The hoop
I used a 4-inch embroidery hoop for my project, which gave me plenty of space to fill up my fabric without making it a month-long project. Creating a stitch sampler with a smaller hoop will allow you to finish your project in a few hours, but if you’d rather embroider in a larger hoop, go for it!
The stitches
If you are wondering what stitches to incorporate into your sampler, I have several free stitch tutorial videos that you can learn from right on my website. But if you want to dig deeper and go beyond the basic embroidery stitches, I’d invite you to check out my online course Step-by-Step Stitches for Creative, Textured Embroidery. In it you’ll gain knowledge of over 30 versatile hand embroidery stitches of varying difficulty, as well as variations, different techniques and tips for each!
Getting started with your sampler.
Once you have all your supplies and an idea of what stitches you want to work on, you’re ready to get stitching. Try combining different colors and weights of thread to see what you like best. You may also want to use a notepad to identify the different stitches you are using and make notes about what you like, or don’t like as well as where you think the stitch could be used. (If you need ideas for ways to use different stitches, I provide this info for you in my course as well as a free bonus tool!)
Have you worked up a stitch sampler with some printed fabric? I’d love to see photos of how it turned out! Tell me about it in the comments below, or send me an email for the chance to have your work featured in a blog post or newsletter.
