(I am an Amazon Associate and from time to time will use affiliate links for products that I love, or that I think you will find useful. Should you choose to purchase with the provided links, I will receive a small commission from Amazon at no cost to you.)
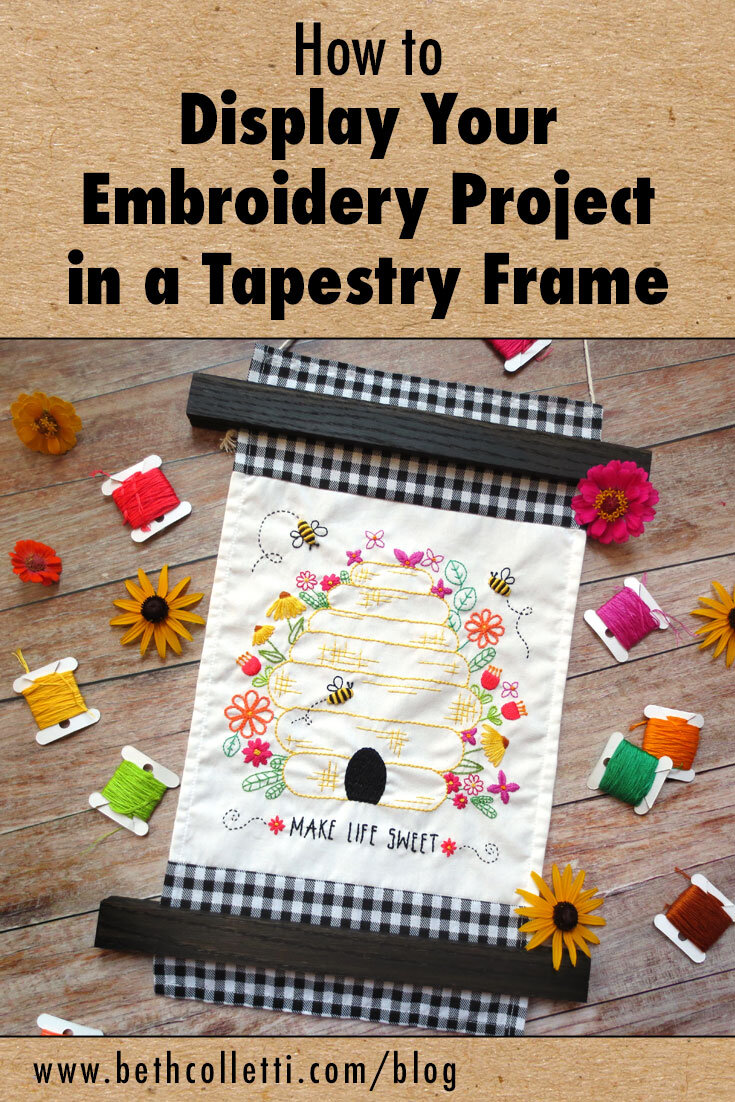
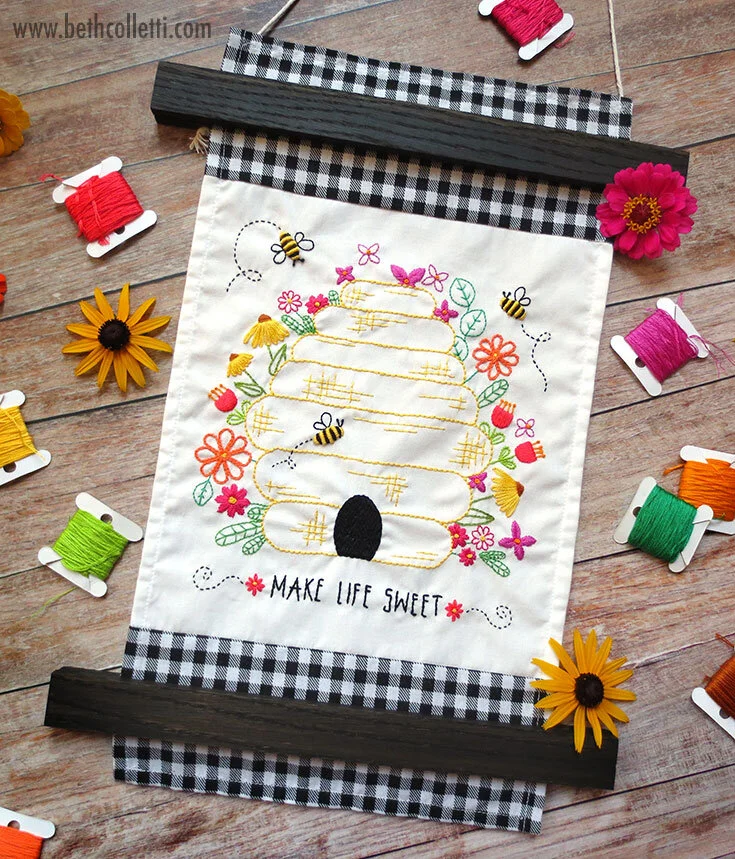
Displaying your embroidery project doesn’t mean it has to stay in a hoop. Download the Make Life Sweet embroidery pattern to create a pretty wall hanging with some simple sewn elements that you can display in a magnetic tapestry frame. Follow the instructions below to make your own!
Don’t have a sewing machine? You can skip adding the gingham fabric if you like, or use HeatnBond® Ultrahold ⅜” x 10 yards tape to attach the edges of your white and gingham fabrics. Similarly you can hide the raw edges of your fabric with some HeatnBond® Ultrahold. Note that you will need to adjust the size of your seams from 1/4” (6 mm) to 3/8” (1 cm) to accommodate the HeatnBond® Ultrahold tape.
Supplies Needed:
Sewing machine
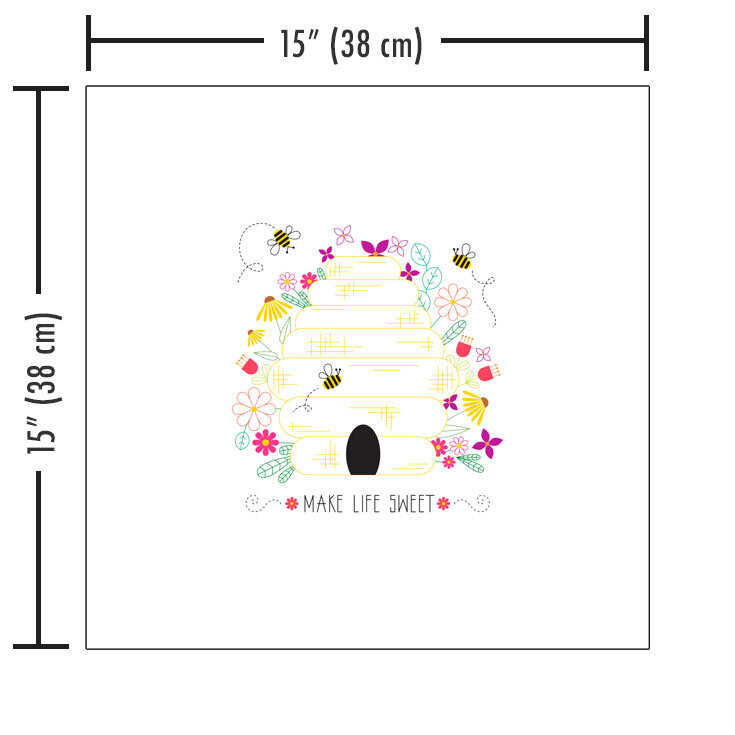
15x15” (38x38 cm) piece of white kona cotton fabric
Pellon Ultra Weave Fusible Embroidery Stabilizer cut to 15x15” (38x38 cm)
Black and white gingham print cotton fabric fat quarter
White all-purpose polyester thread (for sewing machine)
Rotary cutter (or fabric scissors)
Straight pins
Iron & ironing board
Magnetic tapestry frame (I chose the 11” ebony stain option)
SKILL LEVEL: This wall hanging is a beginner sewing project, appropriate for people who have limited sewing experience.
SEAM ALLOWANCE: 1/4” (6 mm) seam allowance is used in this sewing pattern.
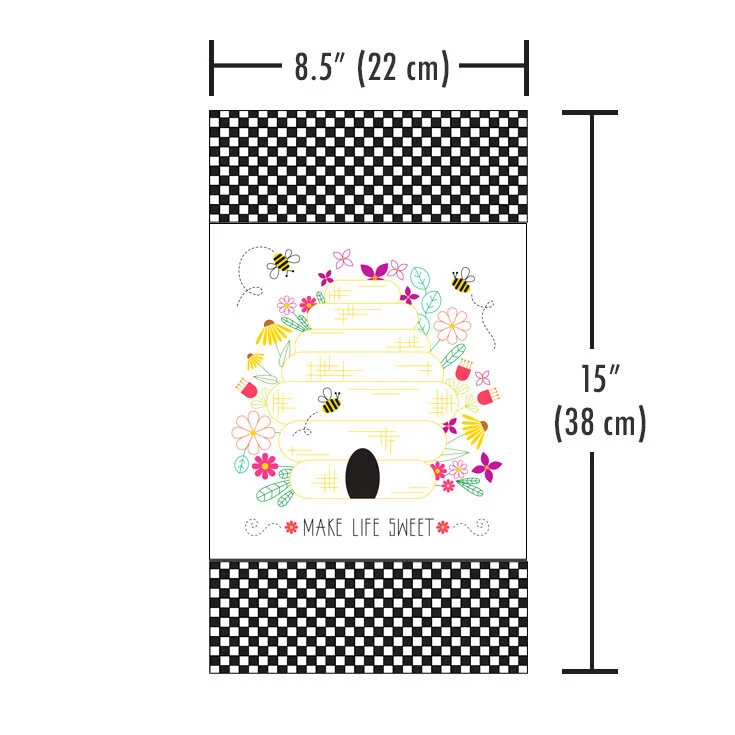
FINISHED WALL HANGING MEASURES: 8.5” wide x 15” tall (22x38 cm)
Step 1:
Cut 15x15” (38x38 cm) pieces of white kona cotton and Pellon Ultra Weave Fusible Embroidery Stabilizer. Follow the stabilizer’s instructions to iron it to the back of your white fabric. The stabilizer will help prevent threads from showing through the back of your fabric as well as add some structure to your fabric as it hangs.
Step 2:
Center the Make Life Sweet embroidery pattern vertically and horizontally on the front of your 15x15” (38x38 cm) piece of white kona cotton, transfer it, and embroider it following the instructions provided.
Step 3:
After you finish stitching and remove your embroidery transfer lines, trim the white stitched fabric down to 9.5x9.5” (24x24 cm) with the stitched design centered both horizontally and vertically.
Step 4:
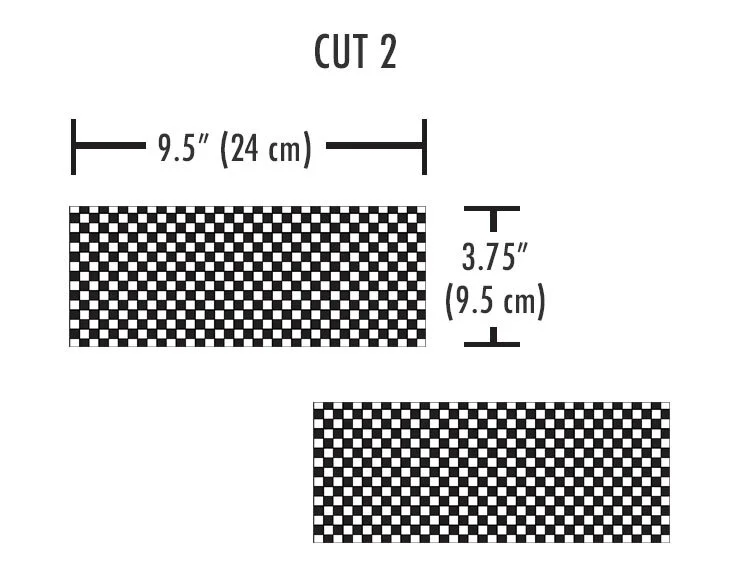
From the black and white gingham fat quarter, cut two pieces of fabric sized 9.5” wide x 3.75” tall (24x9.5 cm) for the top and bottom of the wall hanging.
Step 5:
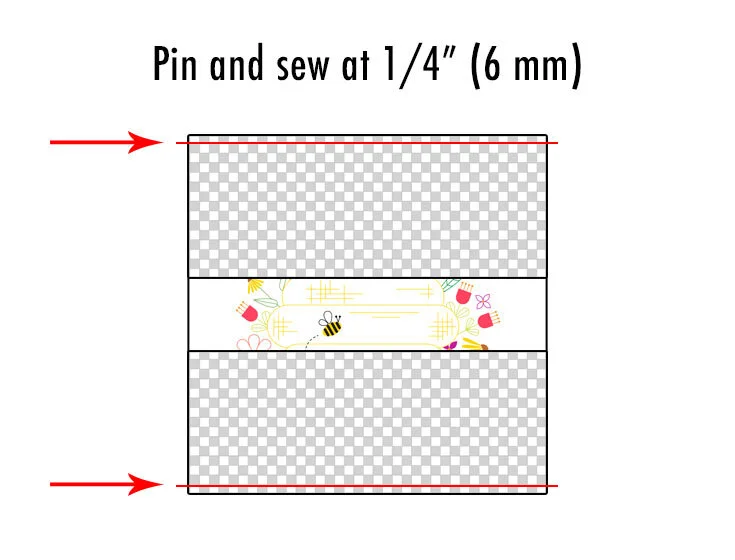
With right sides together, pin one strip of gingham fabric at the top of the white embroidered fabric. Pin the other strip of gingham fabric at the bottom of the white fabric. Sew the white and gingham fabric together on the top pinned edge using a 1/4” (6 mm) seam allowance. Press the seam allowance on the wrong side of the fabrics toward the gingham fabric.
Step 6:
Repeat step 5 on the bottom strip of pinned gingham fabric.
Step 7:
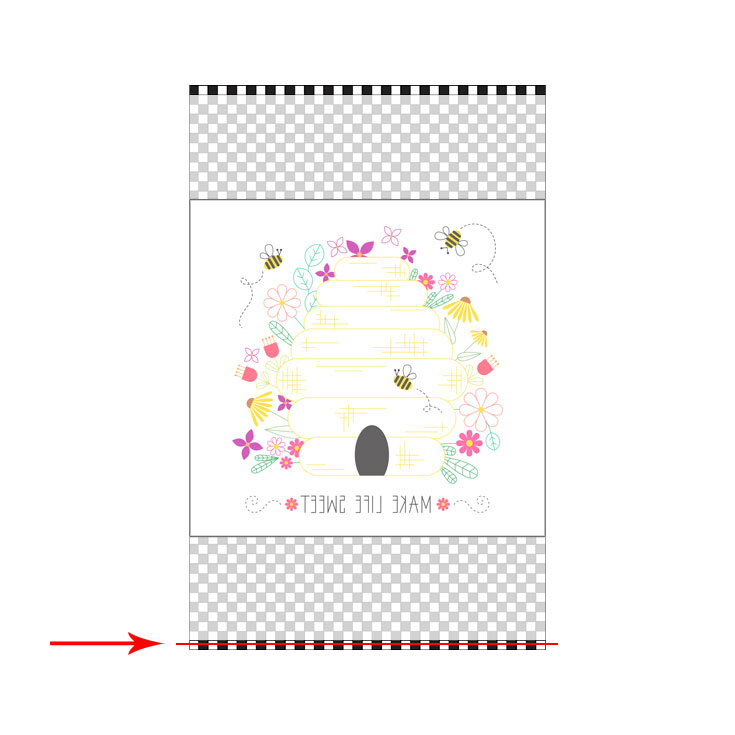
Lay the hanging in front of you with the wrong side facing up. Fold the unfinished edge of the top of the hanging to the wrong side at 1/4” (6 mm) and press. Once again, fold the edge of the top of the hanging to the wrong side at 1/4” (6 mm), hiding the raw edge, and press. Topstitch the top of the hanging in place, catching the edge of the fold underneath.
Step 8:
Repeat step 7 for the bottom edge of the hanging.
Step 9:
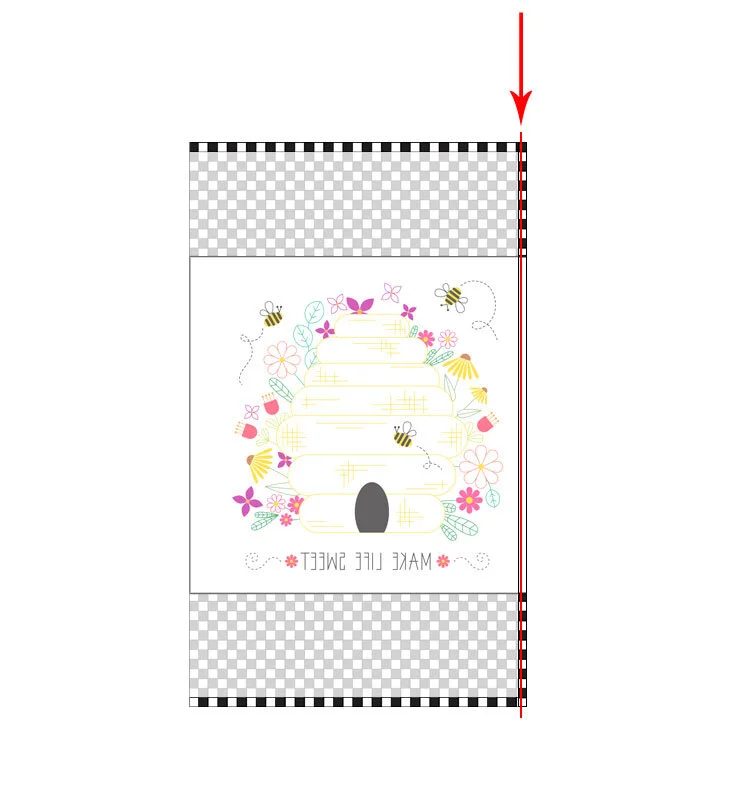
Repeat step 7 for the right side of the hanging.
Step 10:
Repeat step 7 for the left side of the hanging.
Step 11:
Press your sewn hanging as needed.
Step 12:
Attach the magnetic tapestry frame according to its instructions. Your embroidery project is ready to hang!
Want to create a different type of home decor pattern with the Make Life Sweet pattern? It would work great on a tea towel, as a table runner, or a quilted pillow too!

